How To Remove The Data Retention Summary Link From Your Moodle Site
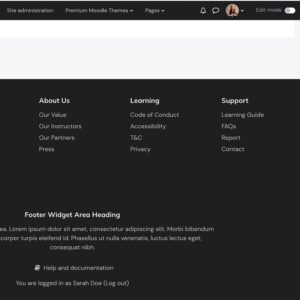
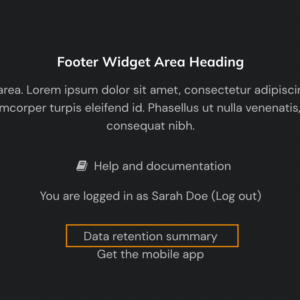
By default, Moodle 4.x will show a “Data Retention Summary” link to site visitors. Different themes may show the link in different places. All of our premium Moodle 4.x themes show the link in the footer area. If you don’t …