Moodle 5 is finally here. This is another major release that builds on the modern UX and UI overhaul introduced in Moodle 4.x. Moodle 5 continues to improve the overall experience for both educators and learners, with performance enhancements, accessibility updates, and more refined interface design.
Thinking of upgrading your site to Moodle 5.0+ to take advantage of the latest features and offer your users a smoother, more modern experience? We’ve got you covered. Below is our curated list of the best Moodle themes that are fully compatible with Moodle 5.
When we first published this post, many free Moodle themes were not yet compatible with Moodle 4.x. The good news? Theme developers have been catching up—and we’re keeping this post updated with the best options as they become available for Moodle 5. So be sure to check back!
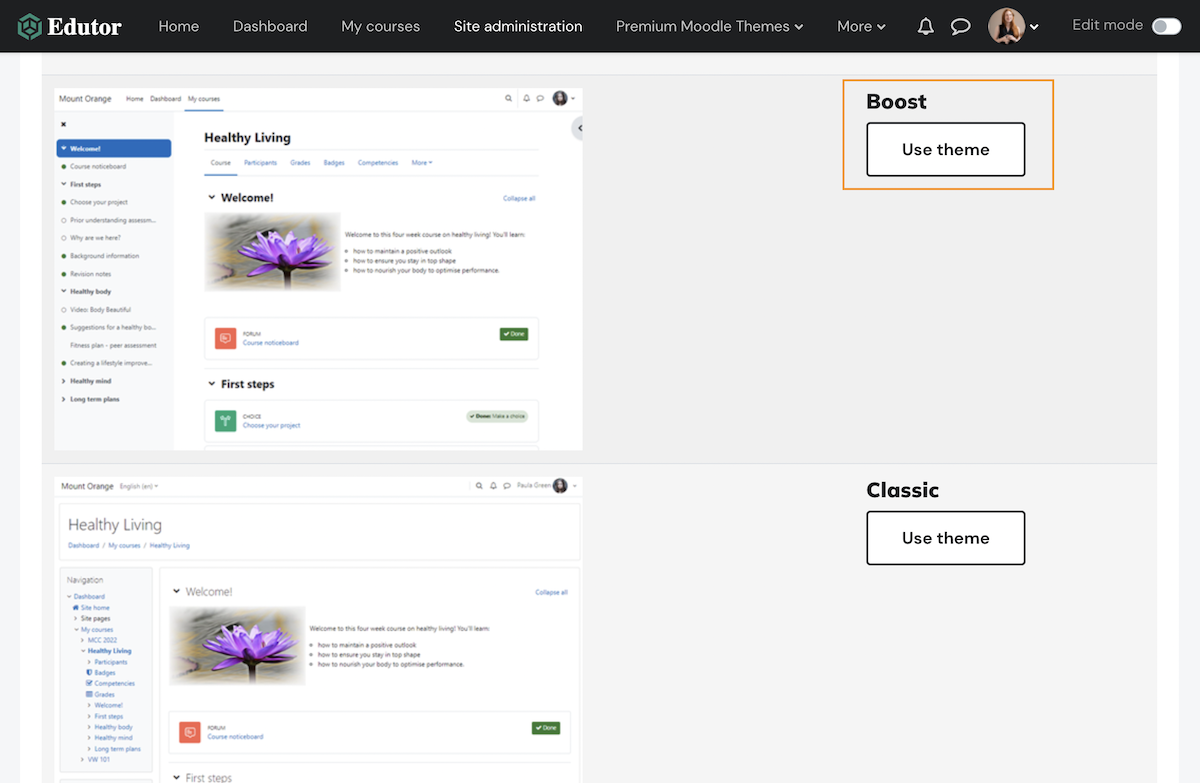
Boost (FREE Moodle Theme)
Live Demo
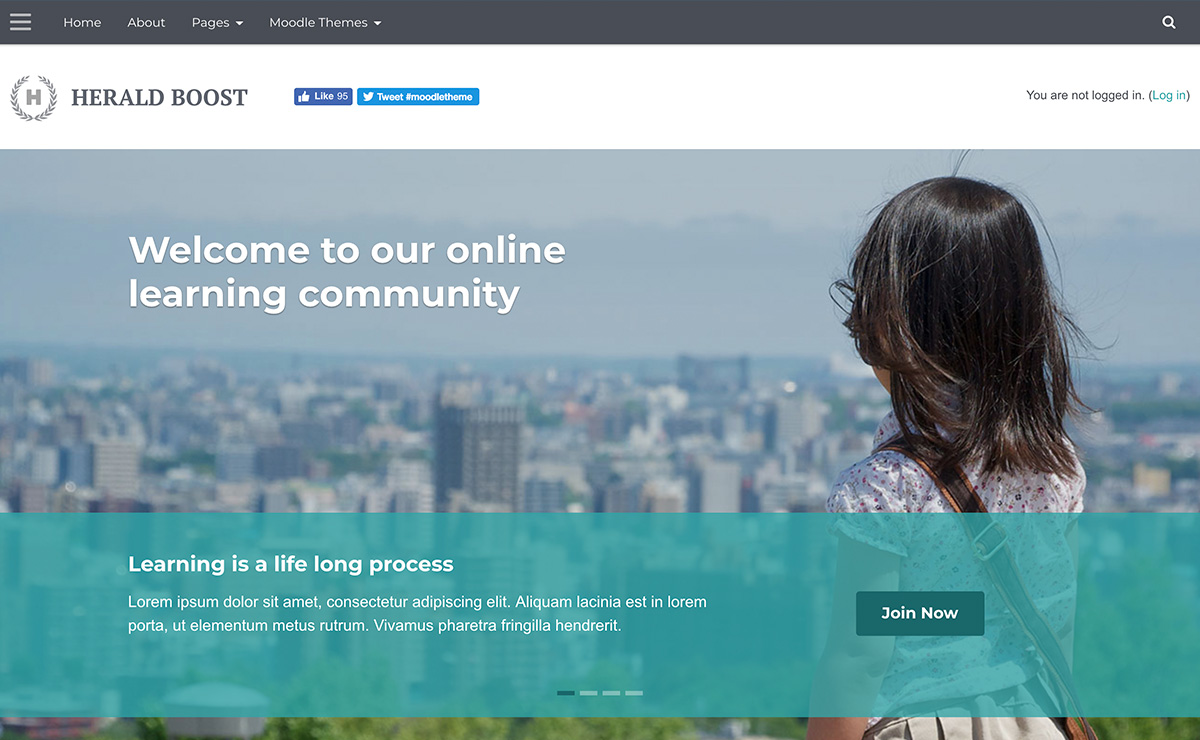
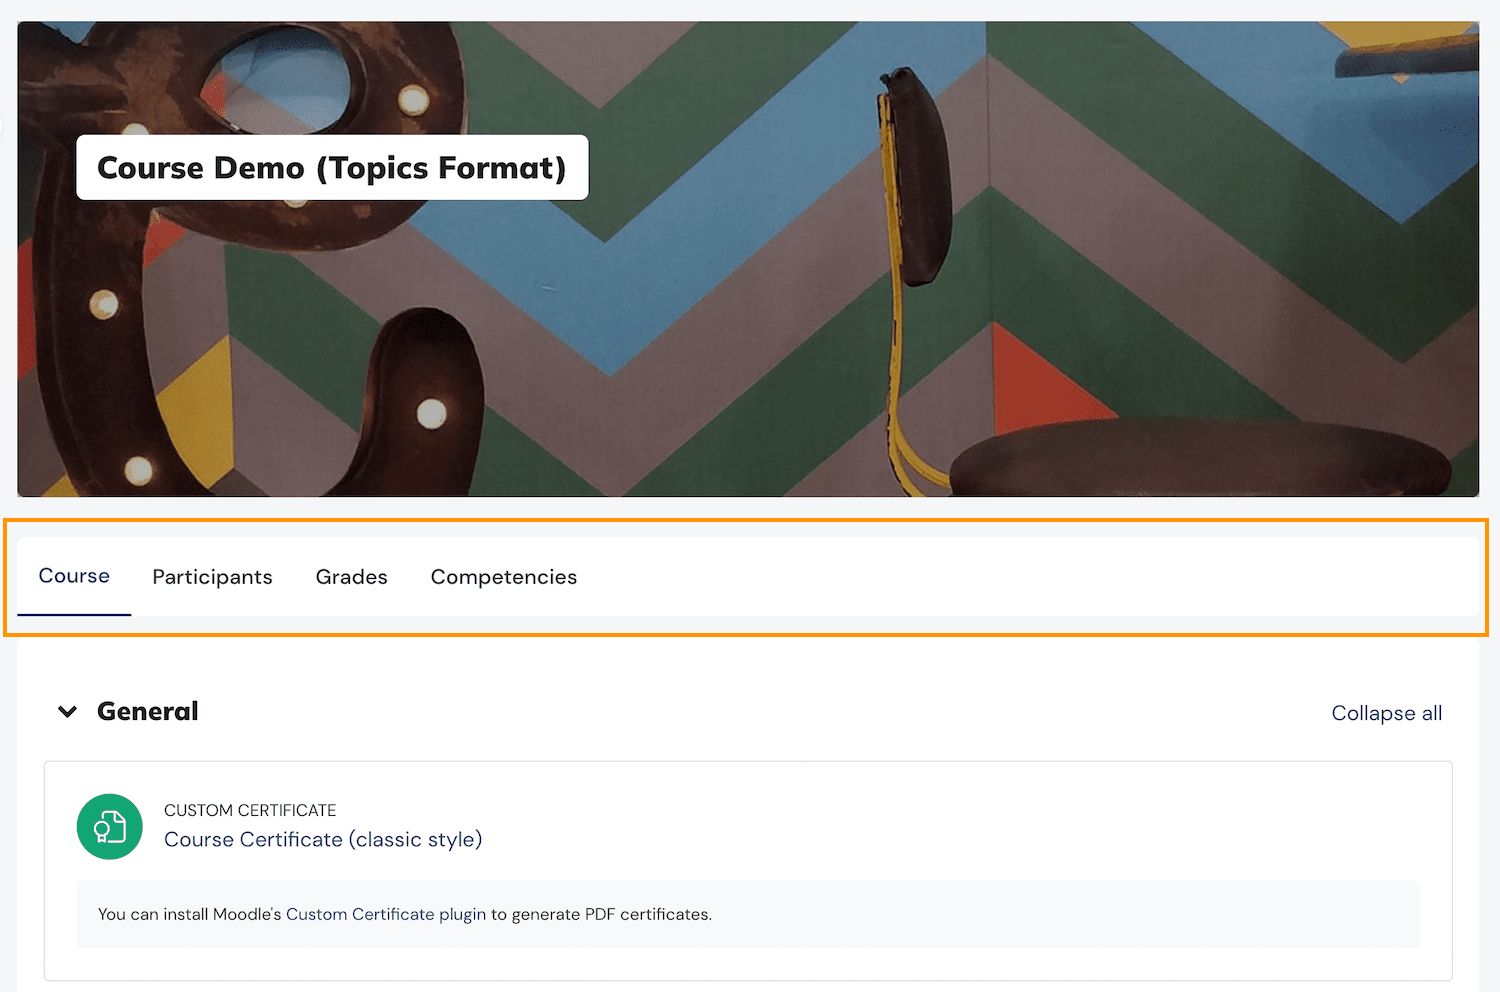
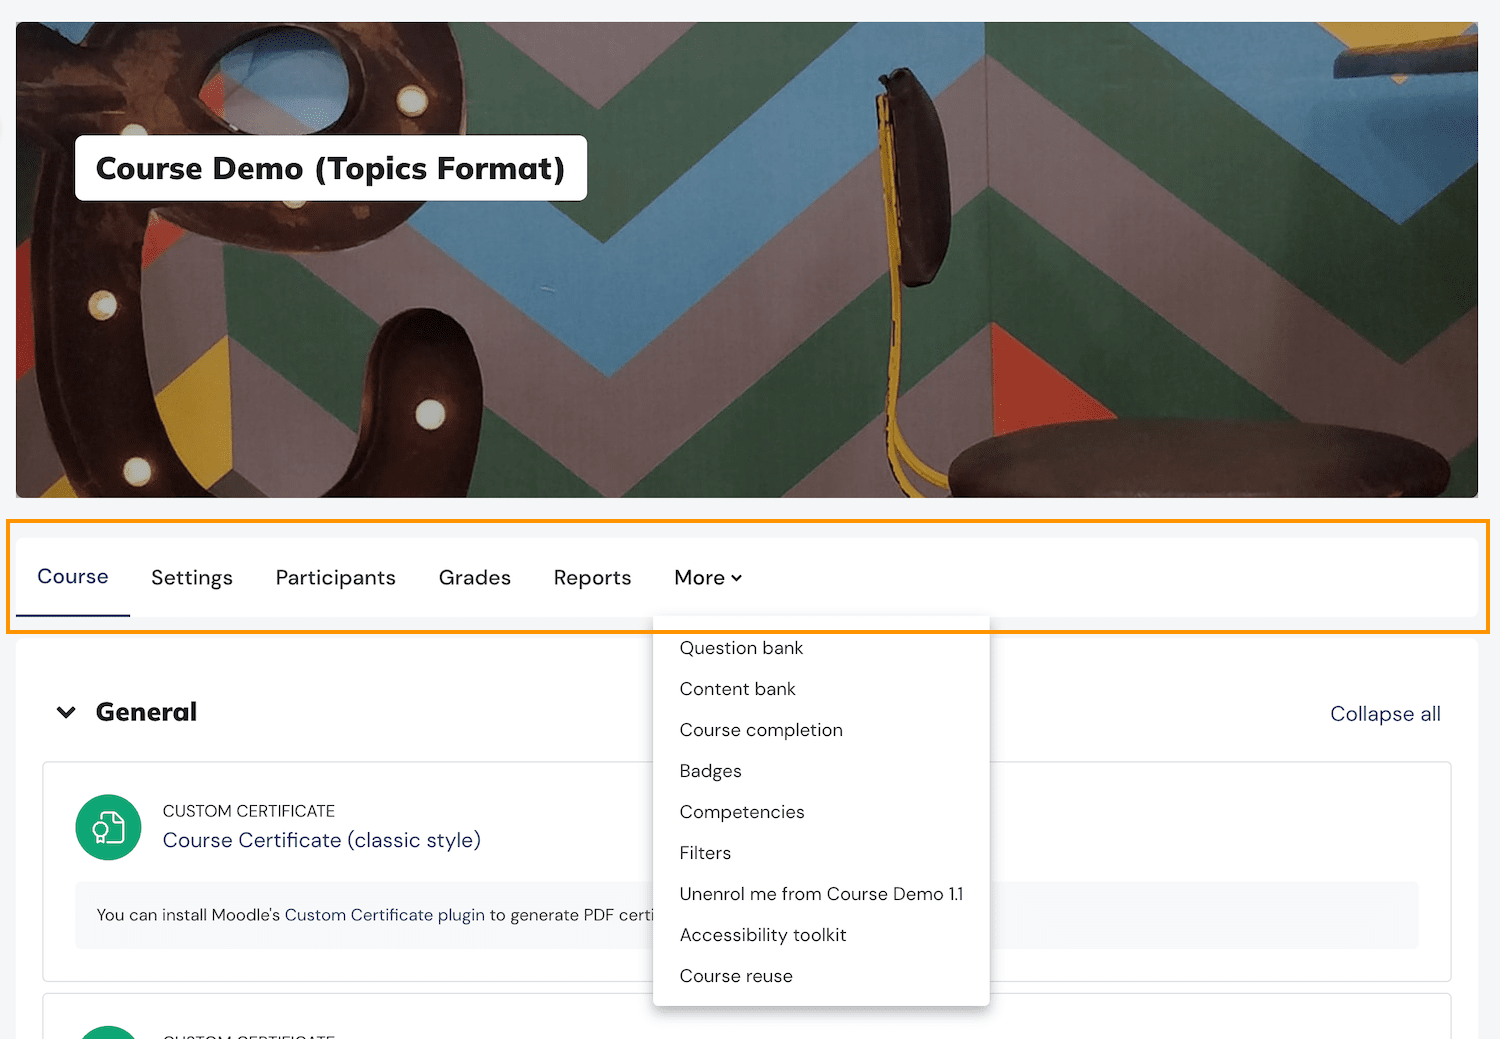
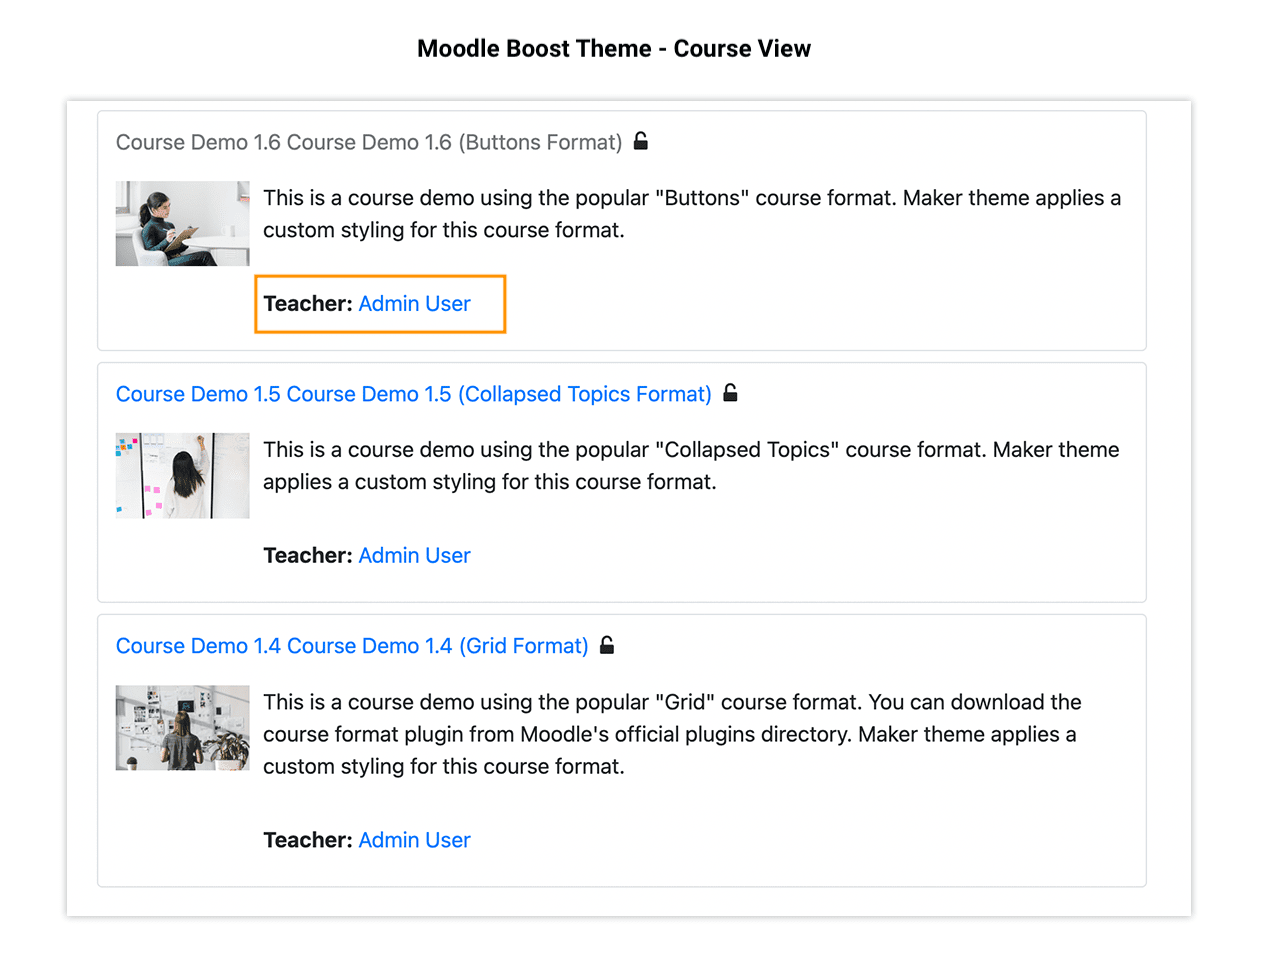
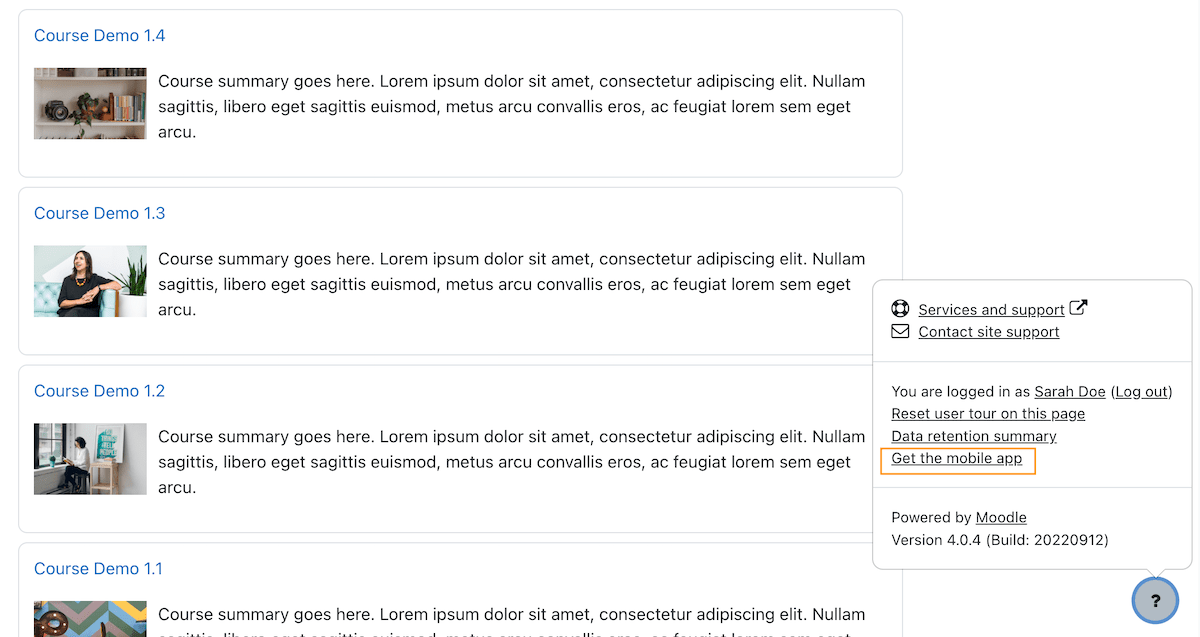
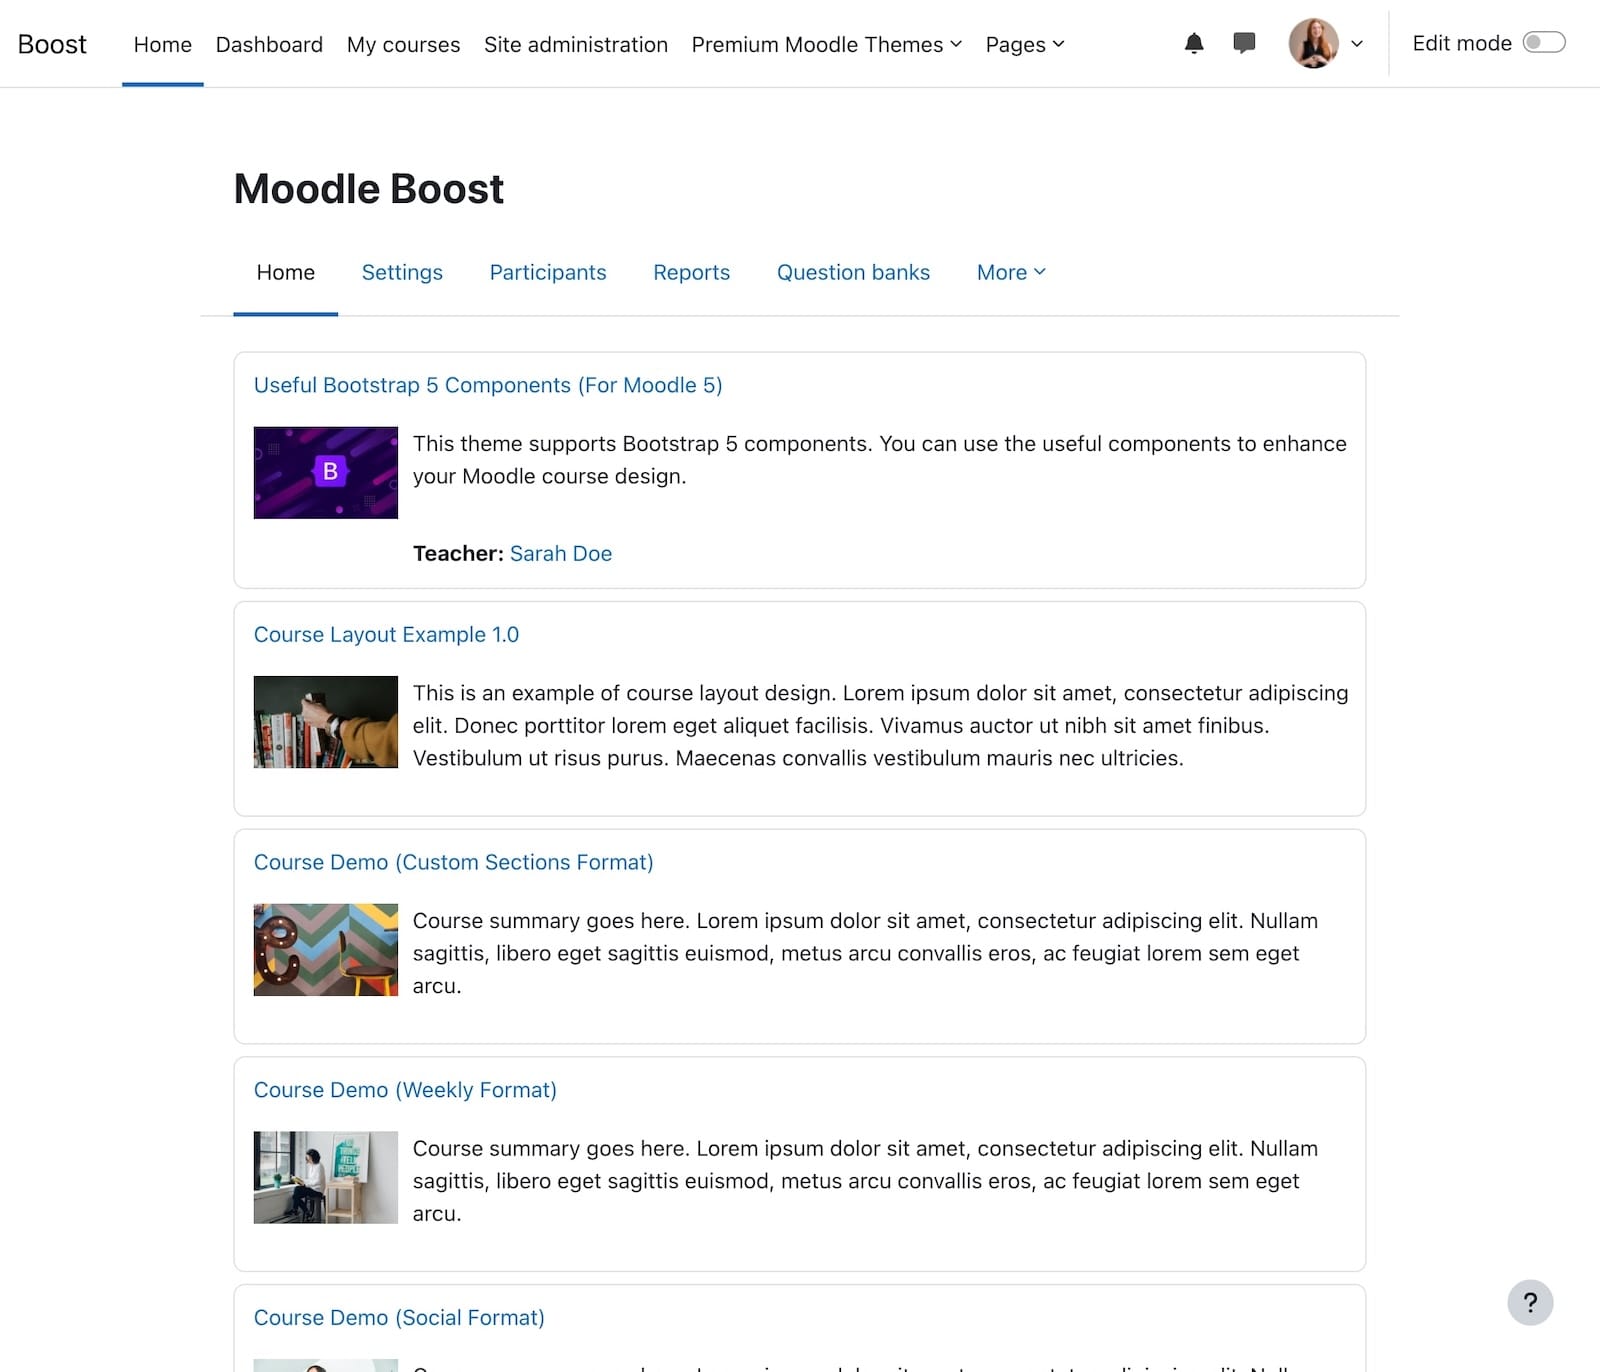
Boost is Moodle’s core theme and it continues to evolve with each major release. In Moodle 5, Boost is now built on Bootstrap 5, offering improved performance, modern components, and better accessibility support. The theme maintains its clean, minimalist design with an intuitive user experience that suits both learners and educators. If you’re working with a limited budget and need a reliable, no-frills theme to get your Moodle LMS up and running, Boost in Moodle 5 is a solid, future-friendly choice
If you already have a professionally designed landing page for your main site, you can simply link to your Moodle site’s login page from there. Moodle 5 makes it easy to control access – you can choose to require users to log in before they can view any course content or even access the front page. This is especially useful if you want to keep your LMS experience focused and secure.
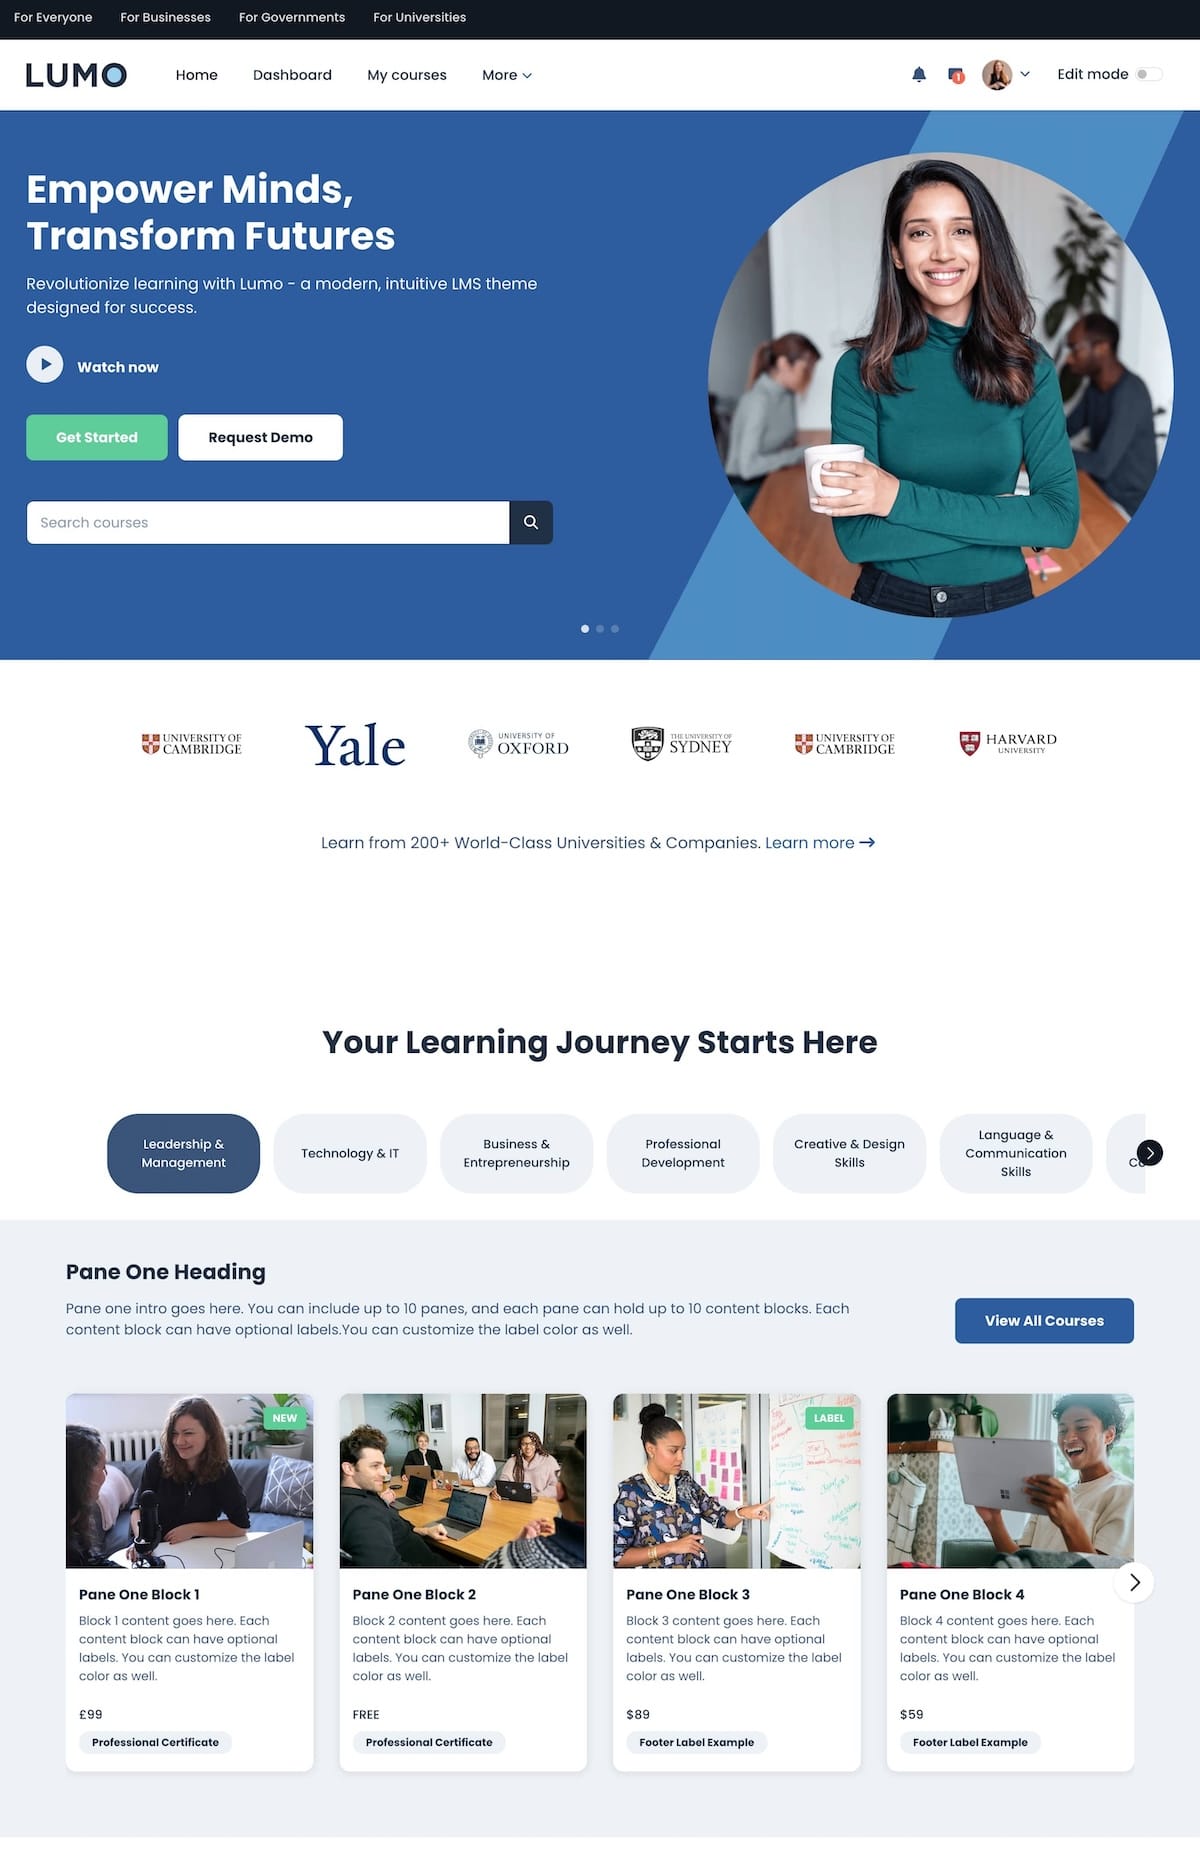
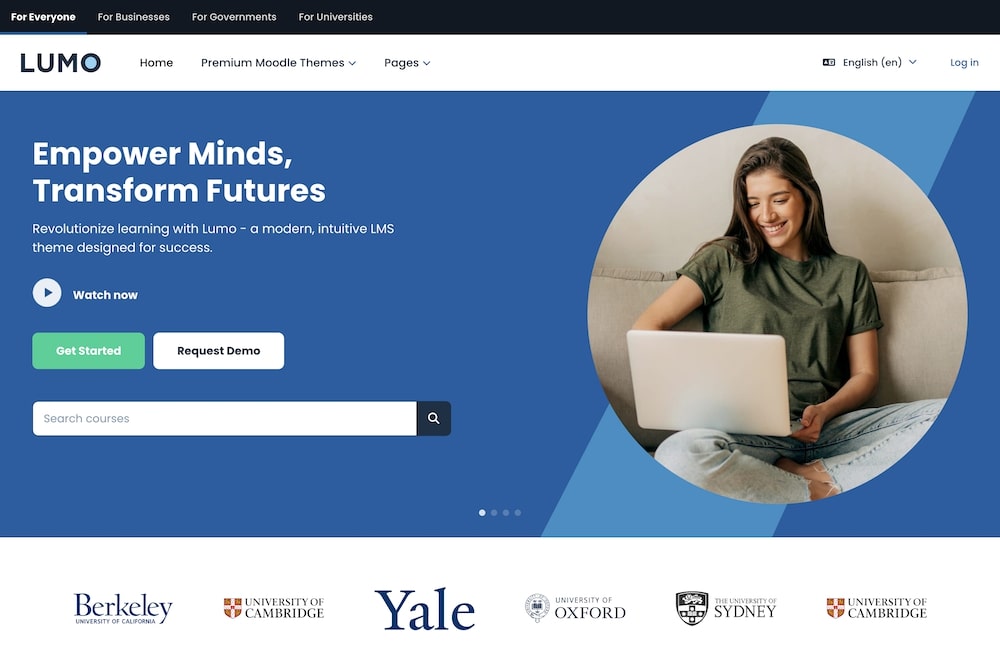
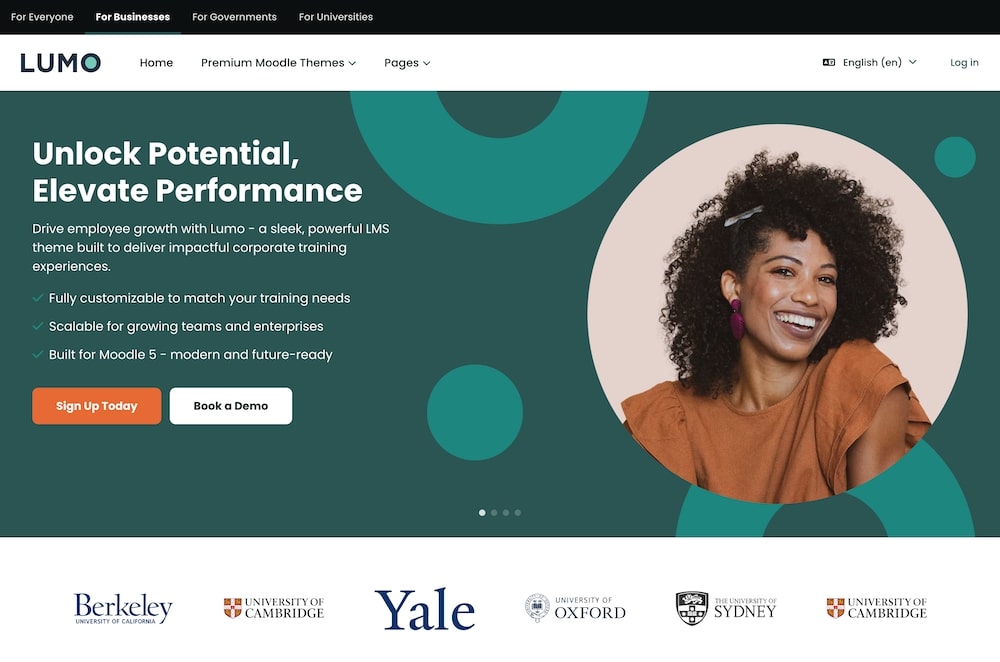
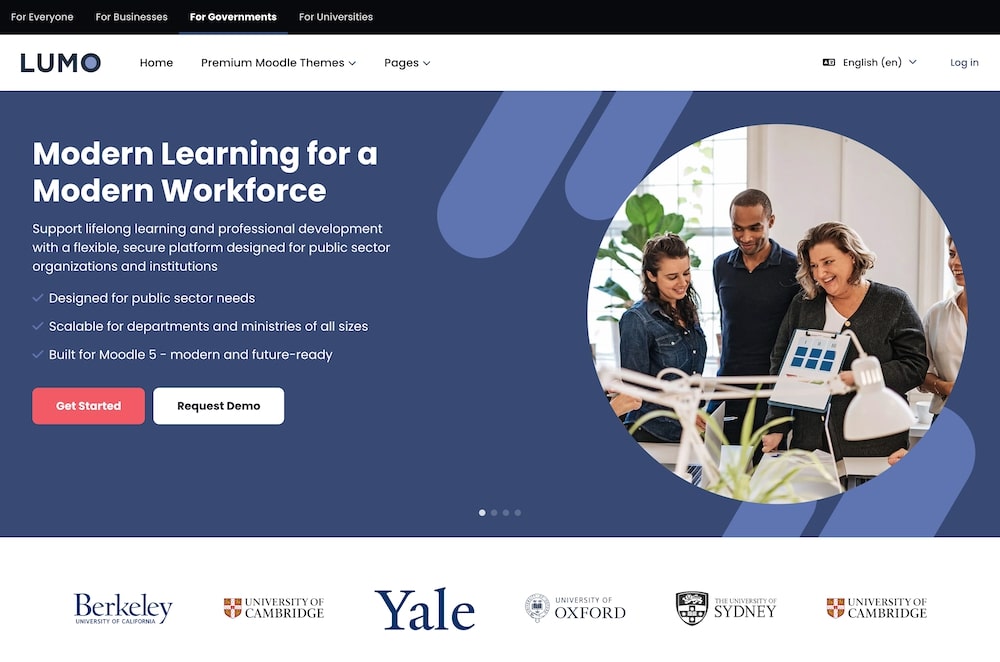
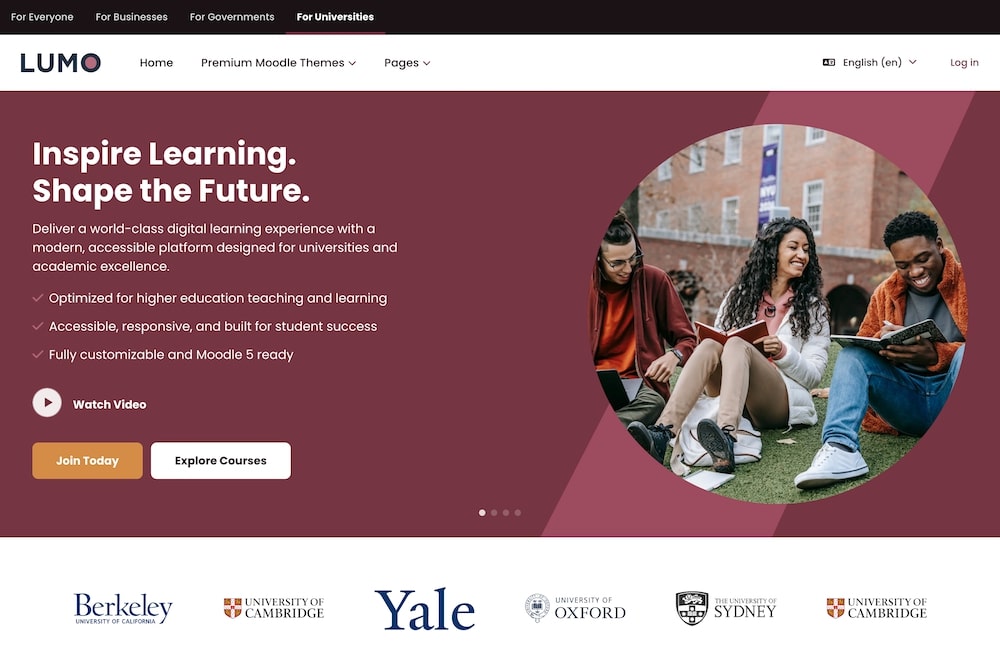
Lumo (Premium Moodle 5 Theme)
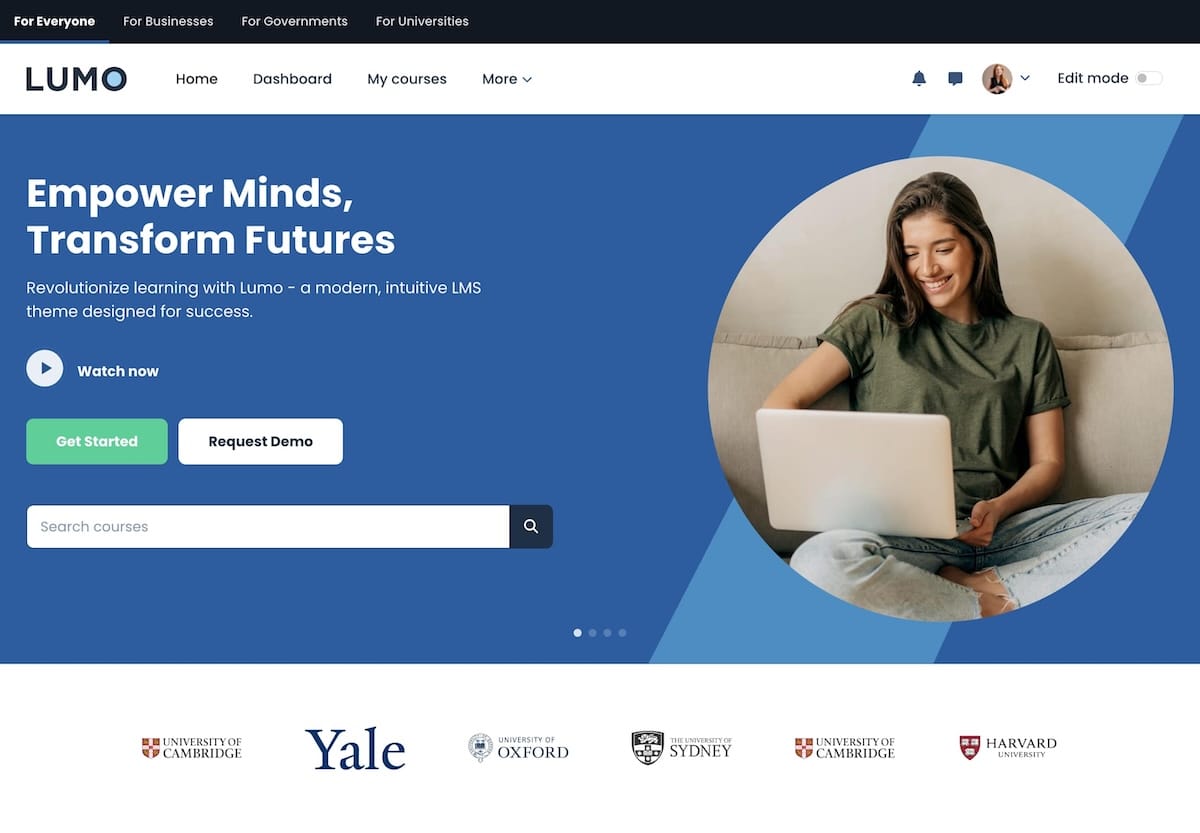
Lumo is a premium Moodle theme designed for Moodle 5, tailored to meet the needs of both higher education institutions and professional training businesses. With its polished, modern design and thoughtfully structured layouts, Lumo delivers a high-quality user experience that feels professional and engaging right out of the box.
Inspired by the clean, user-friendly interfaces of leading online learning platforms like Coursera, Udemy, and edX, Lumo brings that same level of design sophistication to your Moodle LMS. Whether you’re building an academic site or a corporate training portal, your learners will enjoy a smooth, intuitive experience across all devices.
Built on Moodle’s Boost theme and Bootstrap 5, Lumo takes full advantage of Moodle 5’s latest improvements in UI, performance, and accessibility. It also offers a high level of customization through the theme settings allowing you to easily adjust color schemes, fonts, and layout options to match your organization’s branding.
Lumo provides a ready-made, professional design solution that saves you the time and cost of custom development. And just like our other premium themes, it comes with a 30-day money-back guarantee, so you can try it risk-free.
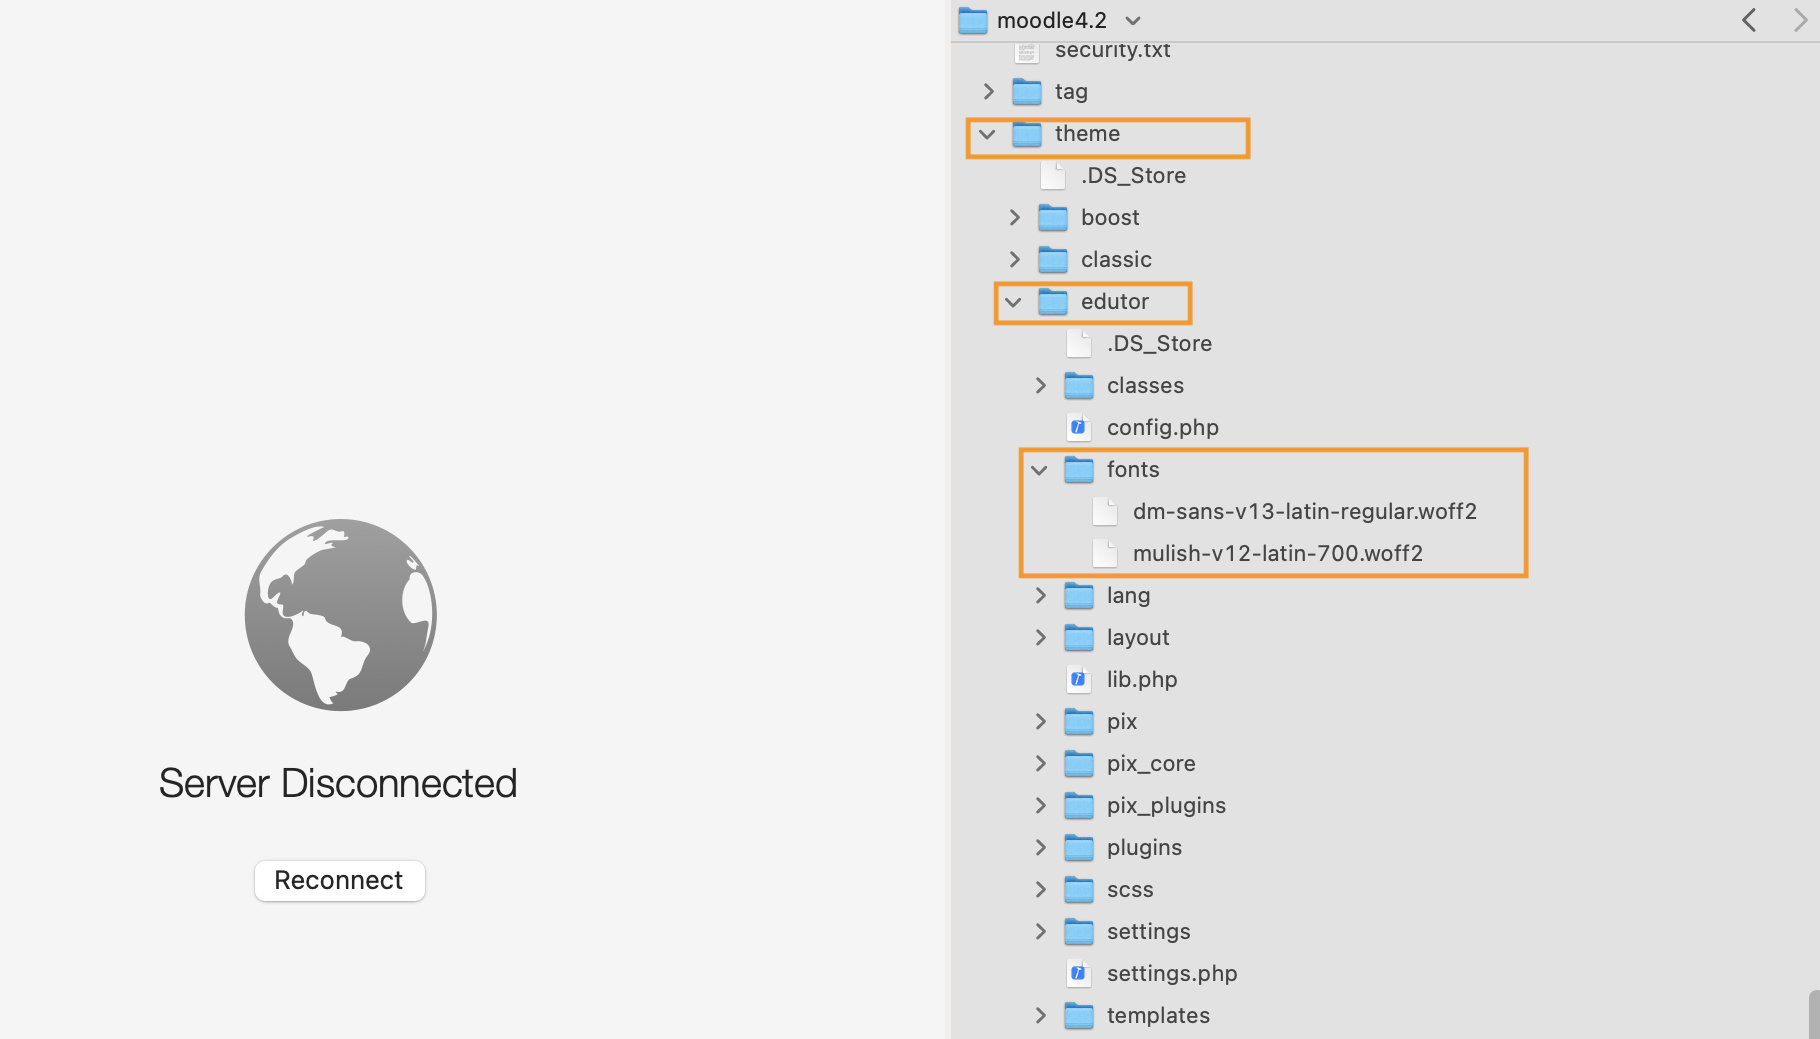
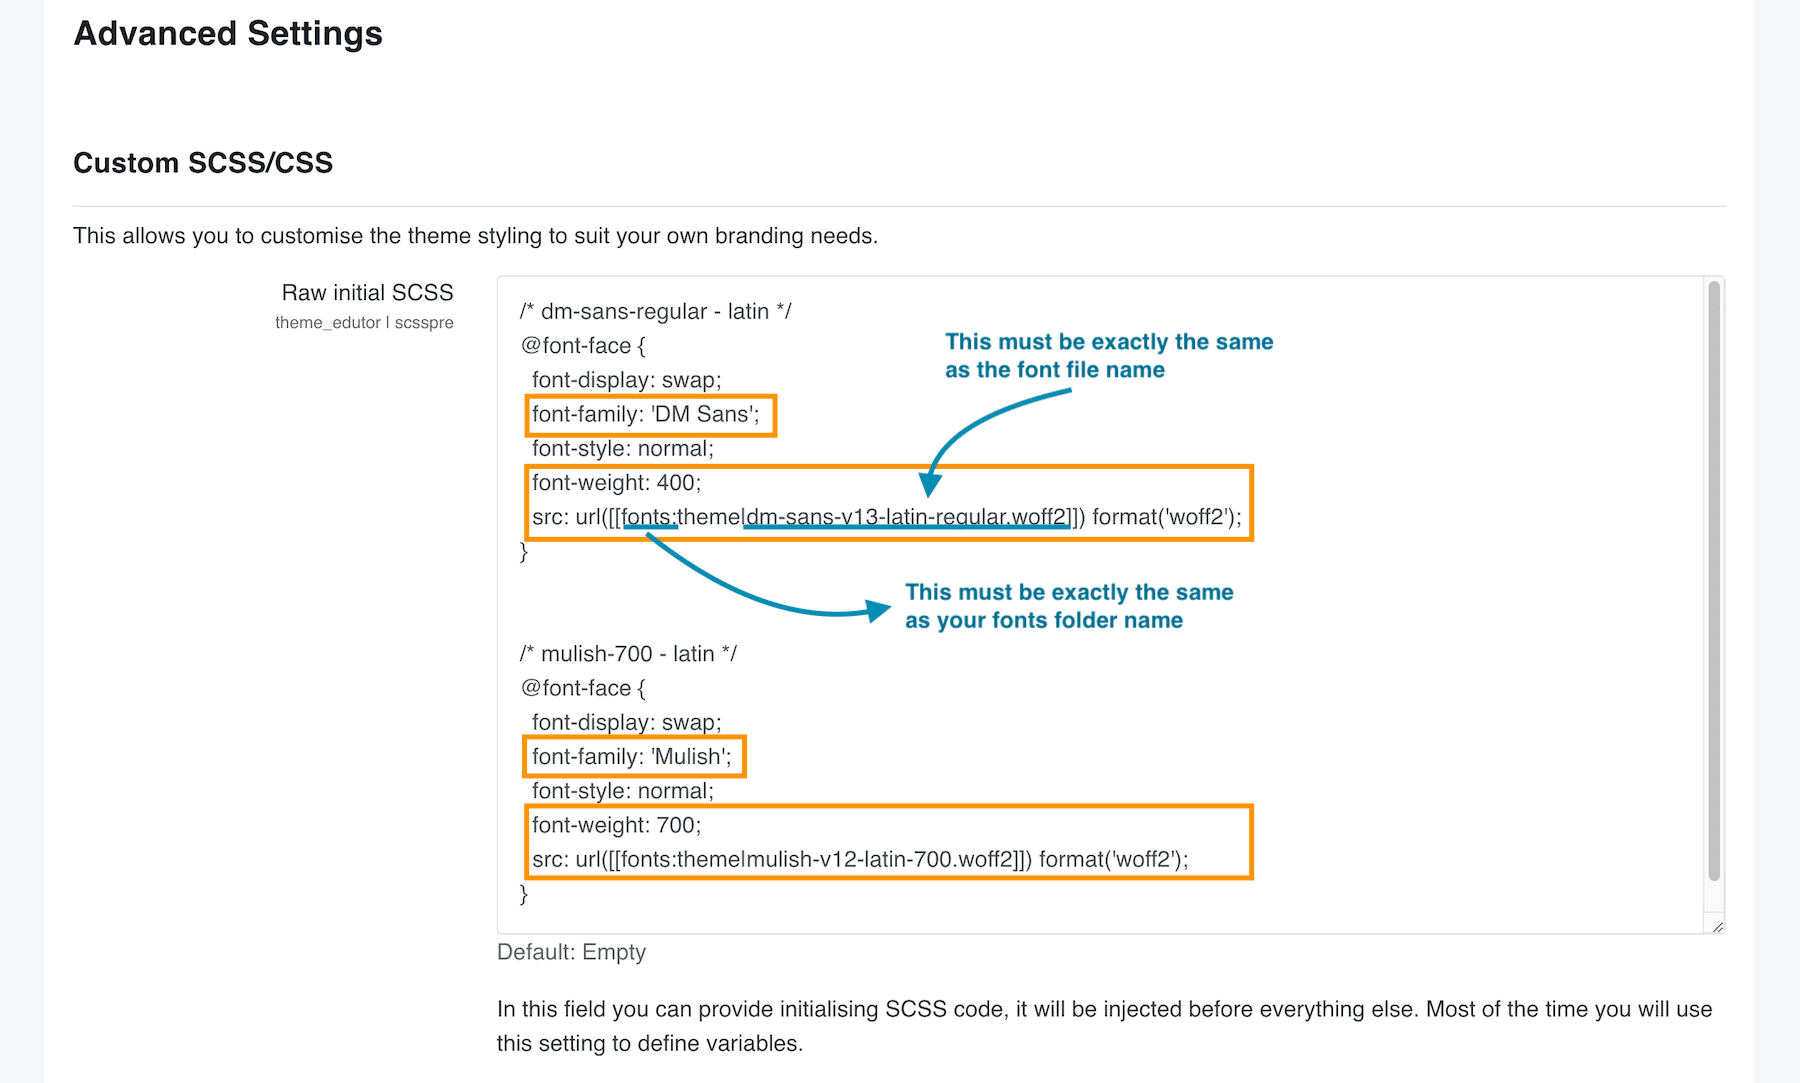
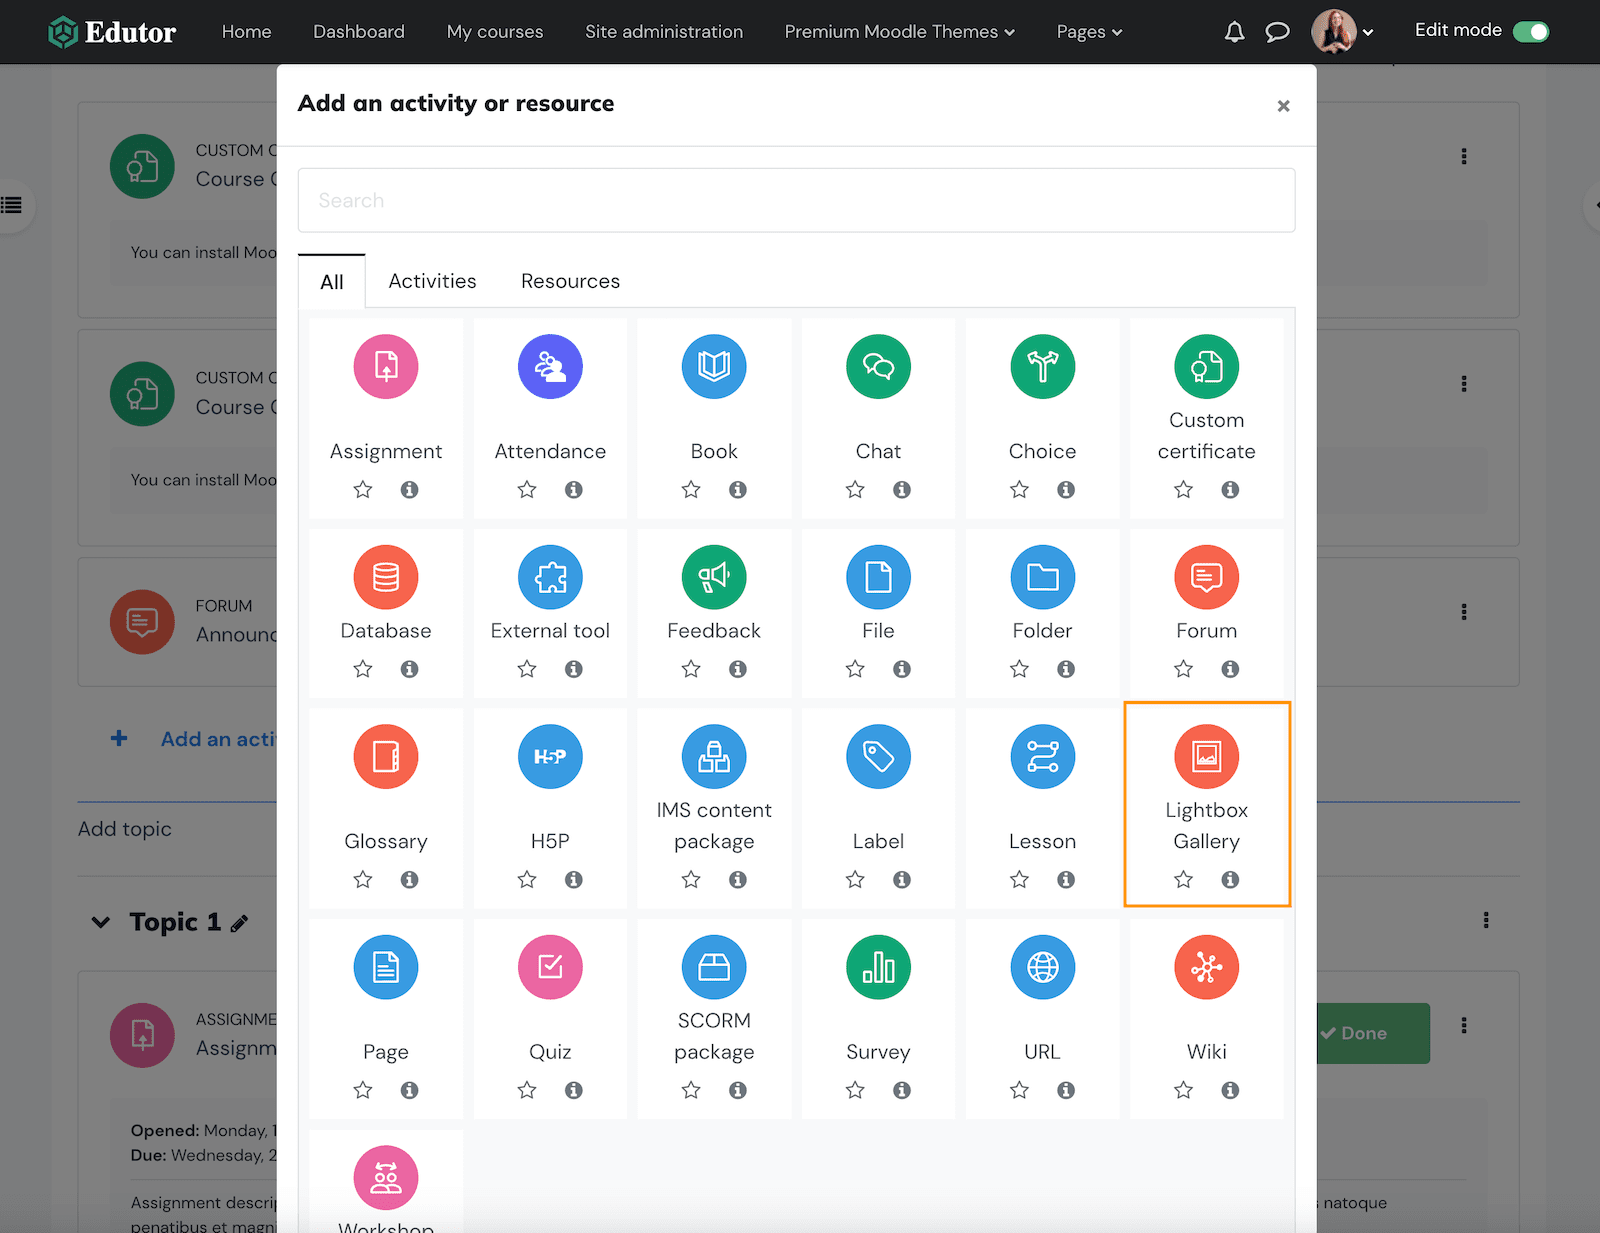
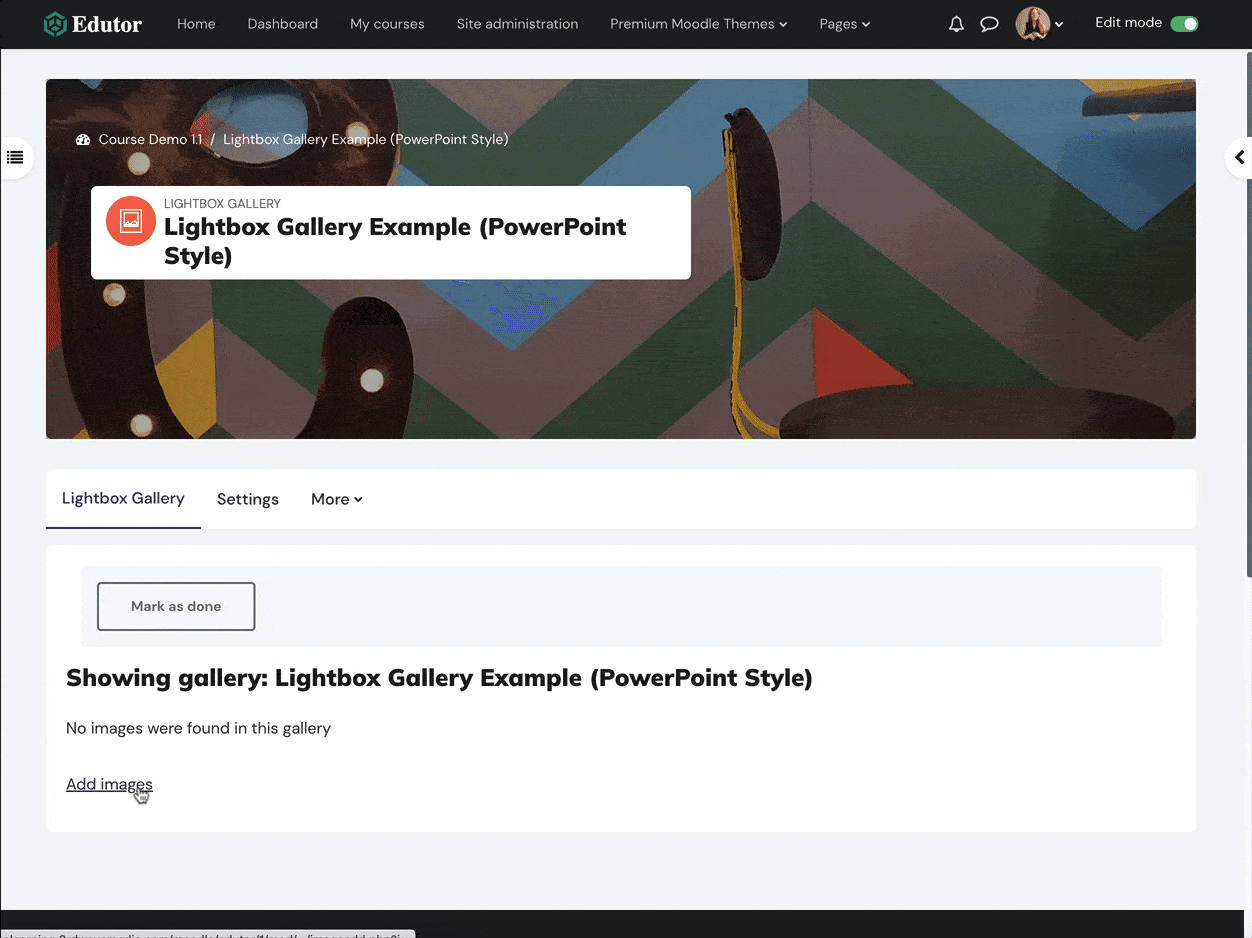
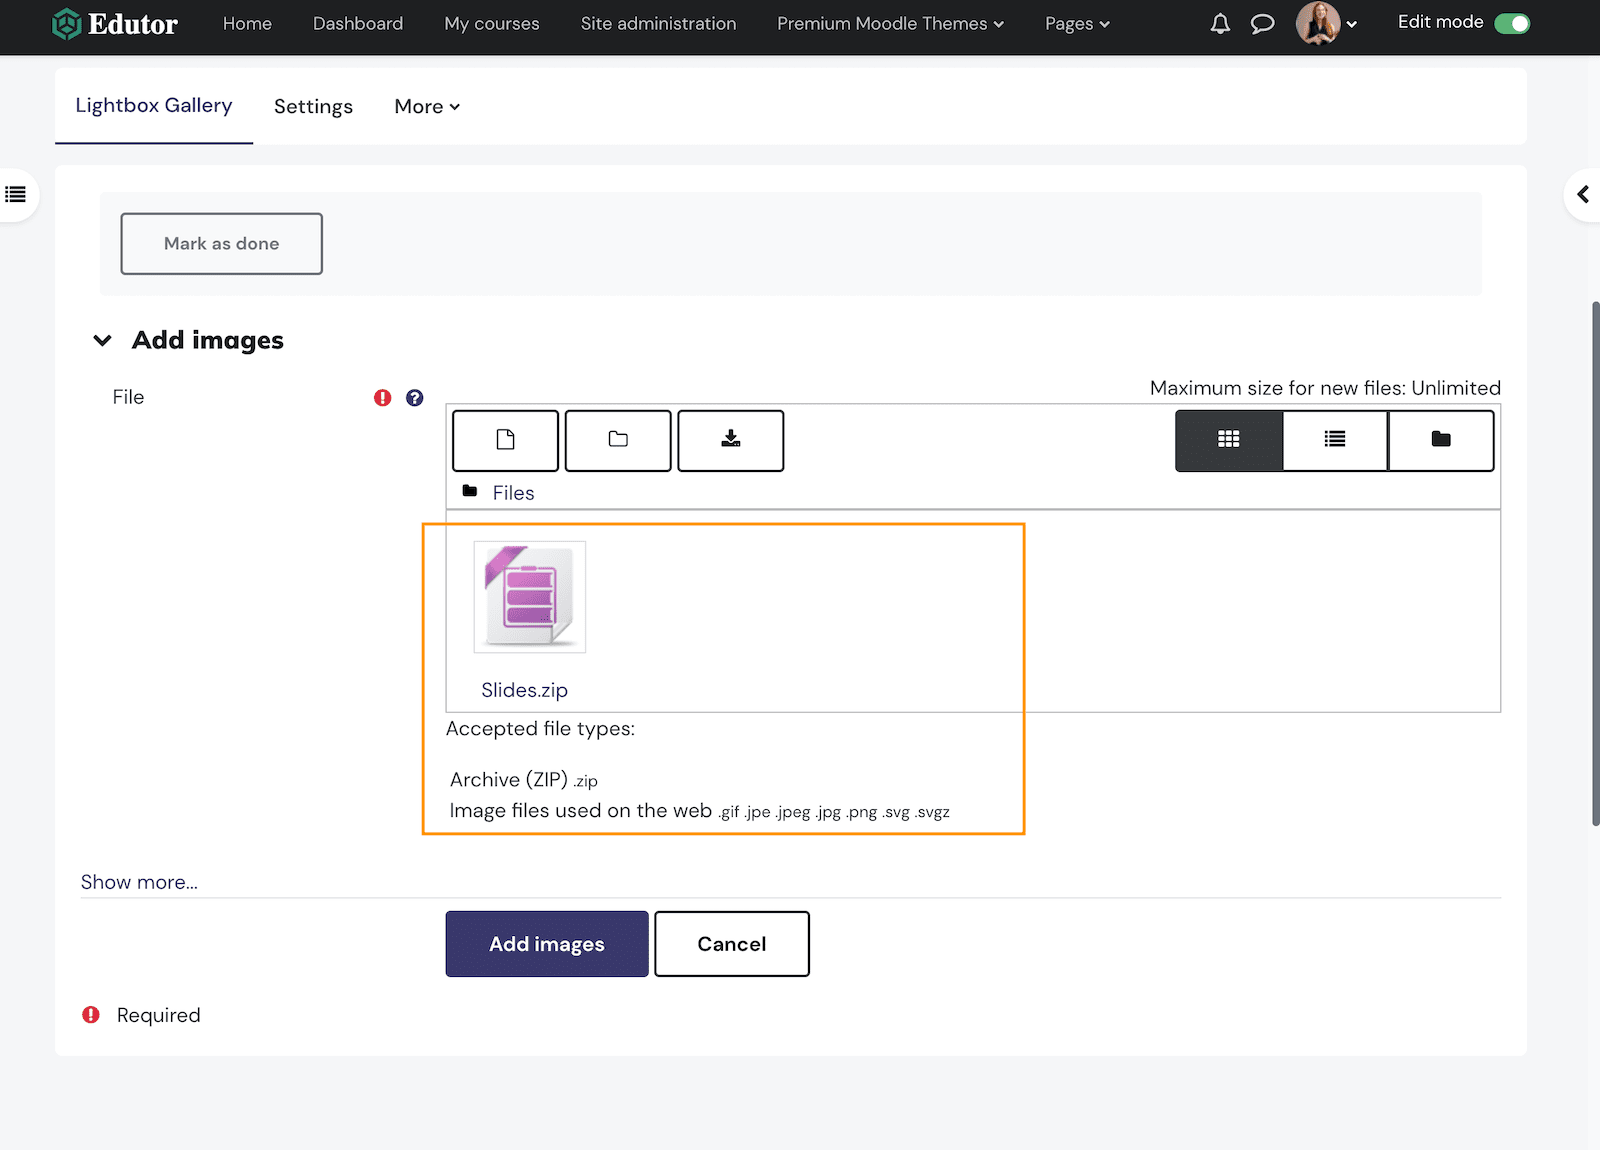
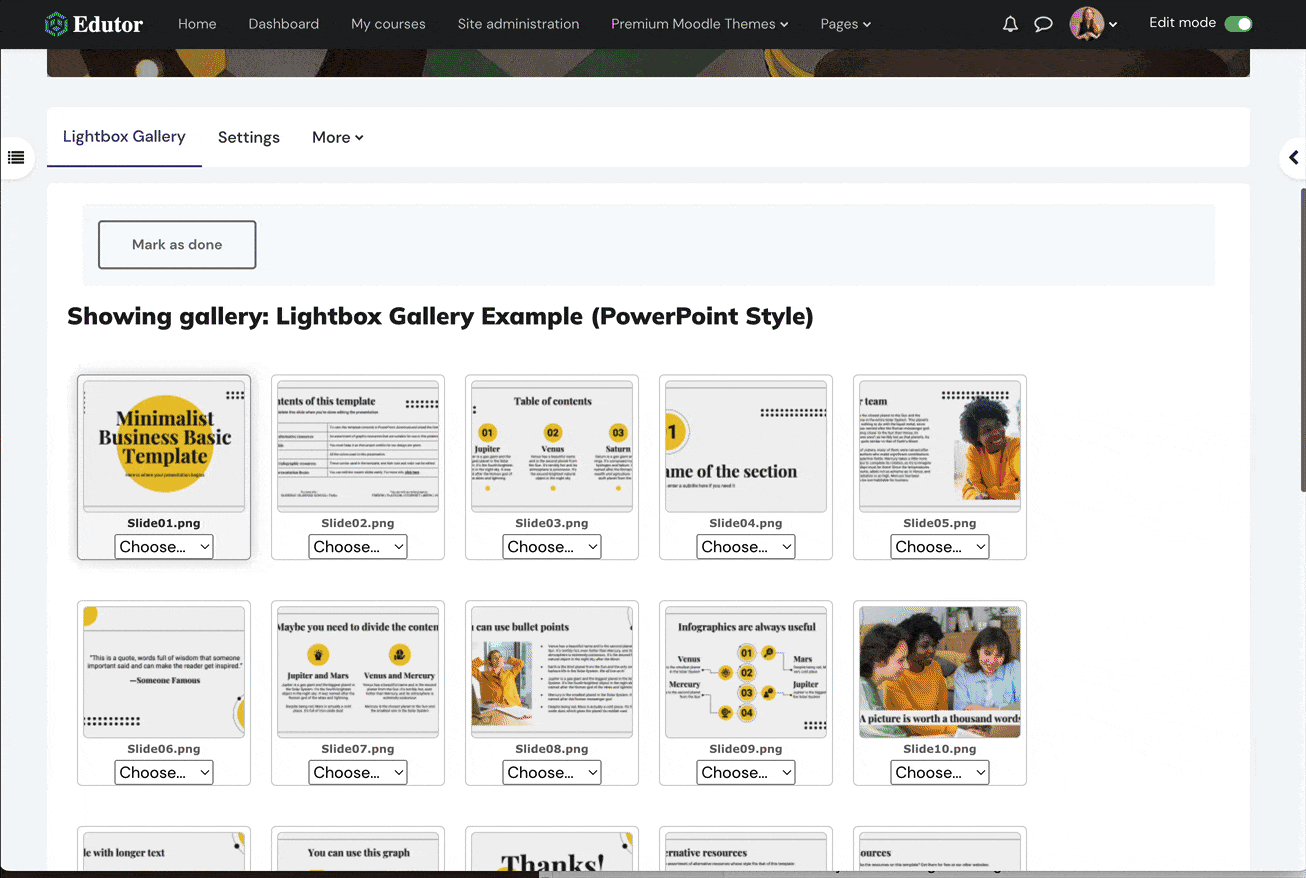
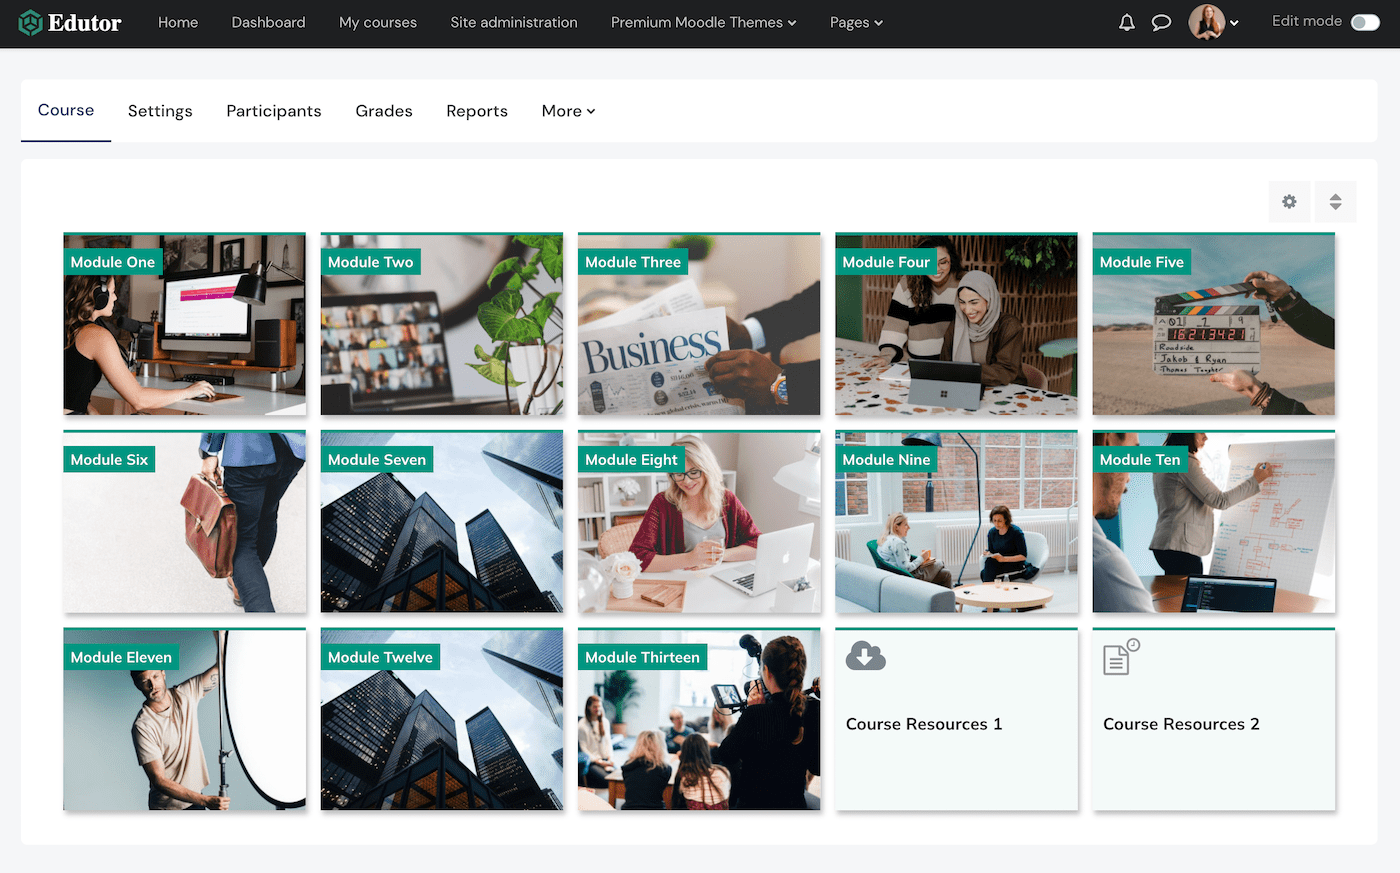
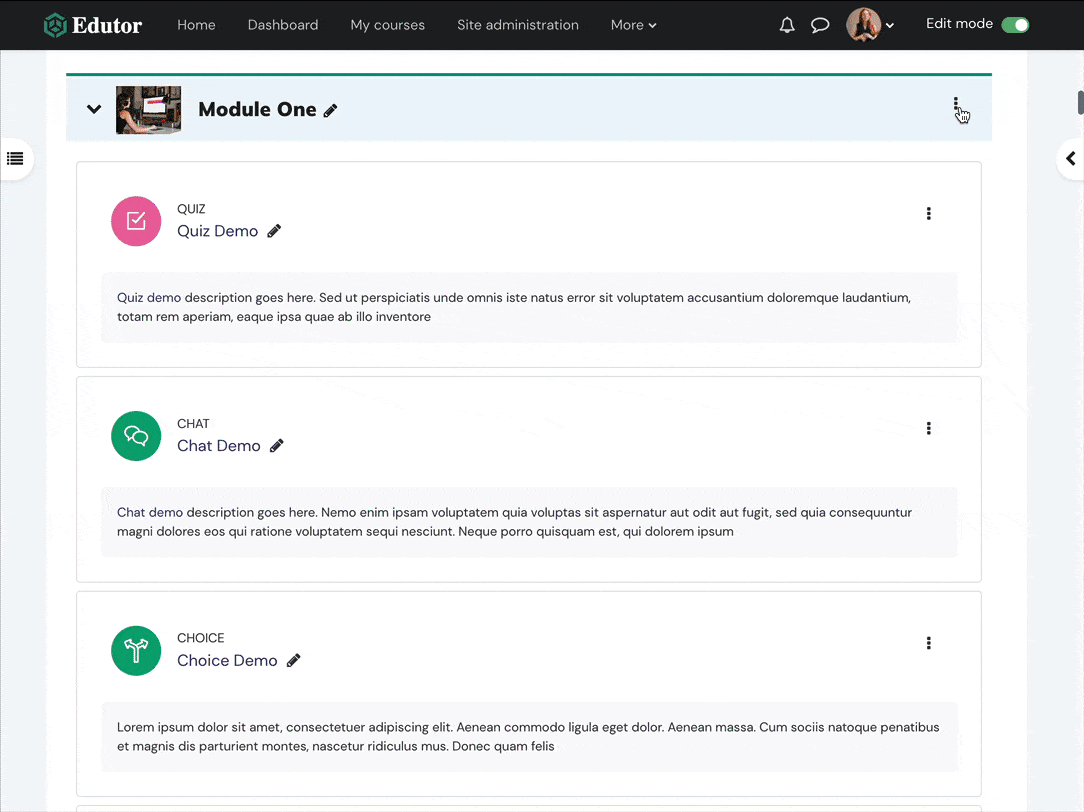
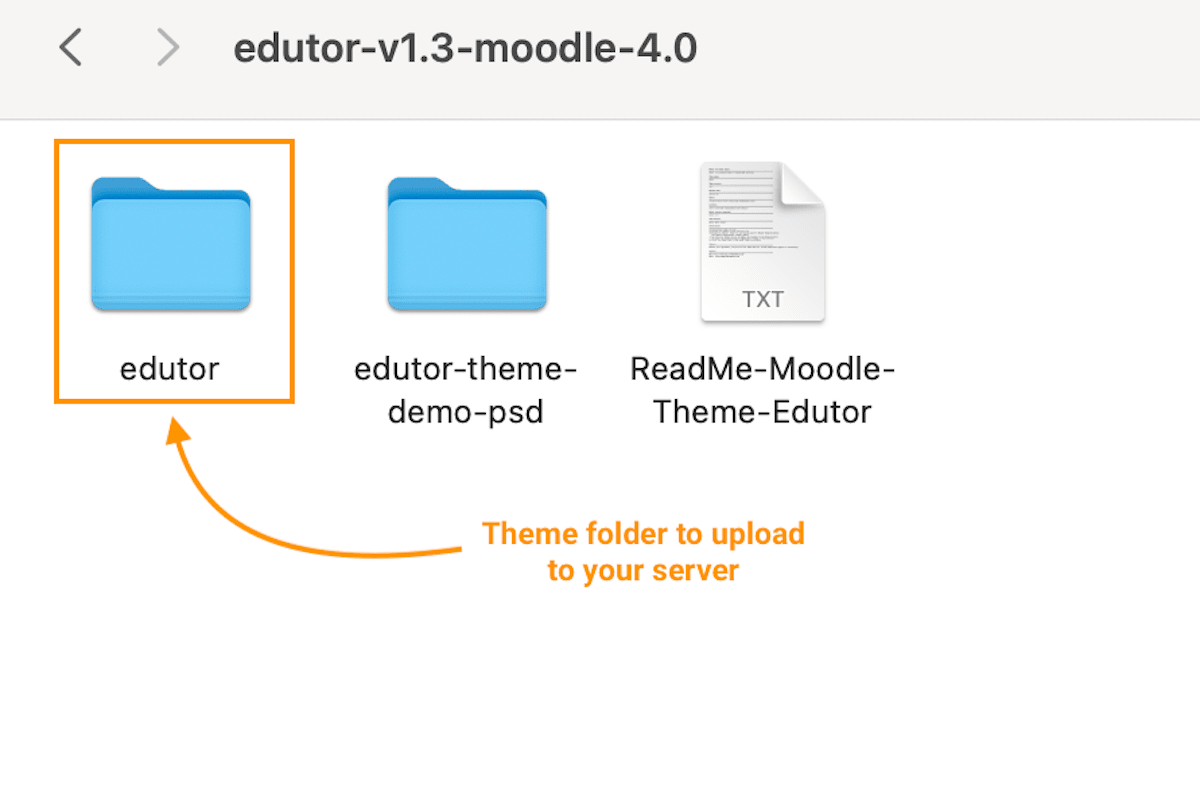
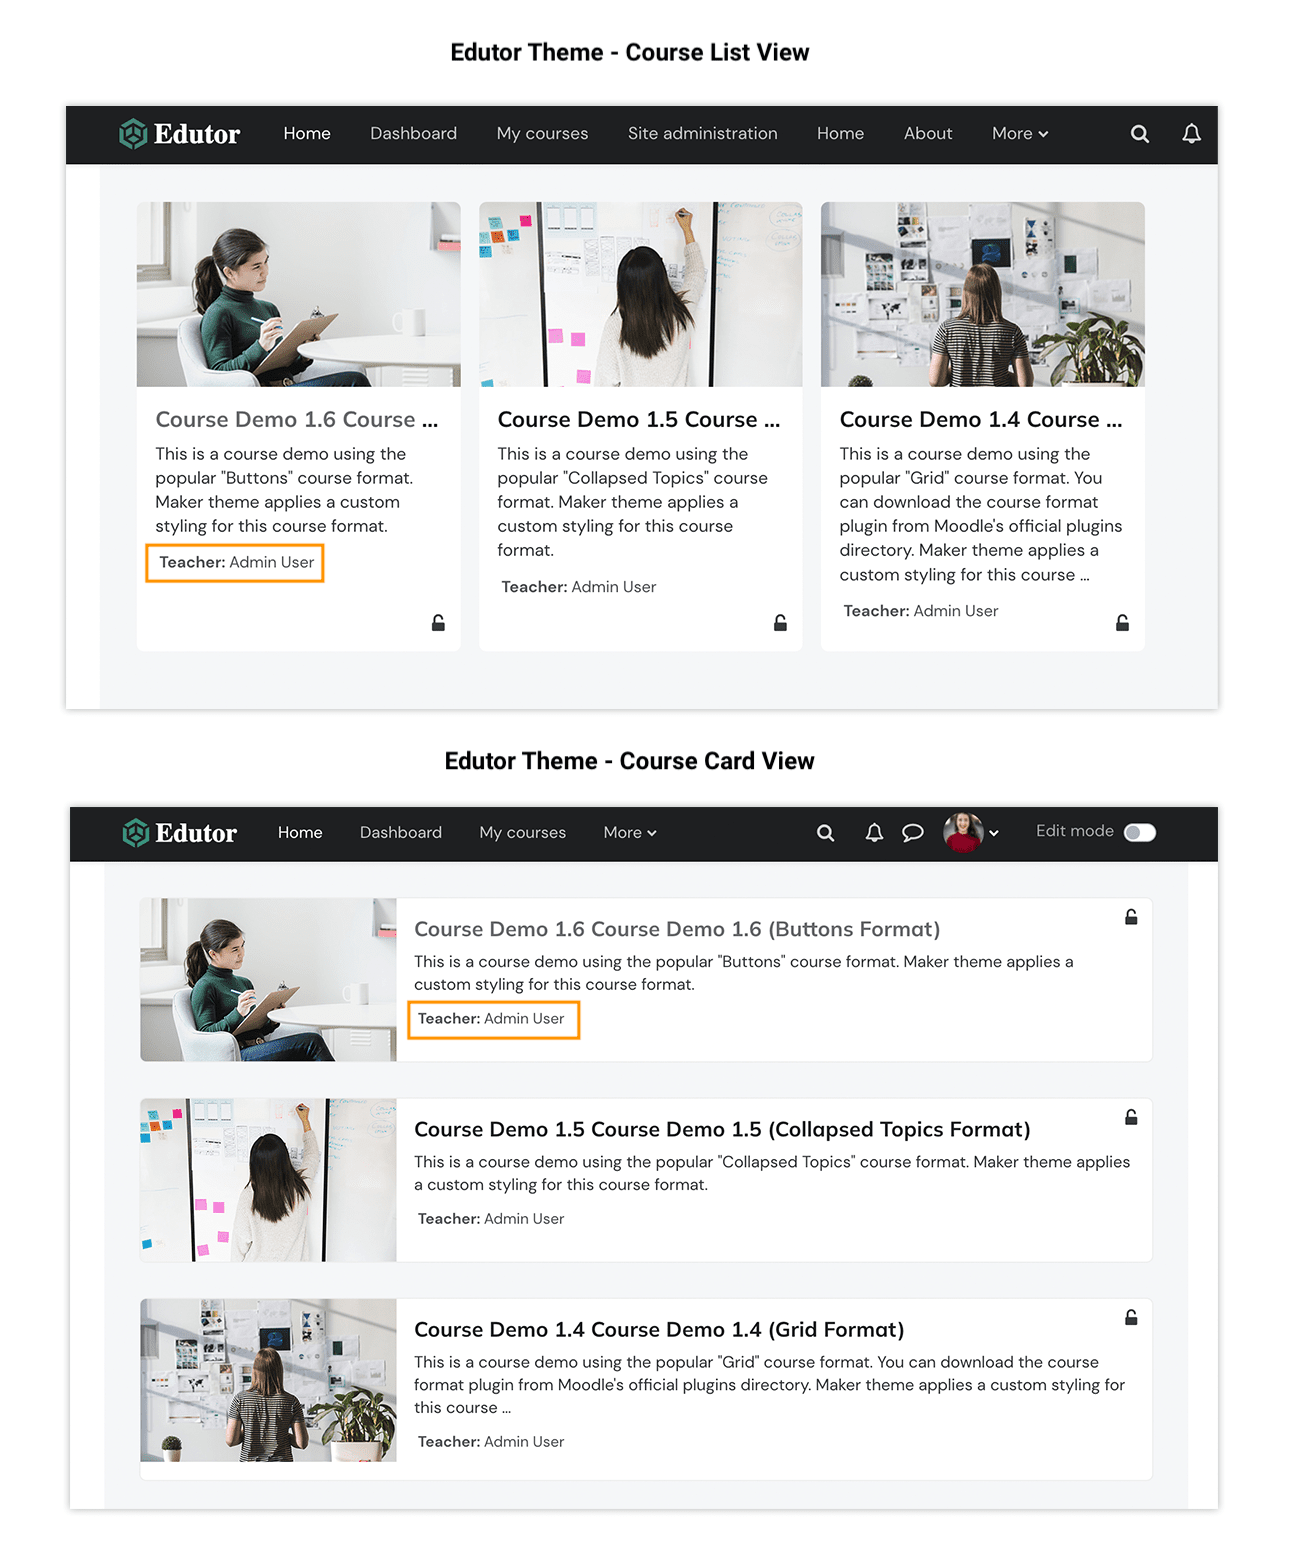
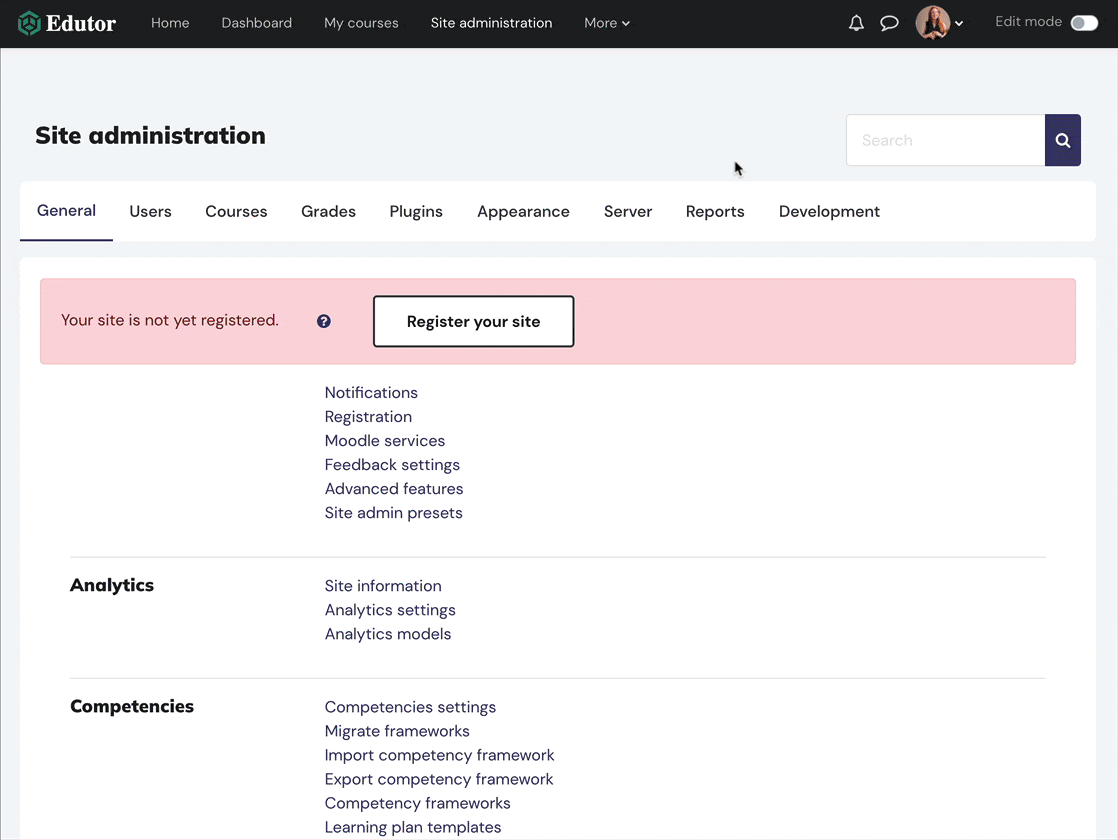
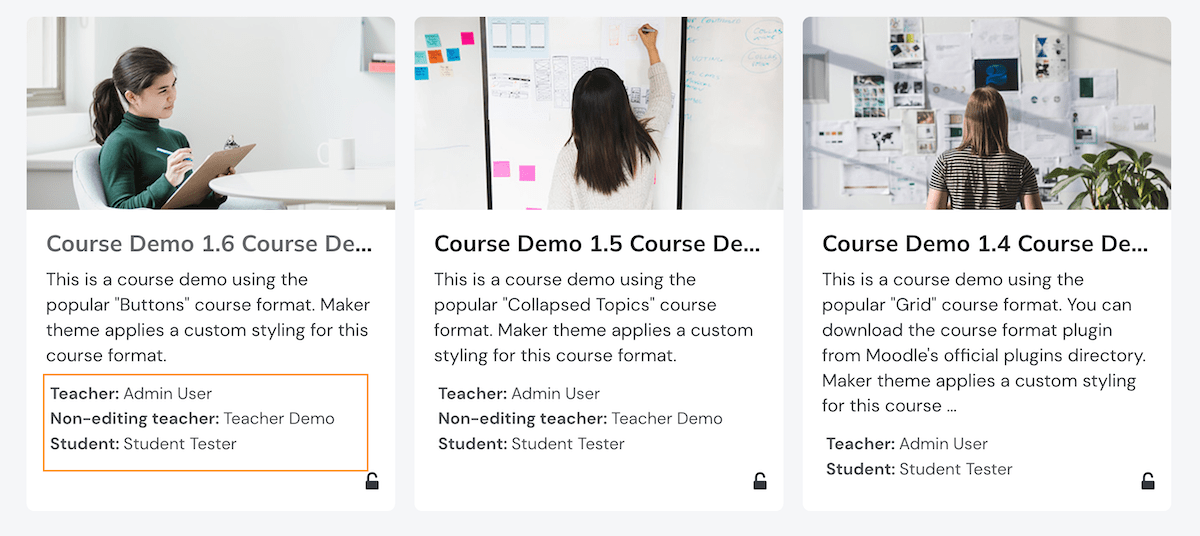
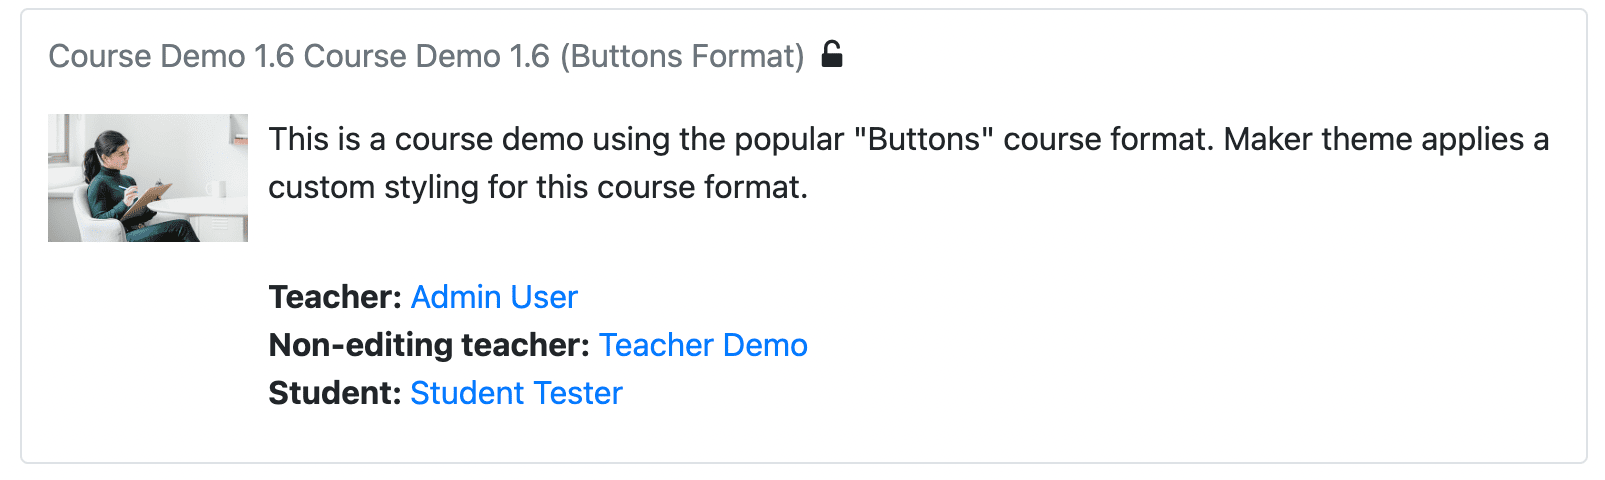
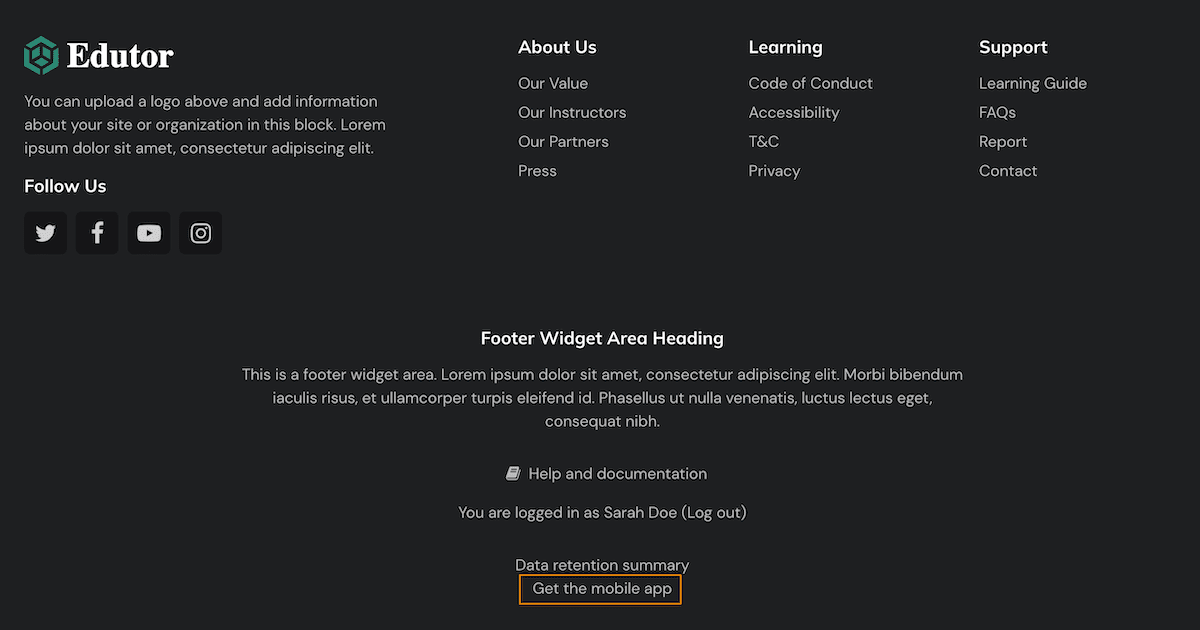
Edutor (Premium Moodle Theme)
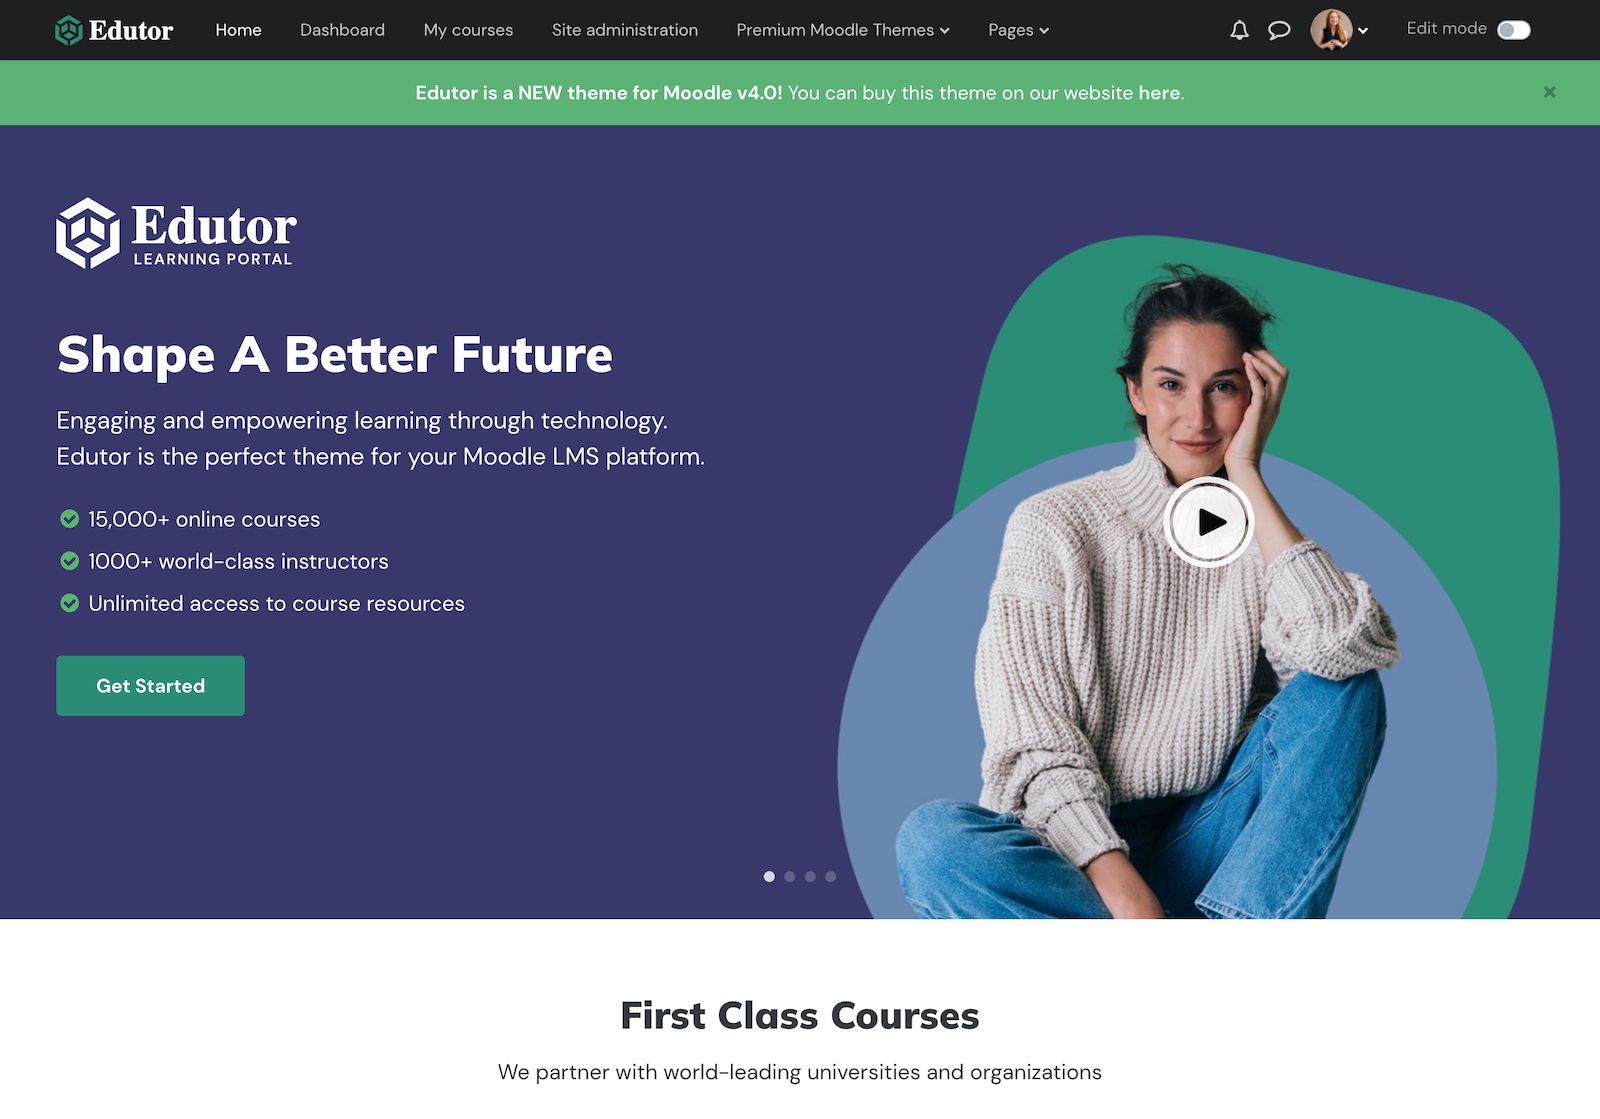
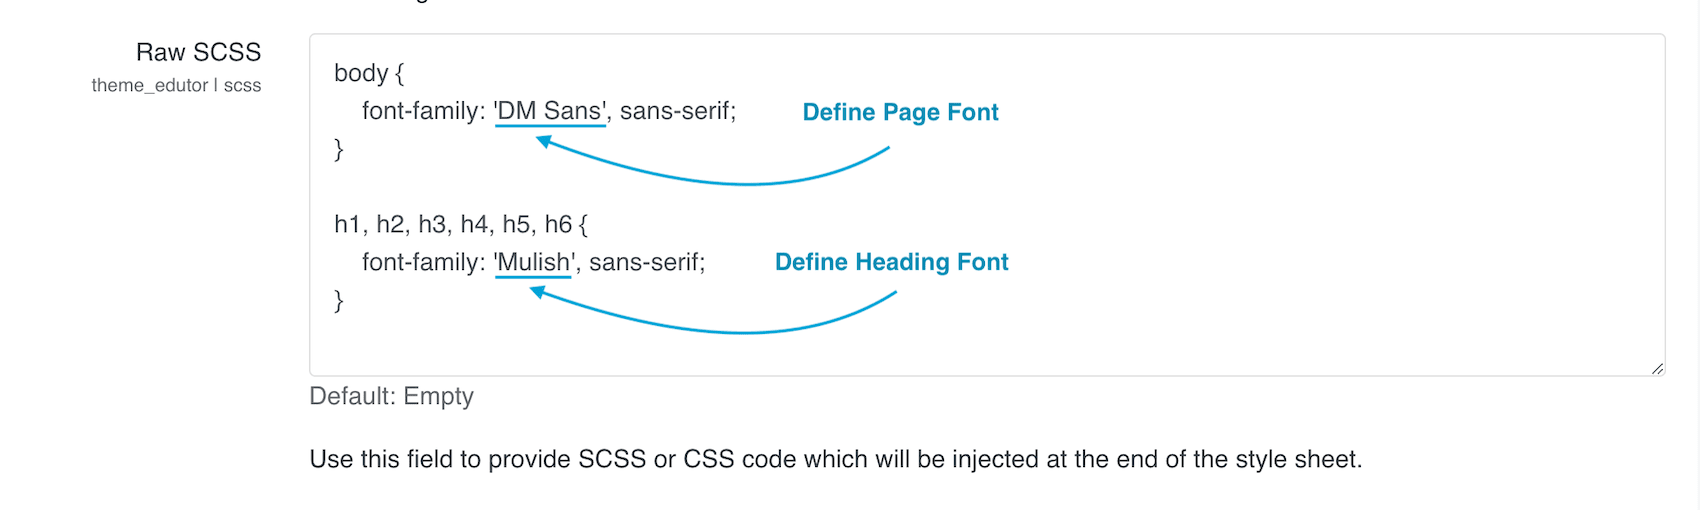
Edutor is a premium Moodle theme now fully compatible with Moodle 5. It’s packed with modern, on-trend design elements and powerful features tailored for higher education and corporate training sites. Built on Moodle’s core Boost theme – now upgraded to Bootstrap 5 in Moodle 5 – Edutor inherits all the latest improvements in UI, UX, and accessibility, making it a future-proof solution for your LMS.
The theme includes 6 professionally designed color schemes to help you get started quickly. You can also fine-tune the color palette, typography, and layout settings via the easy-to-use theme settings panel – perfect for aligning your Moodle site with your institution’s or brand’s visual identity.
Instead of hiring a design agency and spending tens of thousands on custom development, Edutor lets you create a sleek, branded learning portal at a fraction of the cost. Plus, it comes with a 30-day money-back guarantee – so you can try it risk-free. If it doesn’t fit your needs, just reach out for a full refund – no questions asked.
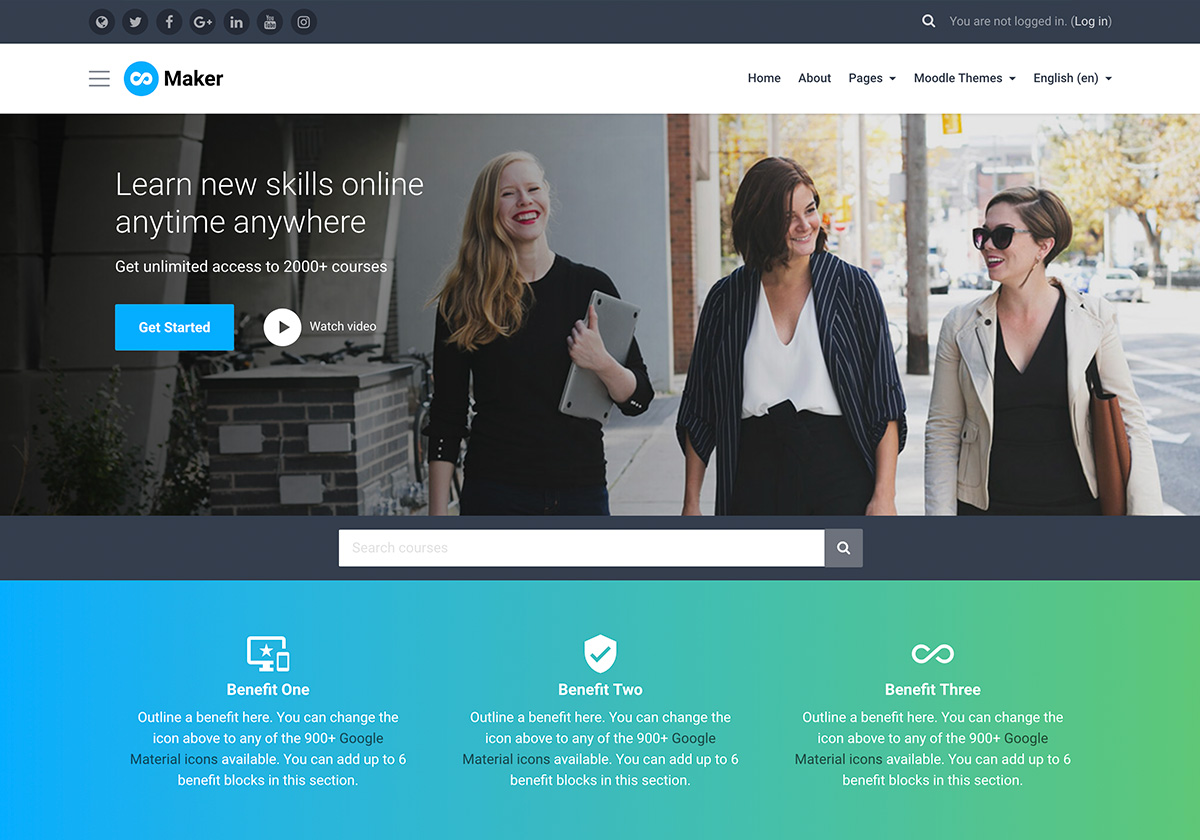
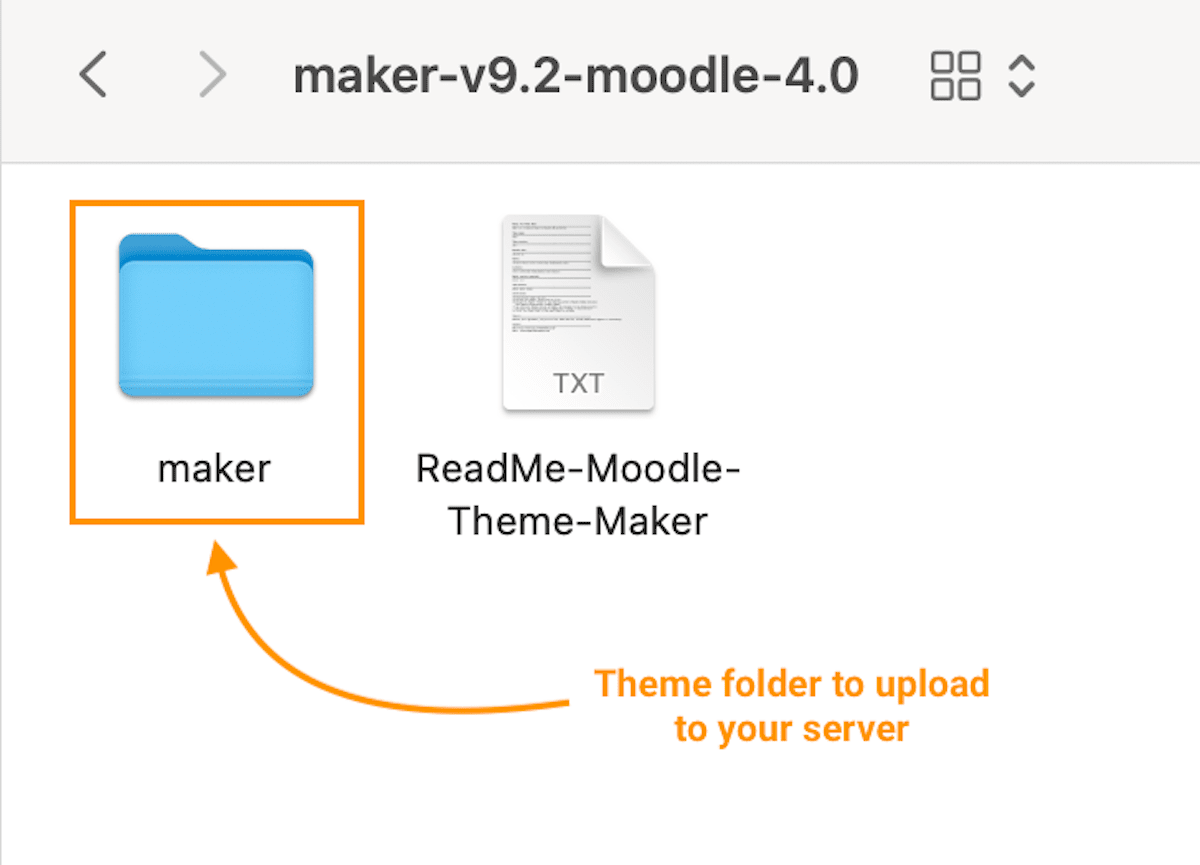
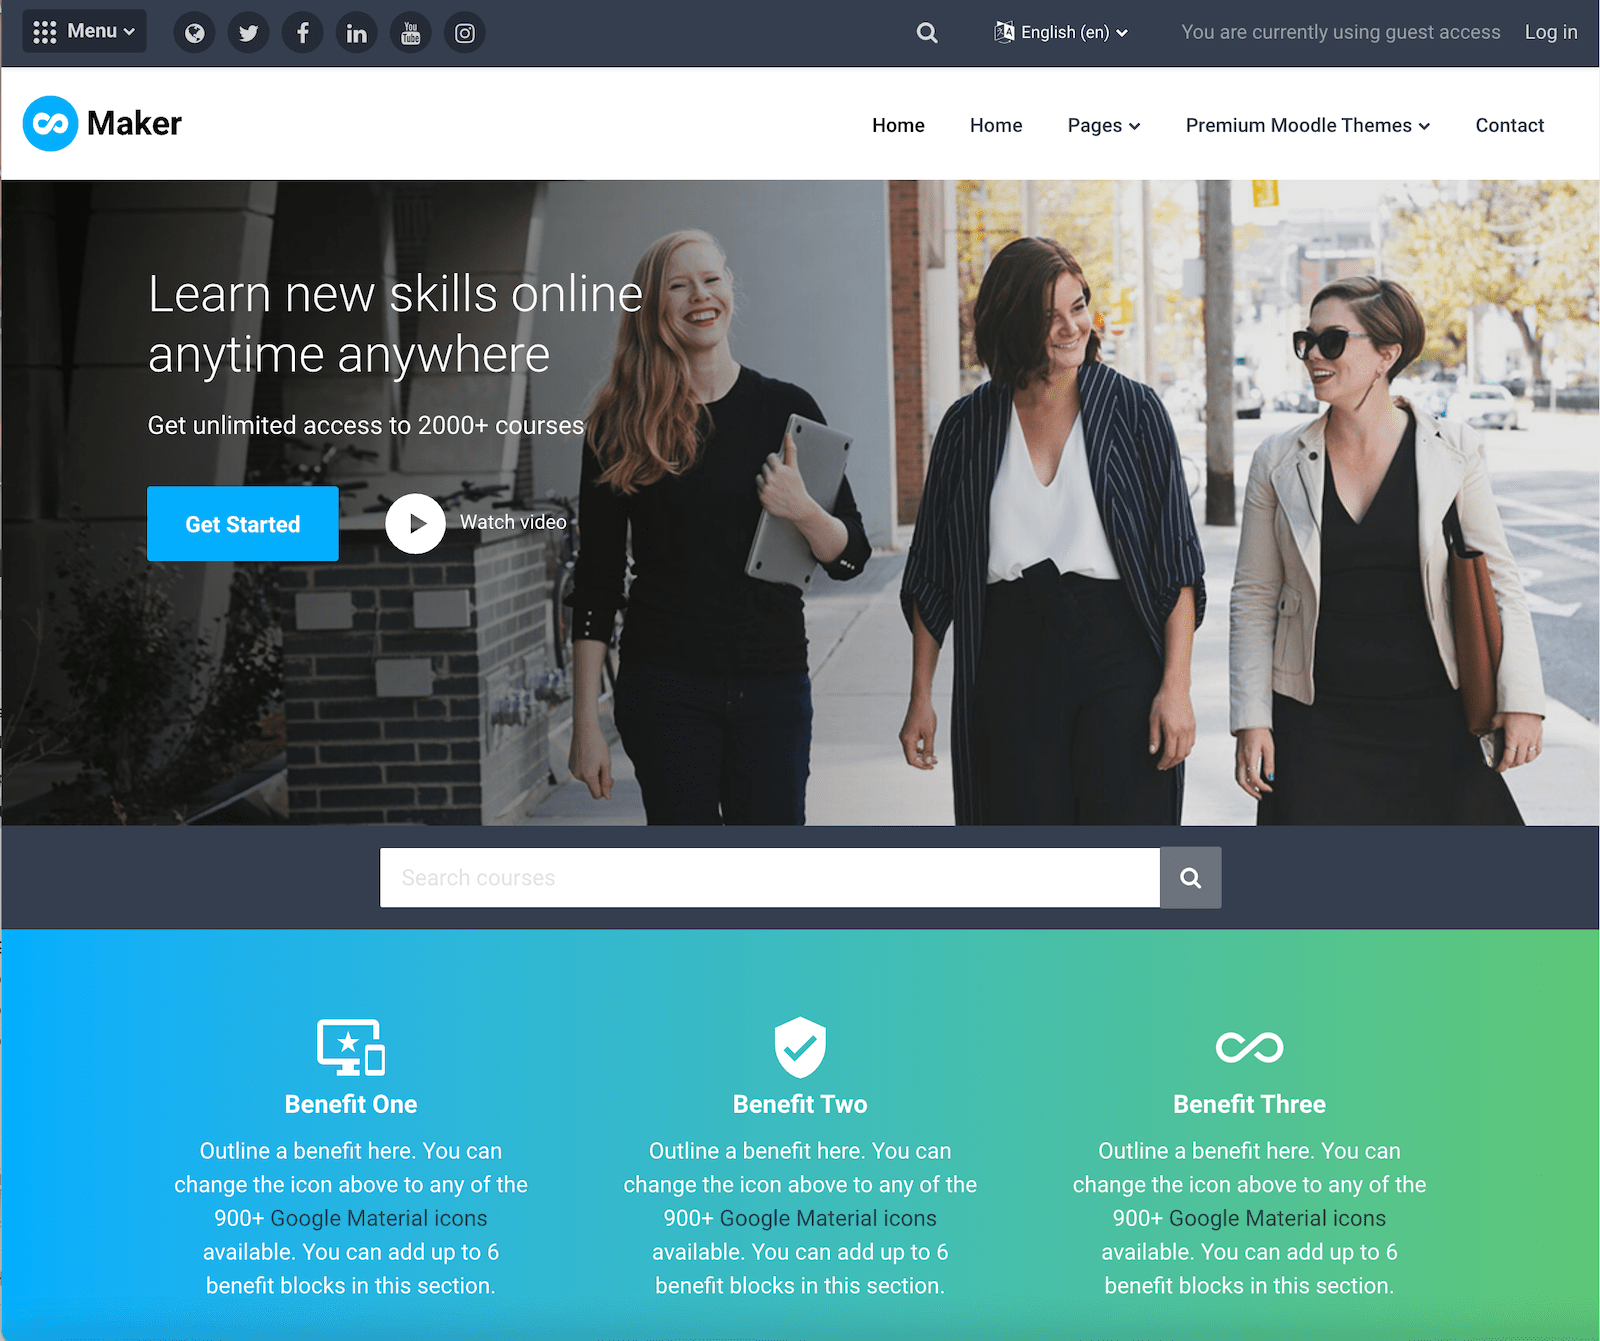
Maker Theme (Premium Moodle Theme)
Live Demo Theme Details
Maker is the best-selling boost-based Moodle theme since Moodle 3.x and it has now been upgraded to be compatible with Moodle 4.0+. This theme has been widely implemented by higher education and small to medium sized business training sites – you can read all the customer reviews on the theme details page.
Like the Edutor theme, Maker theme has a 30-day money back guarantee so it’s risk free to try it out before spending your budget.
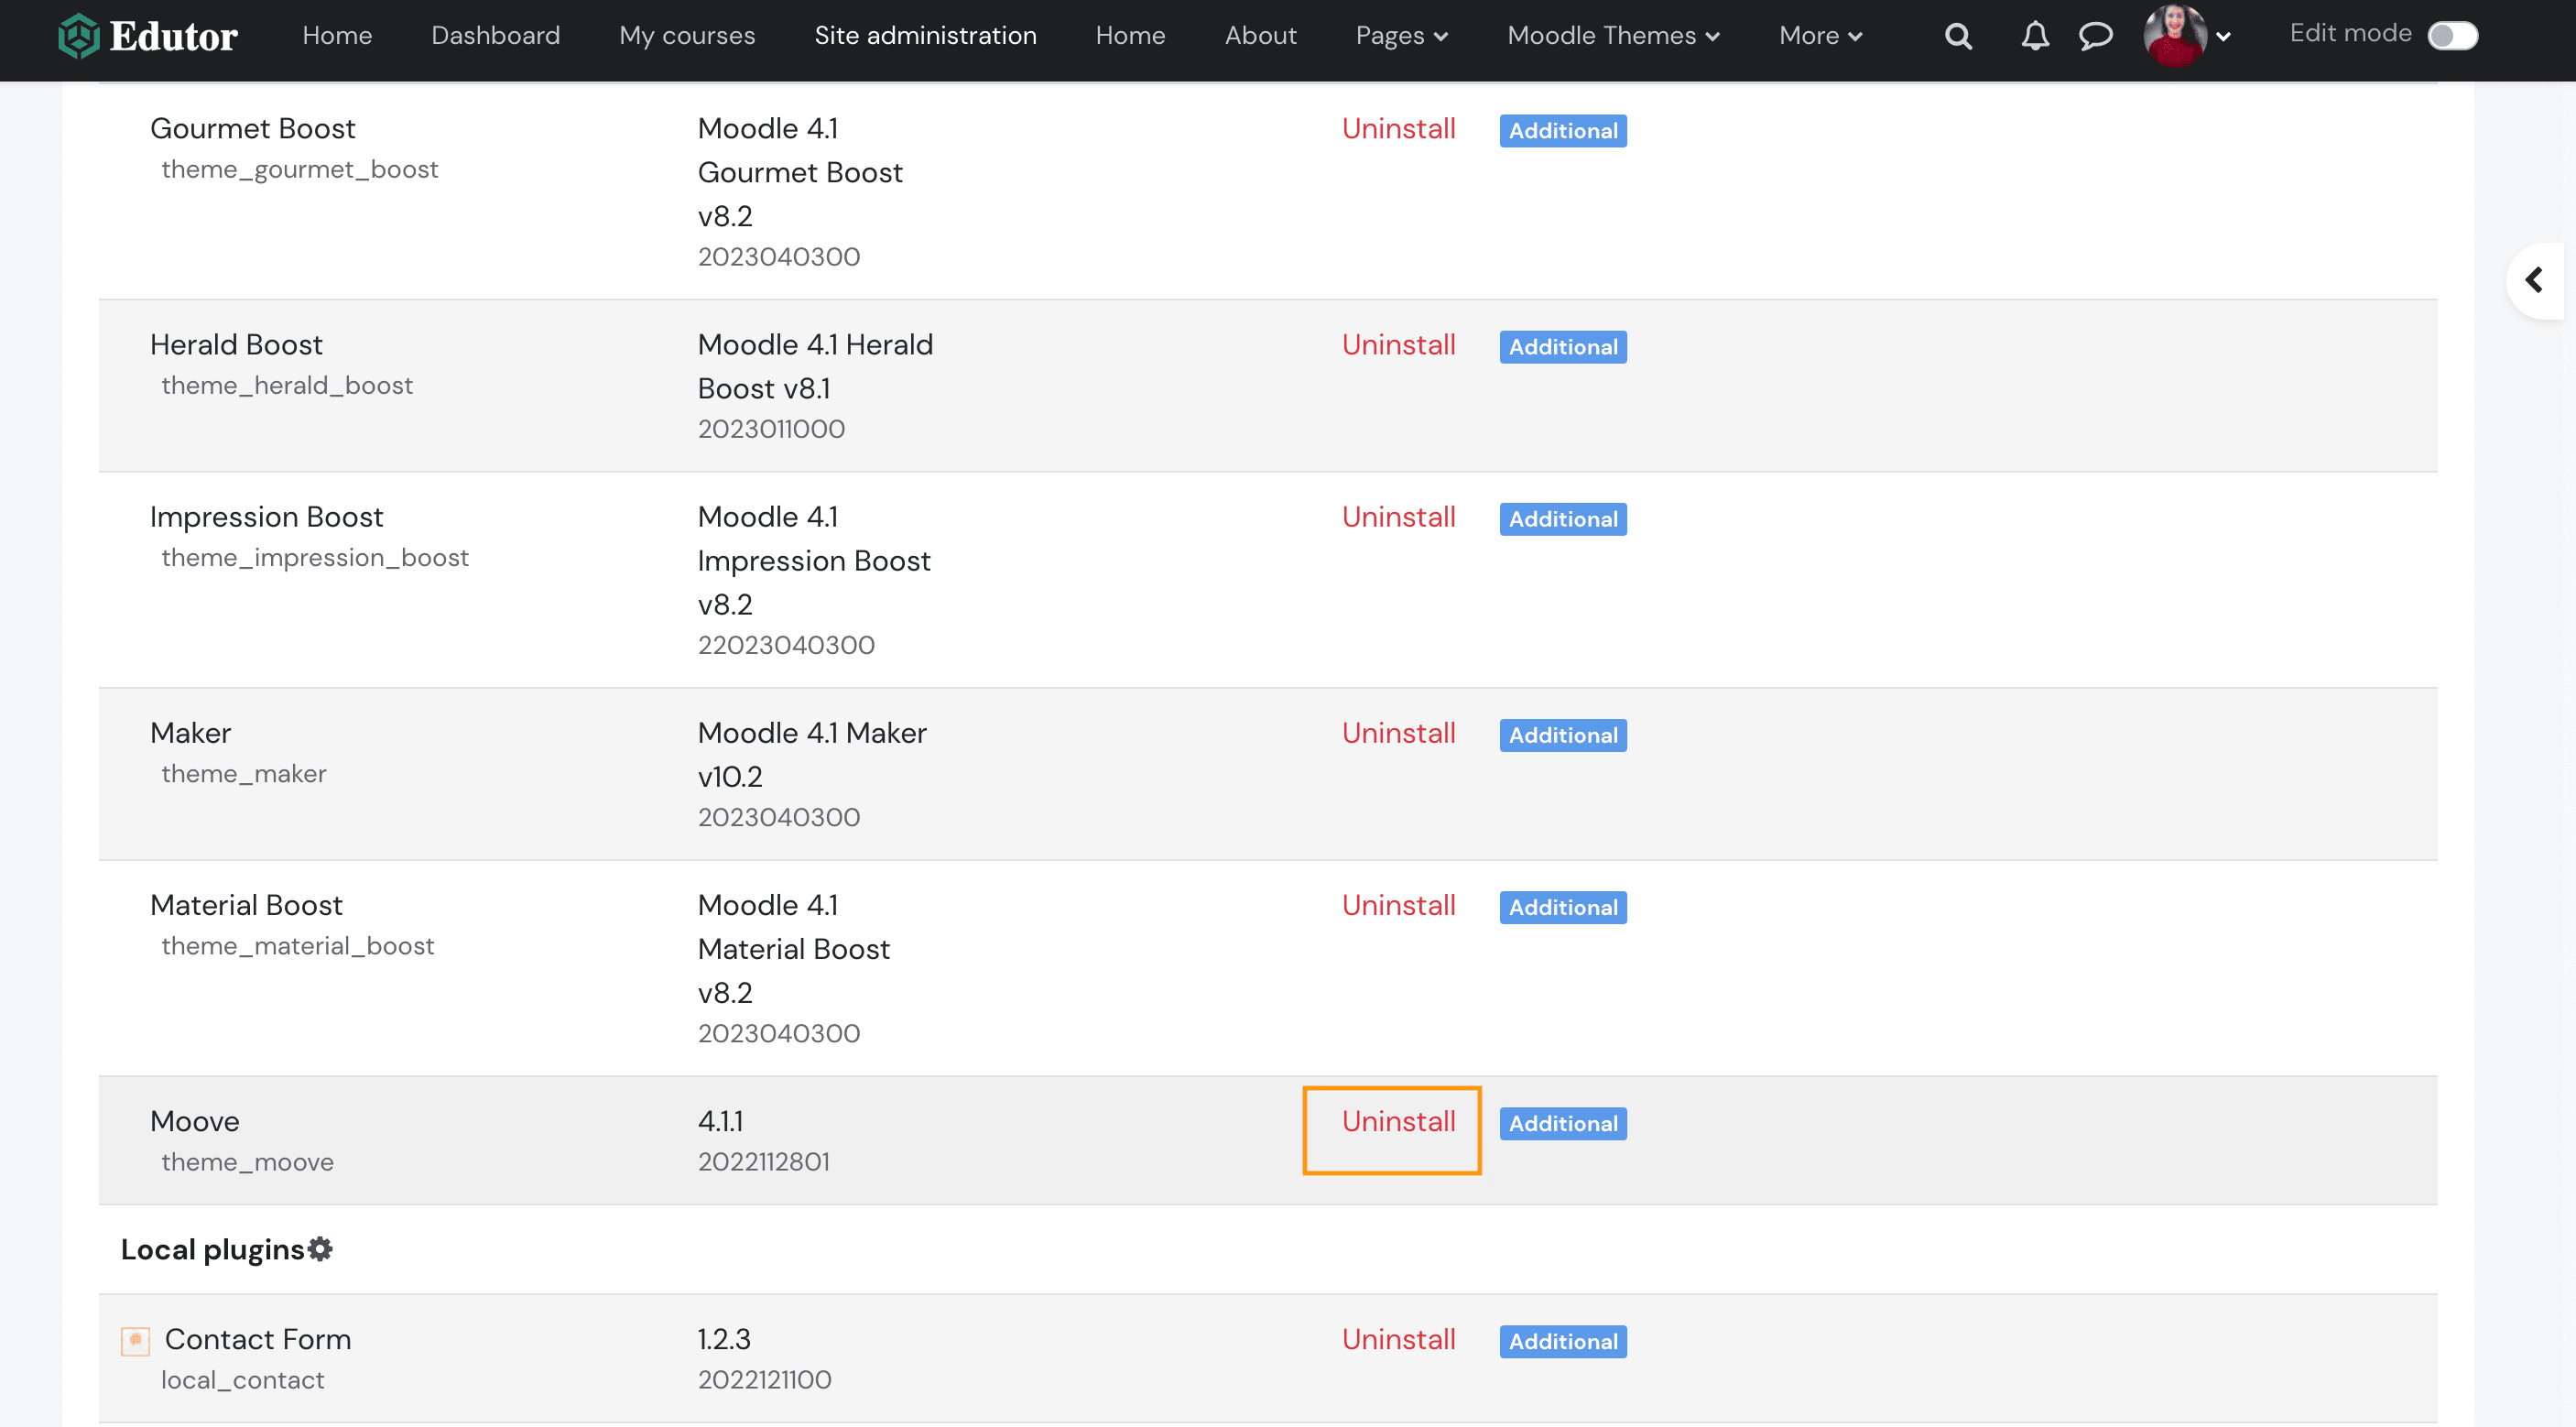
Moove (FREE Moodle theme)
Moove is a popular free Moodle theme that continues to be a favorite in the Moodle community. Its Moodle 5 version brings a clean, modern, and streamlined design that aligns with the latest UI and UX standards.
Built on top of Moodle’s core Boost theme, Moove takes advantage of the newest features and improvements in Moodle 5, including the switch to Bootstrap 5. The theme offers a user-friendly experience and a visually polished interface, making it a solid choice for both educational institutions and training providers.
Live Demo Theme Details
Adaptable (FREE Moodle theme)
Adaptable is a long-standing and widely used free Moodle theme, trusted by thousands of Moodle sites worldwide. Known for its extensive configurability, it’s the go-to choice for anyone looking for a free theme with maximum flexibility and control.
With a vast array of settings, Adaptable gives site admins the power to customize almost every aspect of the theme — from layout and colors to typography and homepage blocks. If you’re willing to invest some time, you can tailor the theme to perfectly fit your Moodle site without spending a penny.
Adaptable is currently available for Moodle 4.x, offering full support for sites running that version. However, at the time of writing, it has not yet been updated for Moodle 5. If you’re planning to upgrade, it’s worth monitoring the theme’s development updates or considering alternatives that are already Moodle 5 compatible.
Live Demo Theme Details