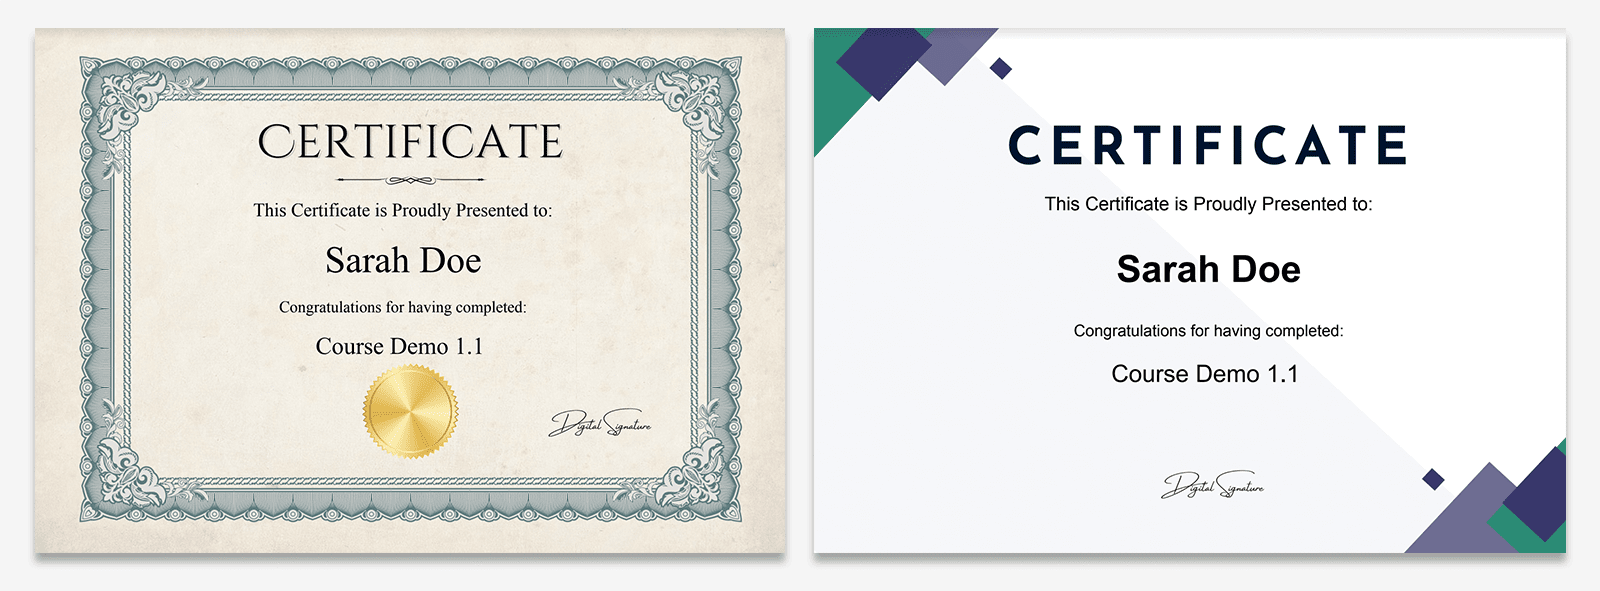
Are you running a training course on Moodle? Do you want to issue digital course certificates to students for completing your course or for simply participating? In this tutorial we will show you how to dynamically generate a PDF certificate right inside of a Moodle course.
All the screenshots and screencasts in this tutorial were taken from our Moodle demo site and you can view the example certificates by logging into the demo site as a student.
Live Demo
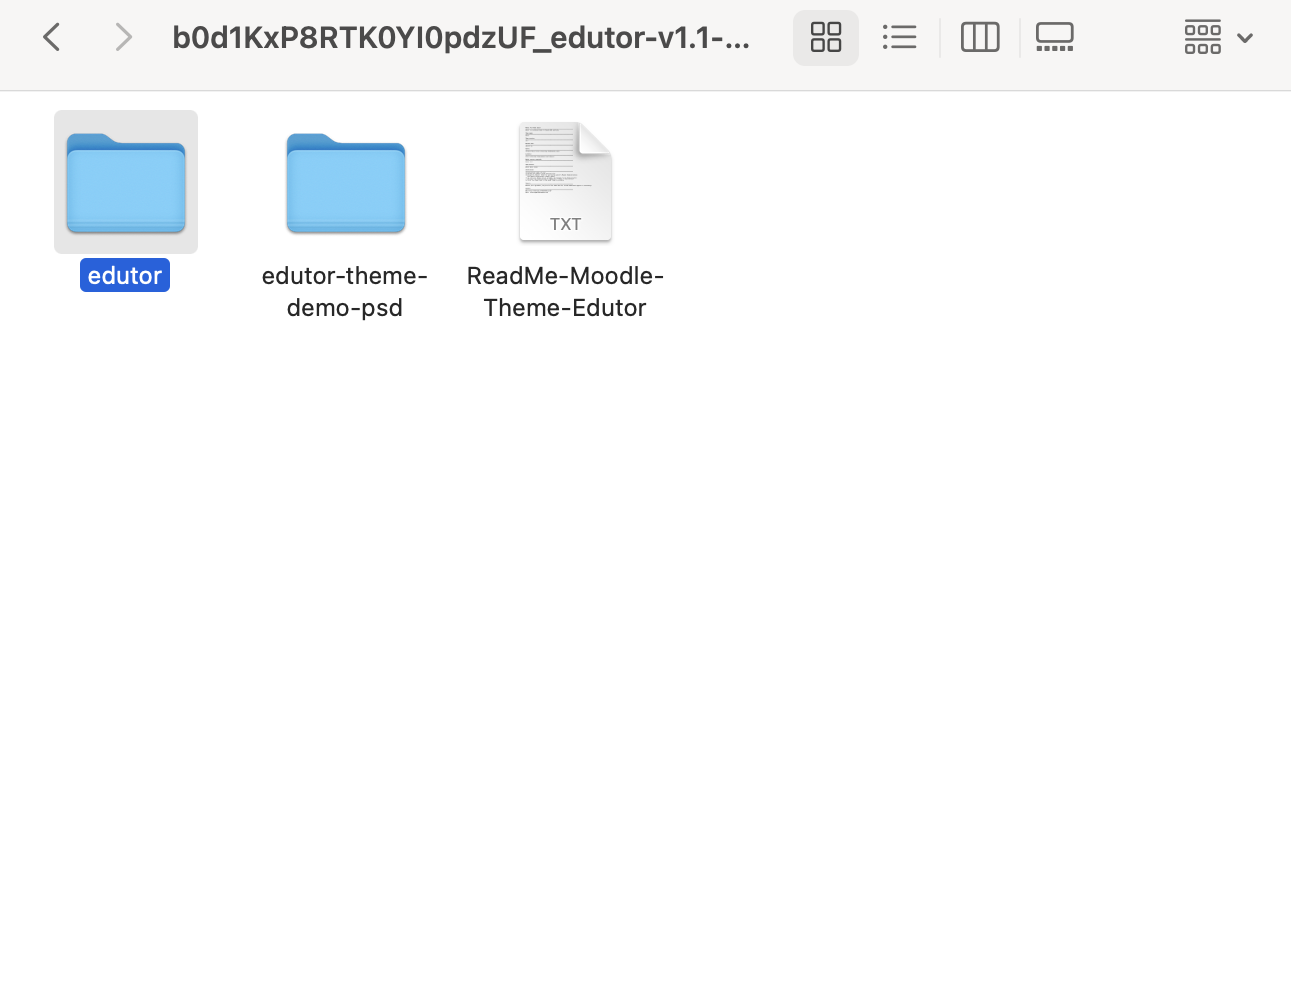
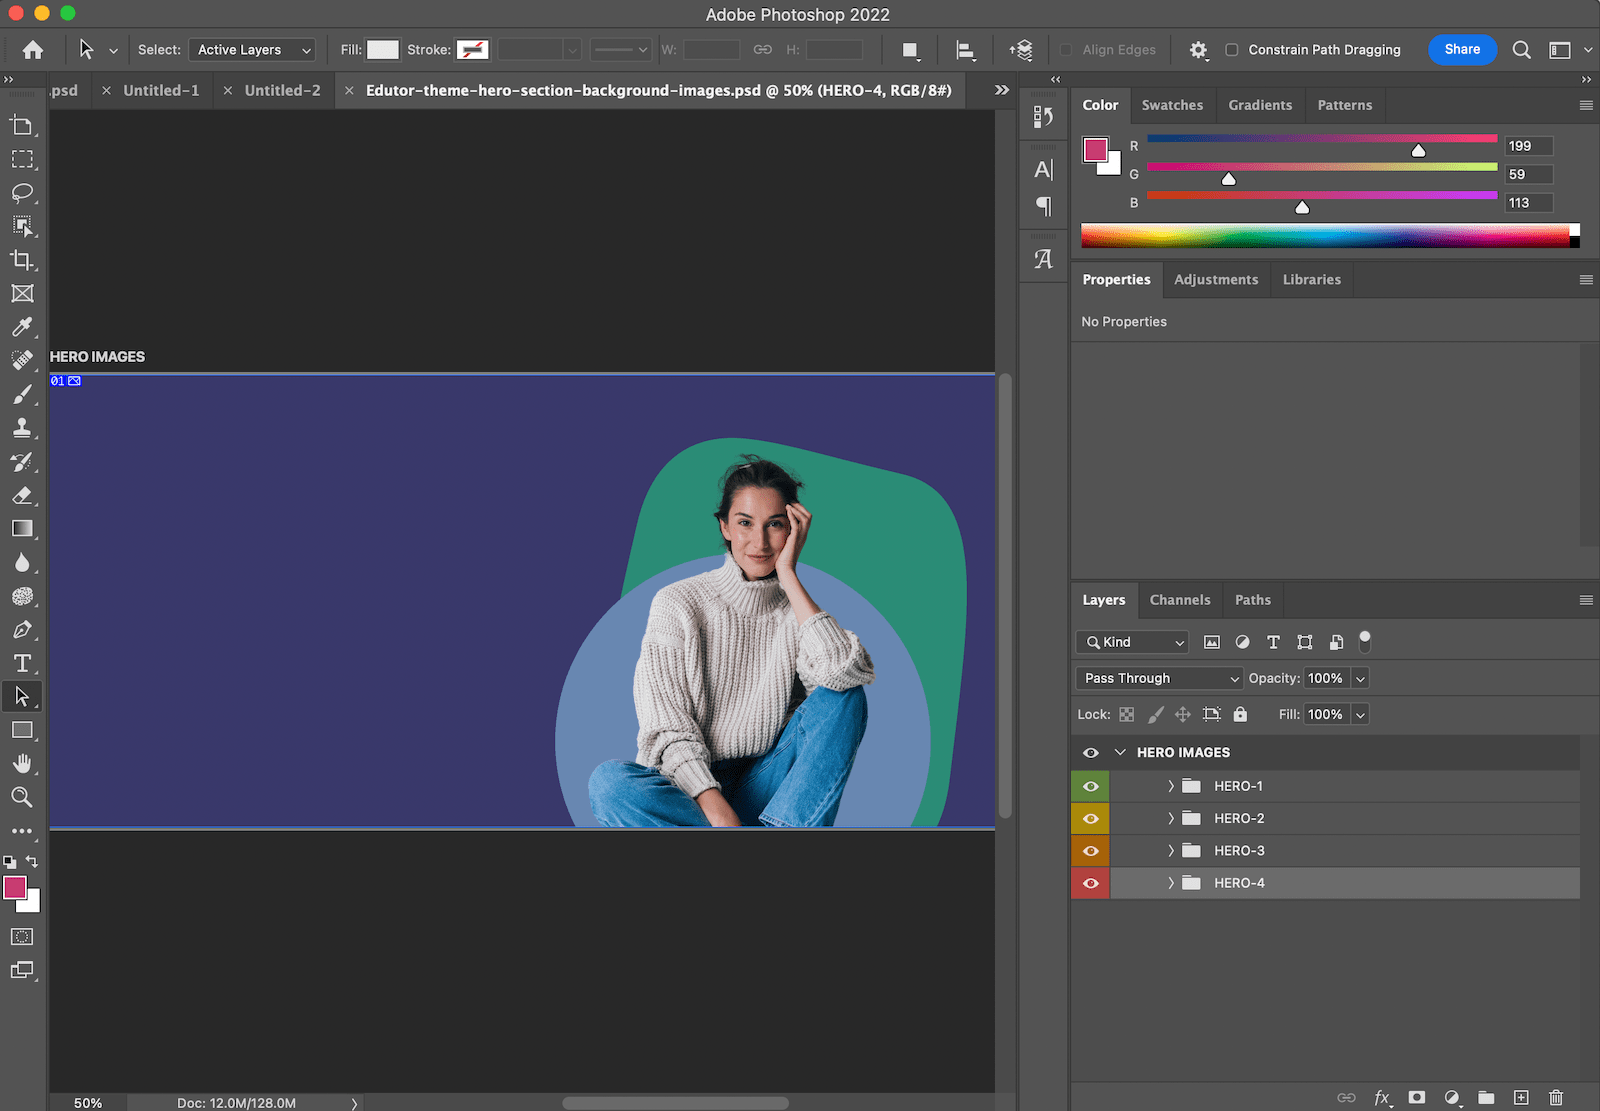
Certificate Images Download:
You can download the certificate background images we used in the example below:
Free Download (14457 downloads)
Step 1
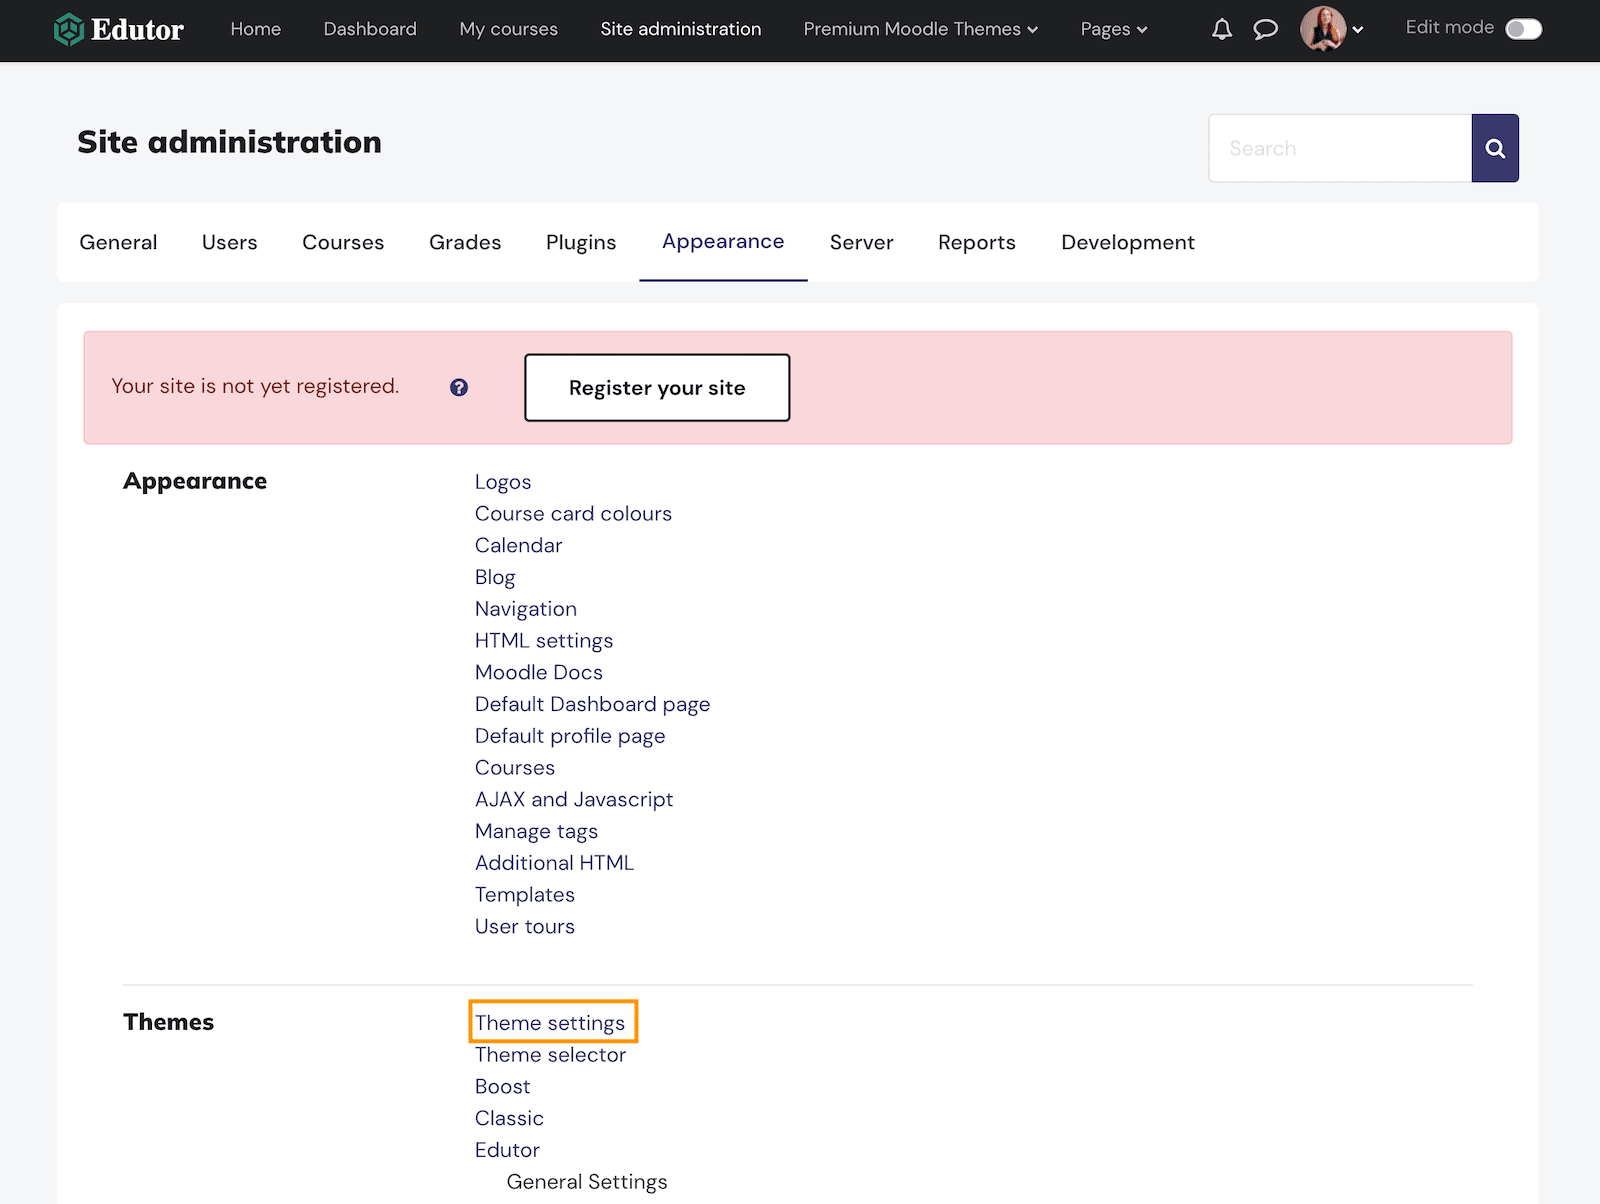
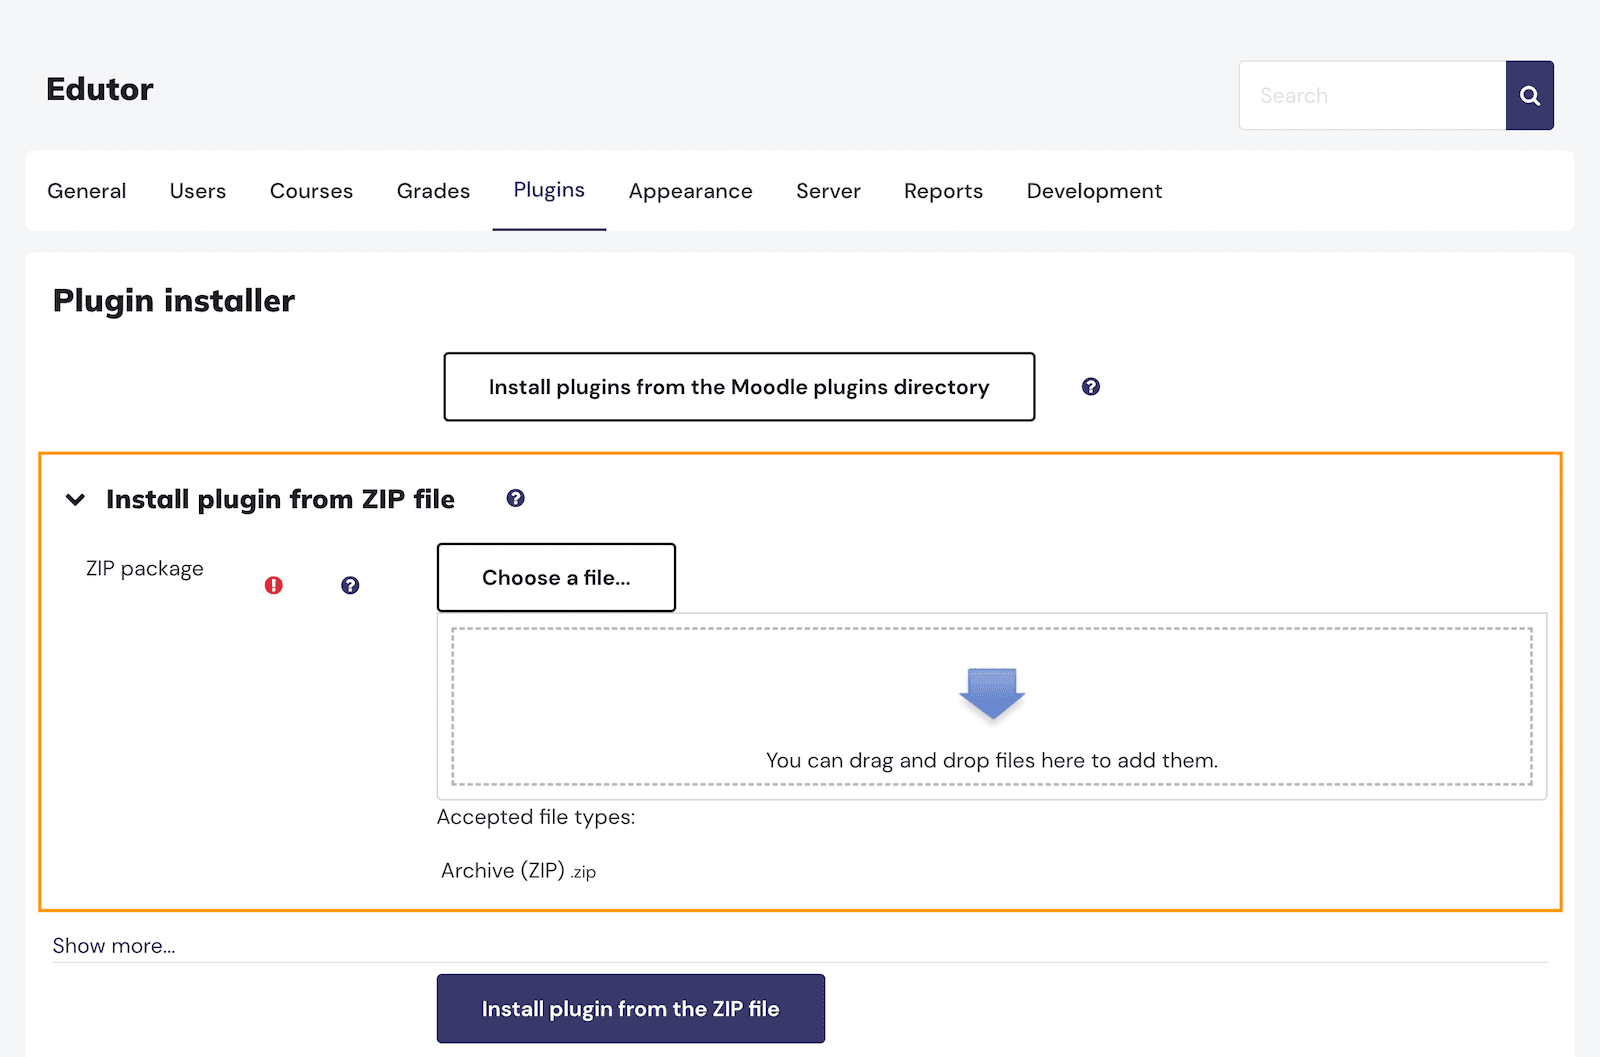
Download Moodle’s free plugin “Custom Certificate”. To install the plugin from the downloaded zip file, you need to log in to your Moodle site as a site admin and go to the “Install Plugin” page: Site administration > Plugins > Install Plugins.
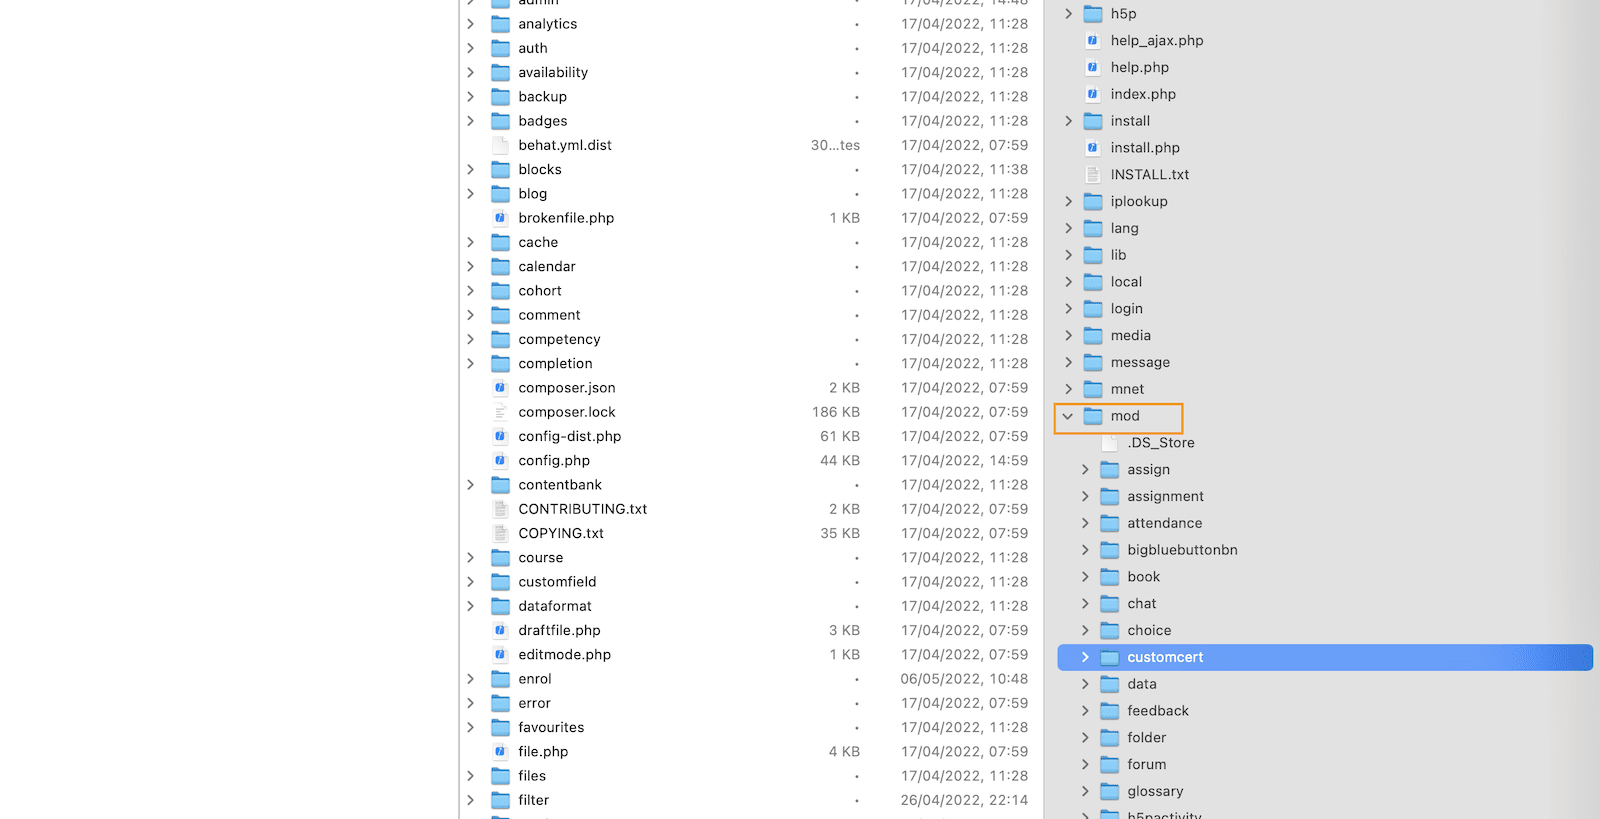
Alternatively, you can ask your IT support to upload the uncompressed plugin folder “customcert” to the site server. The correct path on the server is: Your Moodle site > mod > customcert
Step 2
Go to your desired Moodle course and add a “Custom Certificate” activity as shown in the screencast below.
Step 3
After adding the certificate click the “Save and display” button. Now you can start customising your certificate by clicking the “Edit Certificate” tab in the tabbed course nav bar.

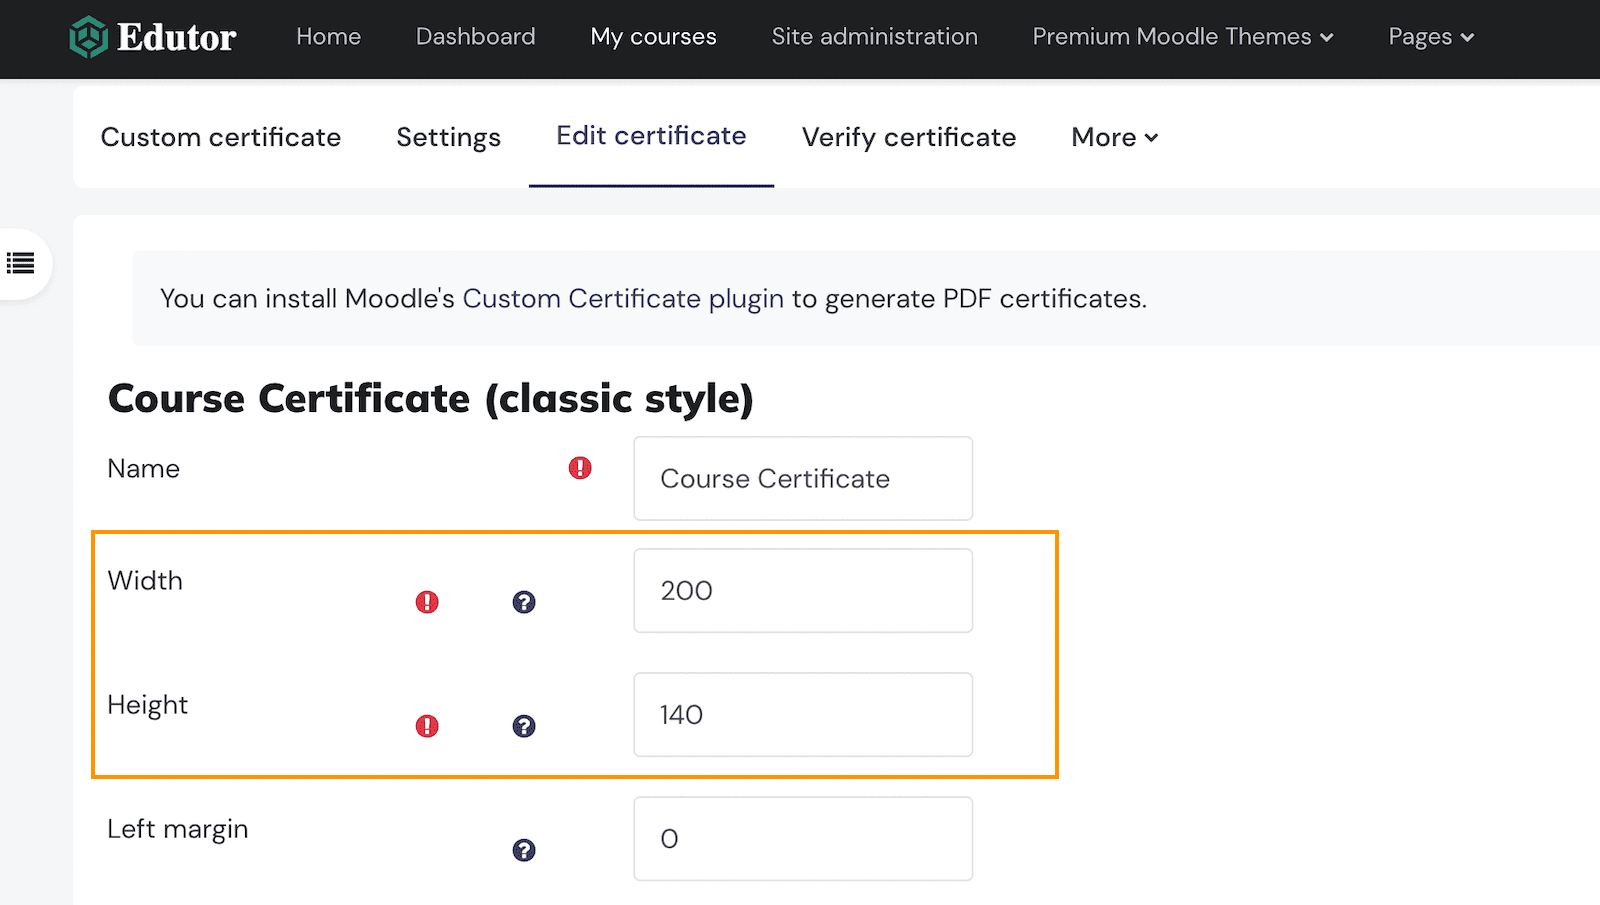
You need to set the width and height of the certificate. If you’re going to use a background for the certificate design, you need to make sure the aspect ratio of the width and height value is the same as your background image’s ratio. Otherwise your background image will look distorted. To work with the certificate background images we want to use, we set the width as 200mm and height as 140mm in the settings page (see figure below).
Step 4
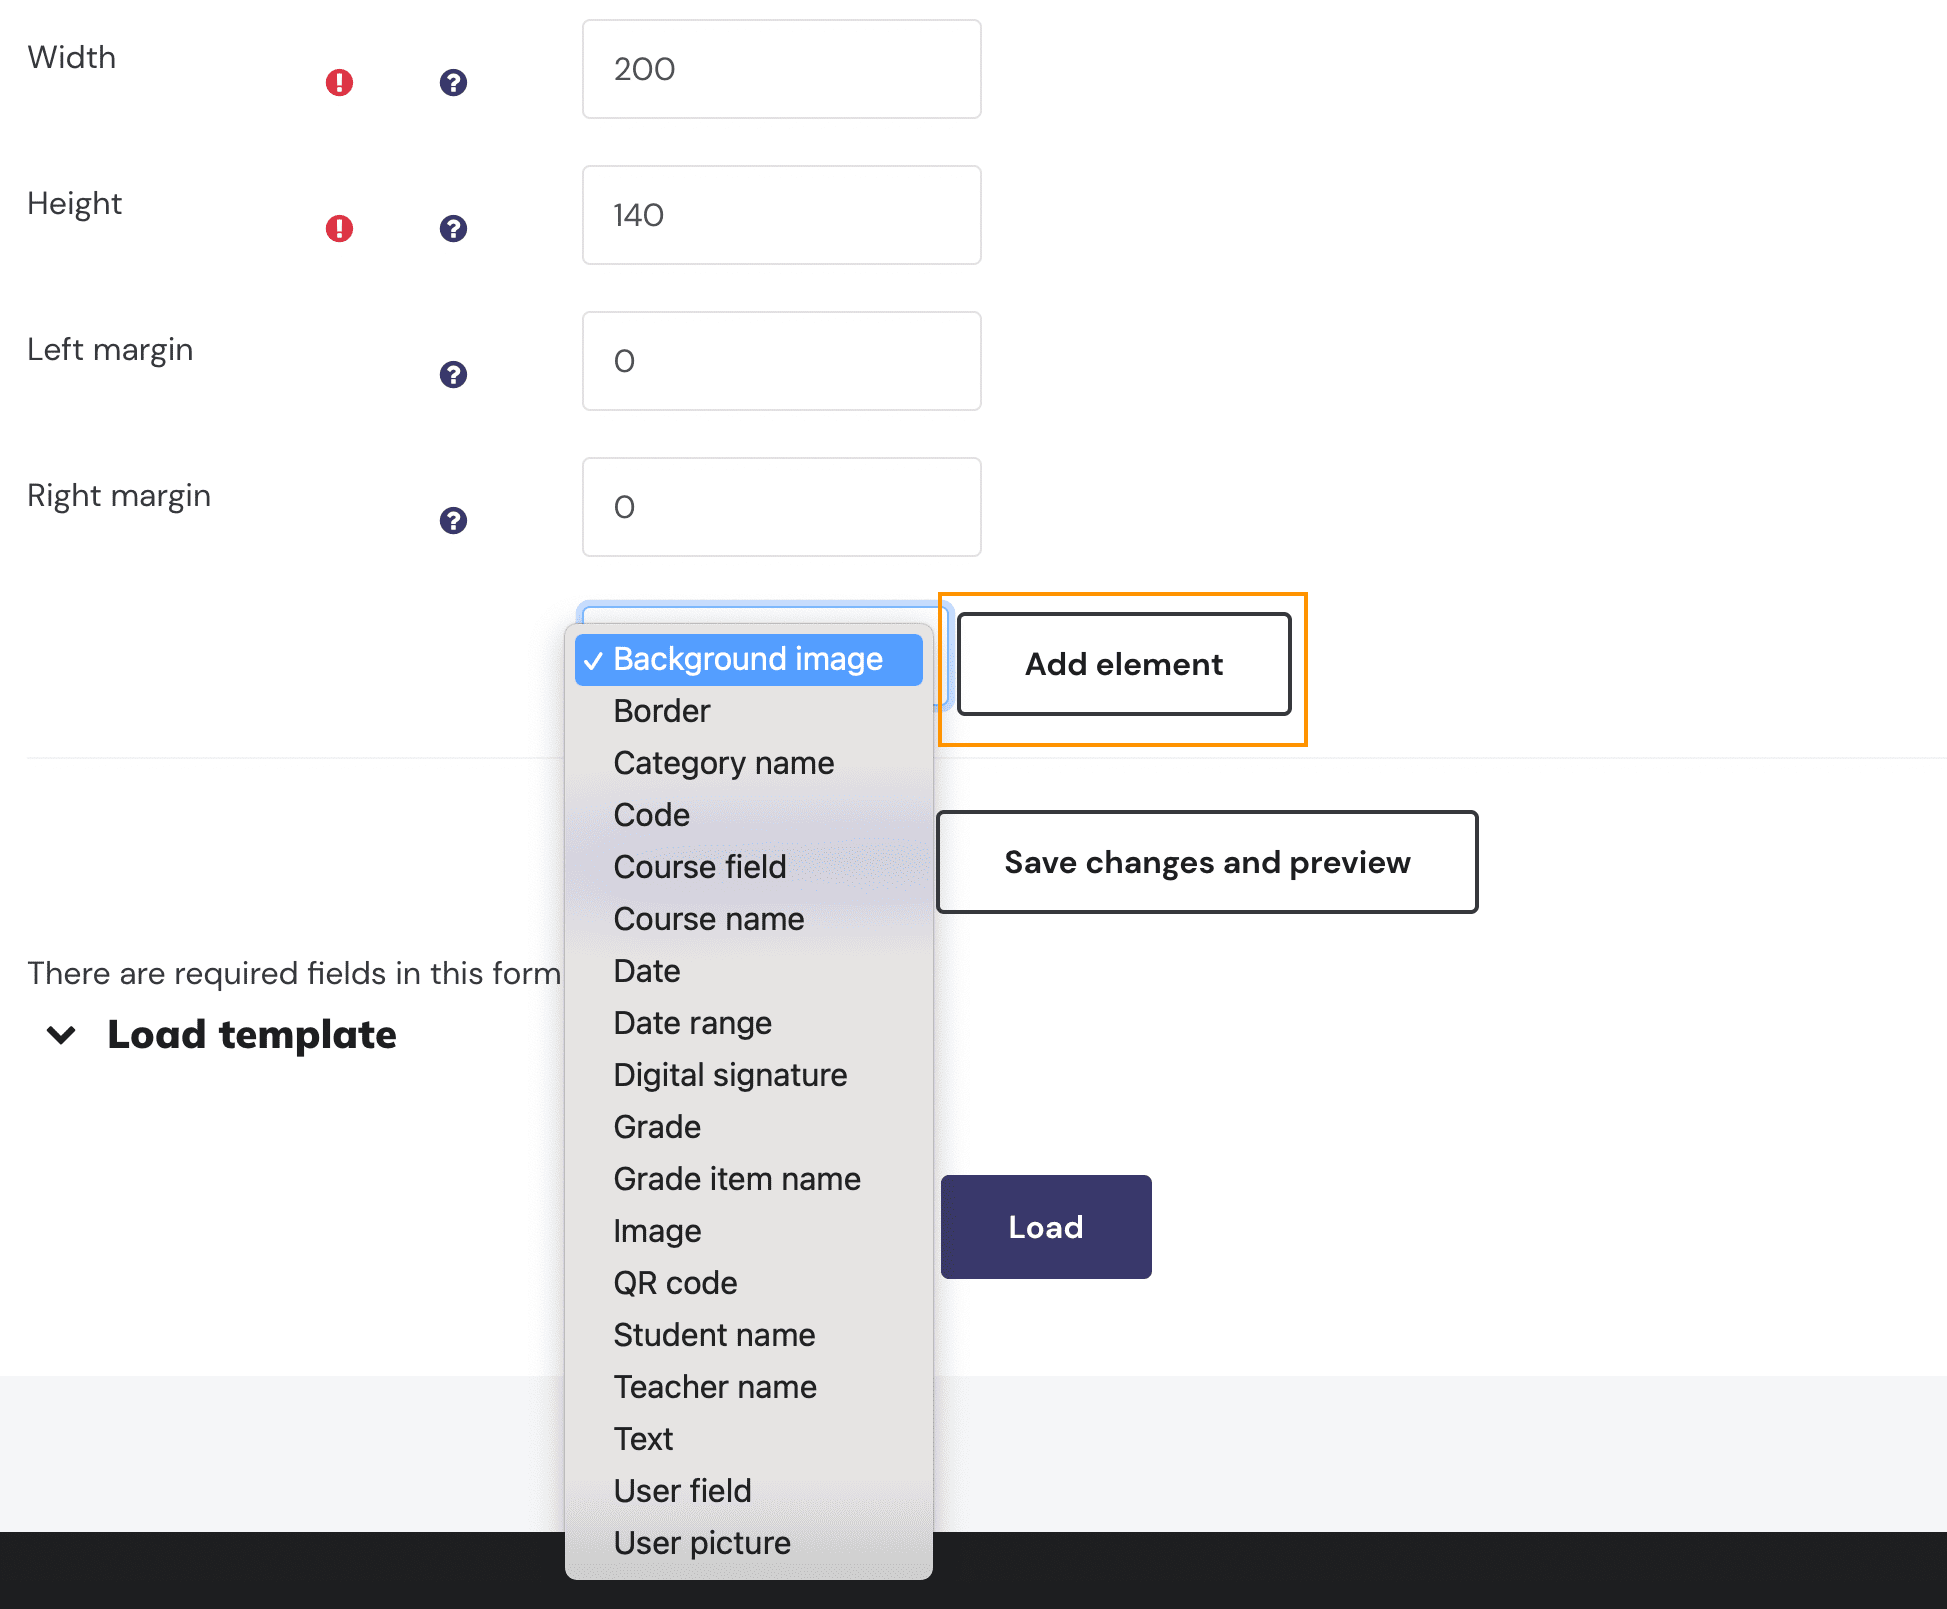
Now you can start designing and customising your certificate by adding static and dynamic elements (eg. background image, student name, course name, text etc).
List of elements you can add to the certificate:
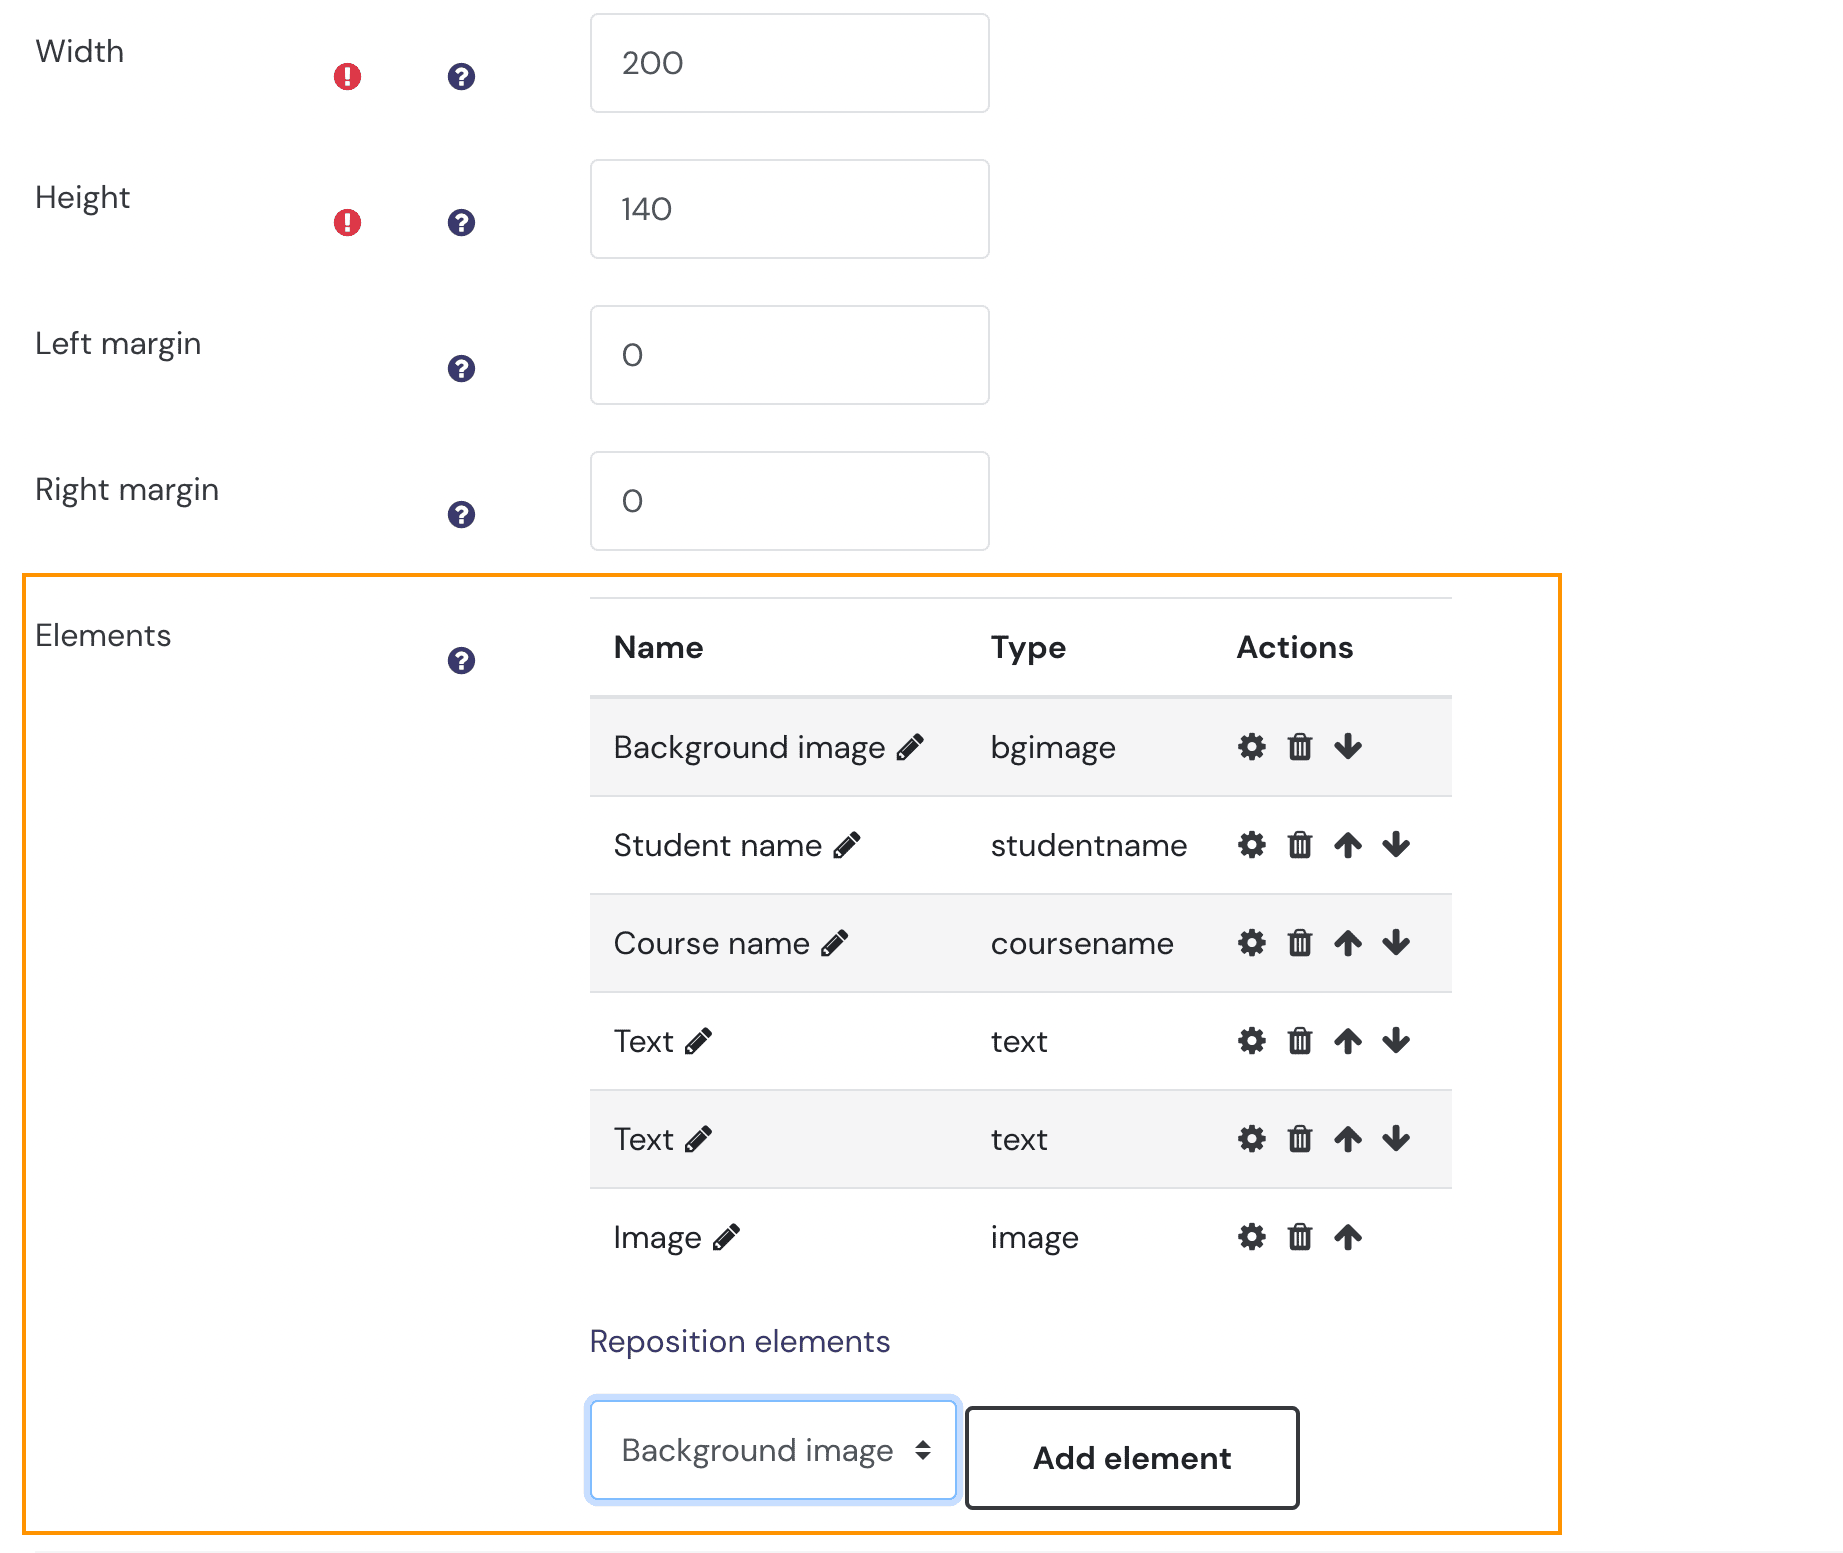
After adding the elements:
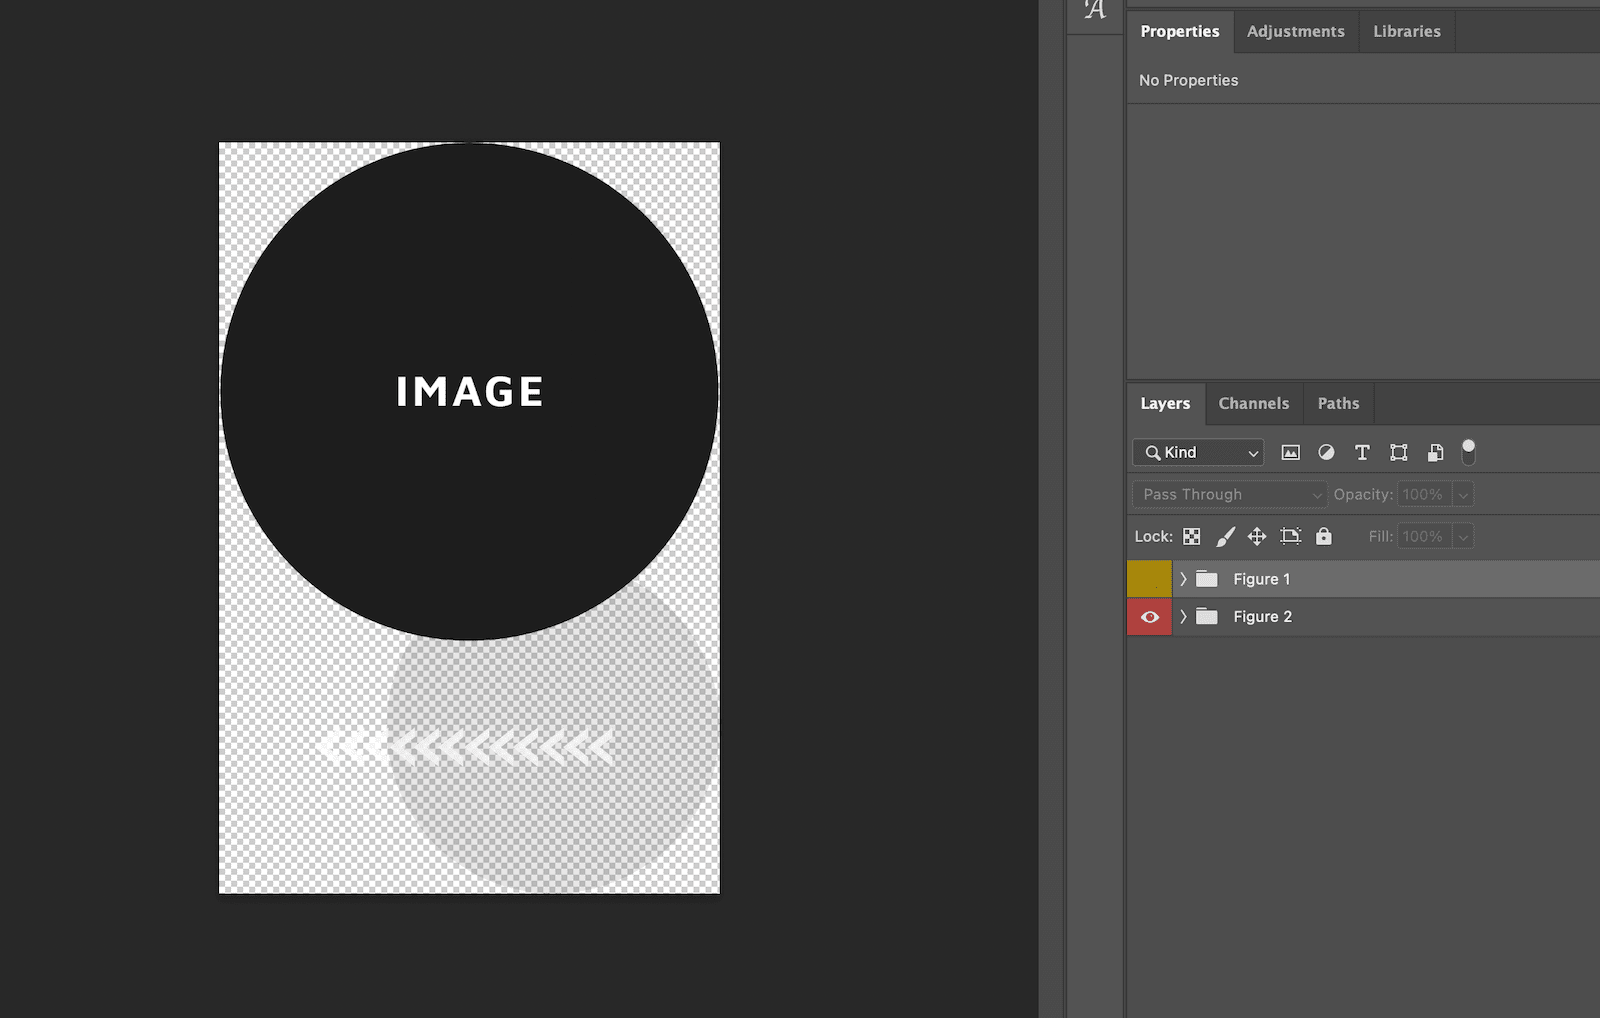
Note: You should add a background image first so other elements are layered on top of it.
Add background image:
Note: you must upload an image first, save it then go back to select the uploaded image in the “Image” dropdown menu as shown below.
Add student name (dynamic value):
Add text (static):
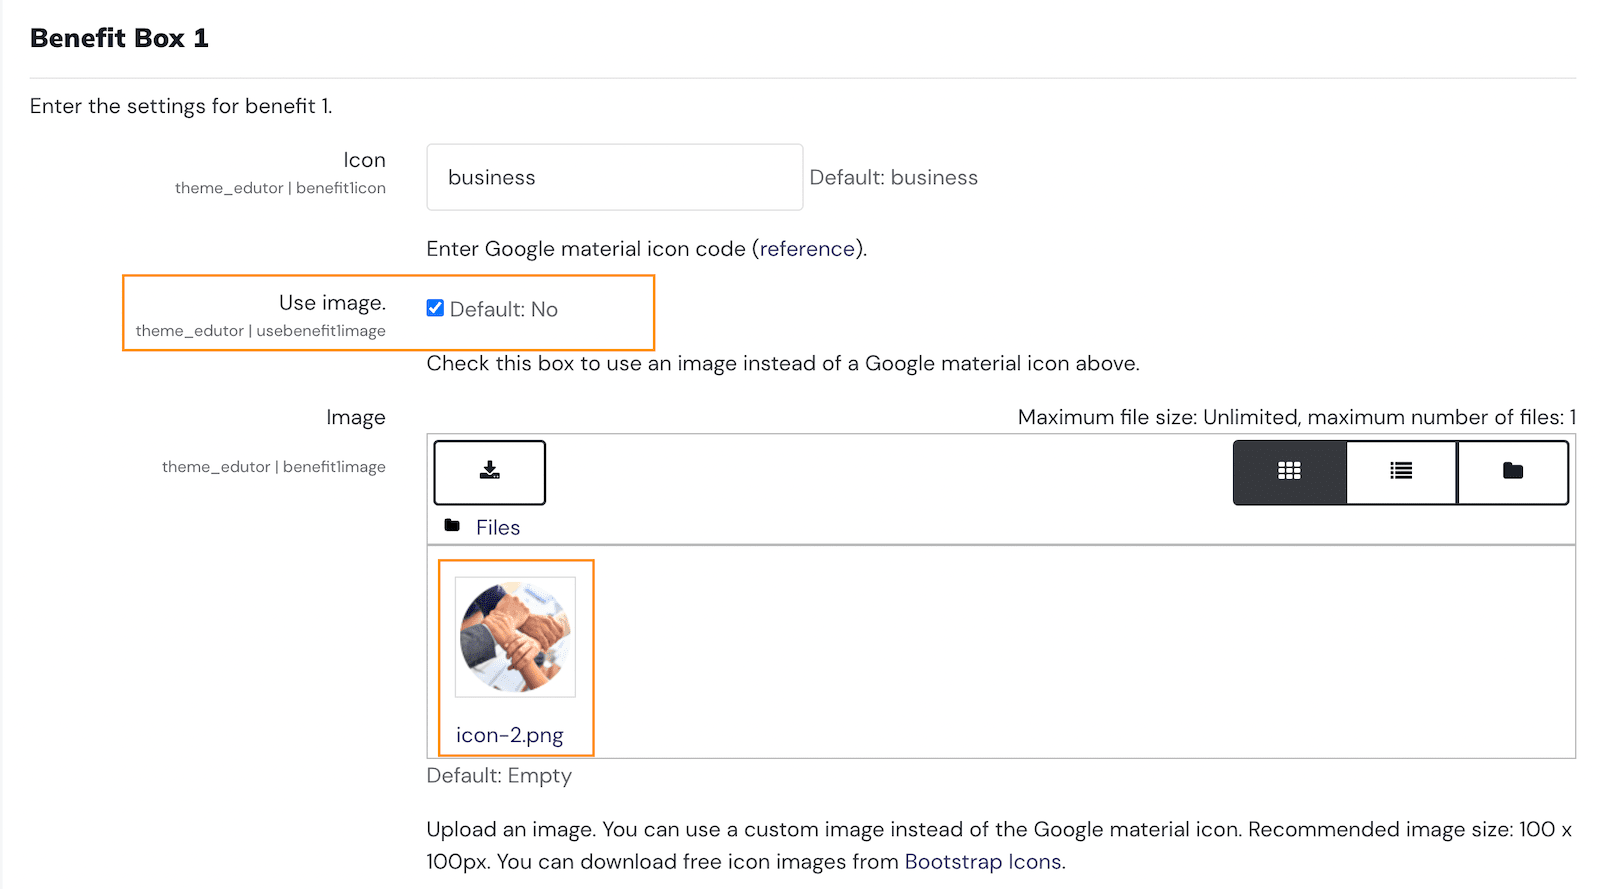
Add image:
Change design:
You can change the design of the added elements in the “Reposition elements” page as shown in the screencast below.

Step 5
Click the “Save and preview” button to save your changes and preview the generated PDF certificate.
Once you’re happy about the certificate design you can then go back to the activity settings page and configure “Restrict access” so you can issue students certificates based on certain criteria.
Certificate restrictions:
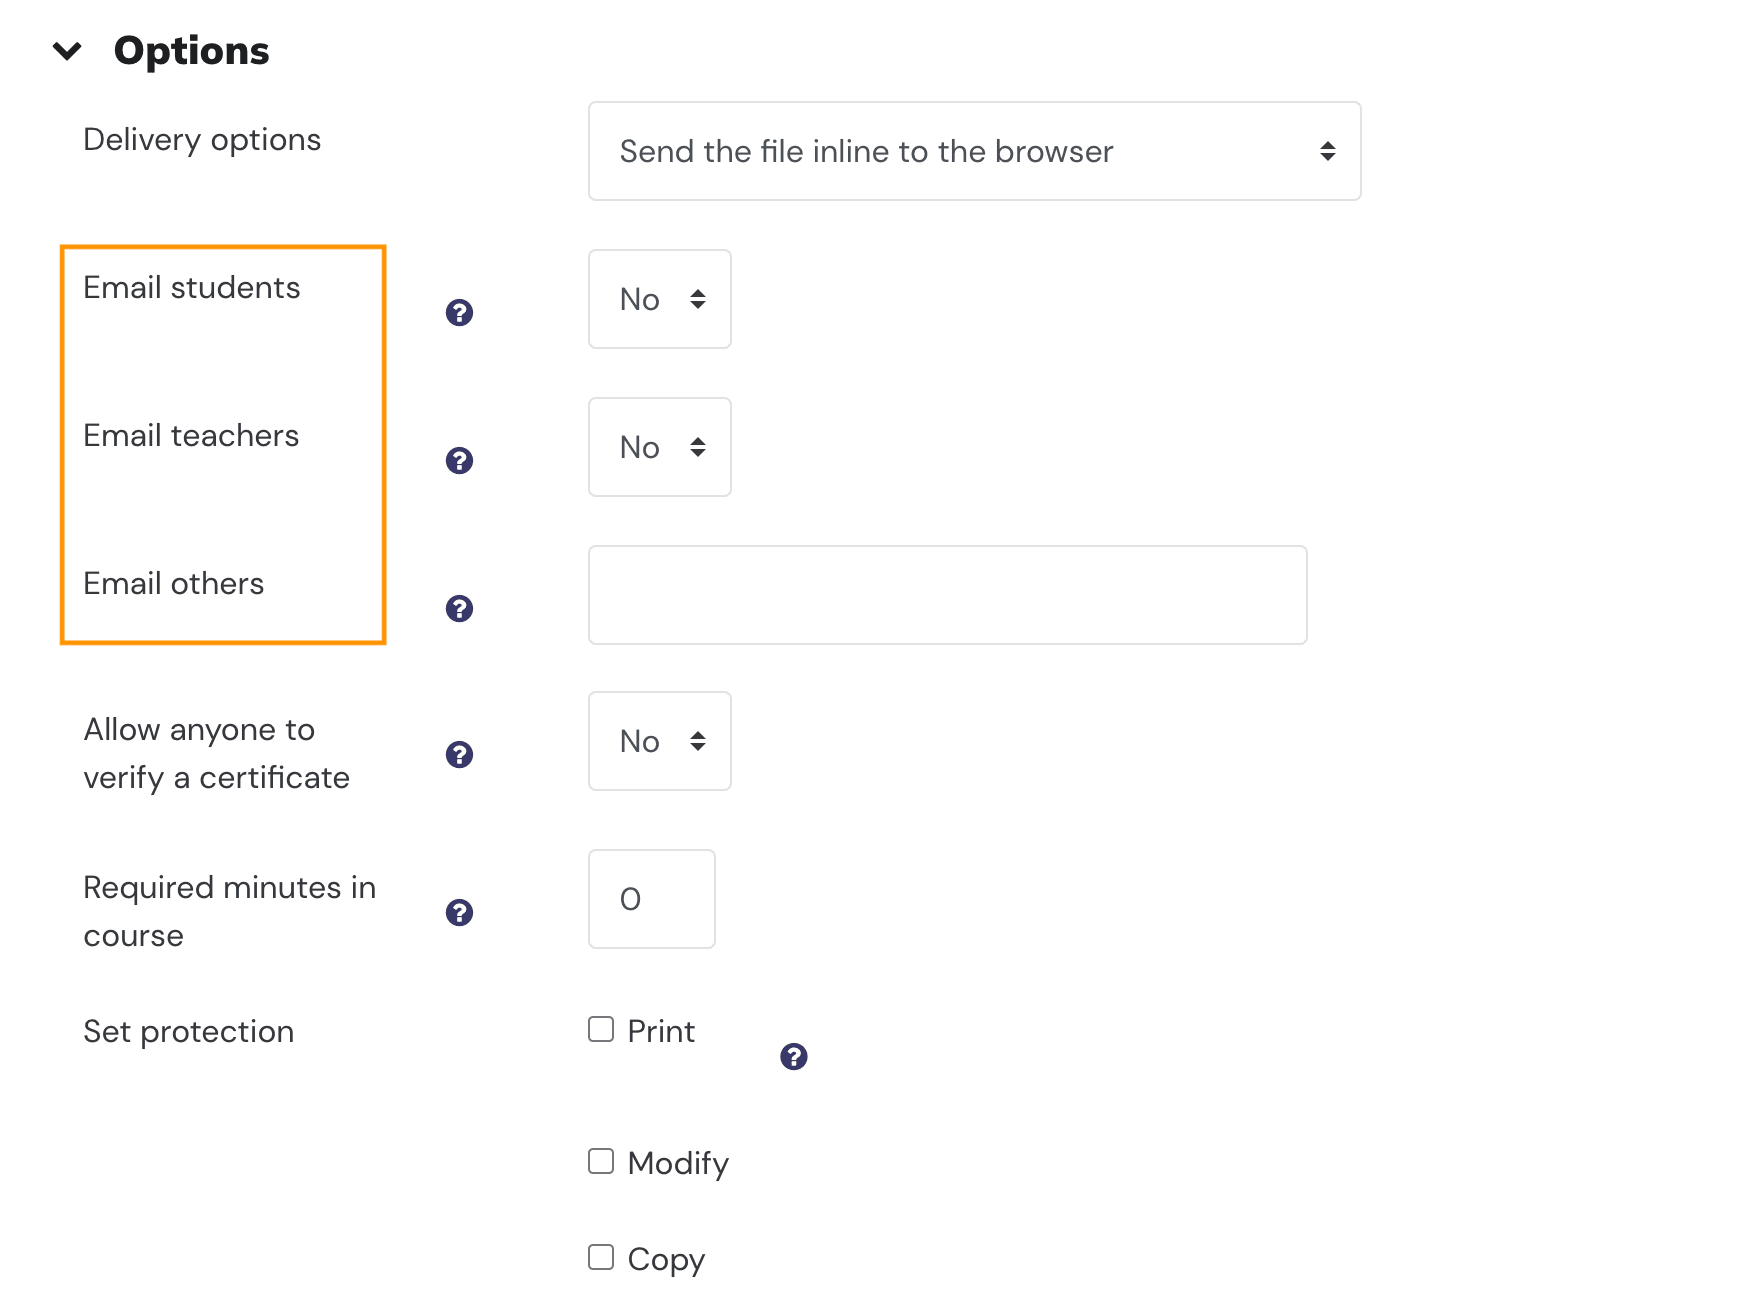
If you want Moodle to email your students copies of their available certificates automatically, please make sure you only set the email settings to “Yes” after you have completed creating the certificate in Step 4. Otherwise your students might receive incomplete certificates.
Certificate email example:

Certificate Global Settings
You can find all of the global settings for the Custom Certificate module under the Plugins tab: Site administration > Plugins > Activity modules > Custom certificate settings
Site admin can create global certificate templates and upload certificate design images so course teachers can access them to speed up the certificate creation process.
Want to learn more about “Custom Certificate” and explore all the possibilities you can implement? You can find detailed plugin documentation here.