We have launched another responsive Moodle theme “Gourmet” for Moodle 2.5/2.6 which is based on our fast selling HTML5 website template “College Green”…
We are happy to announce our first responsive education website template based on the Bootstrap framework. If you are using Bootstrap 3 as your website’s framework…
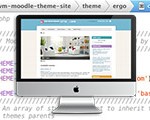
A lot of you know that you can set a theme for your Moodle site but some of you may not know that you can also set different themes for the courses in the same Moodle site. A theme you …
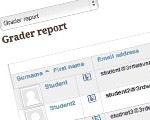
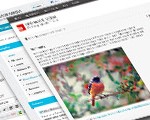
In a Moodle course teachers can grade students’ work and view the report via the “Grades” option under the “Course administration” (see figure 1). However the default view of the report is not easy to read as there are too …
Two years ago we wrote a blog post about how to add a Twitter timeline to a Moodle site via the Remote RSS Feeds block. Unfortunately Twitter fully retired its API v1 in June 2013 which means you can no …
Moodle 2.6 was released this month and you can download the stable version via the Moodle’s official website. While updating all of our premium themes to work with this version we noticed some nice UI/UX improvements made by the Moodle …
We’ve got more and more customers who have bought our premium Moodle themes deciding to apply small changes/tweaks to the theme CSS file to meet their own design needs. If you are in this situation please read on.
“Why are changes not applied when I update my Moodle theme files, even when I clear my browser cache?” I was puzzled by this question when I started out designing themes for Moodle many years ago. If this is also an issue for you, read on.
Adding a Facebook Comments Box enables users to easily make comments, which is a nice way to enhance the social media aspects of your site. In this tutorial, I’m going to show you how to add the Comments Box to your Moodle site’s side column
We have launched our first two premium Moodle Themes and they have proved to be very popular. I thought I’d write a quick guide to illustrate options available in their of their theme settings page for our old and future customers alike.
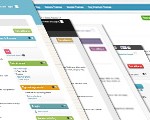
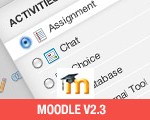
Moodle 2.3 was released on 25th June 2012. Below is a quick visual guide I put together to illustrate the 6 new features in this release which, in my opinion, greatly improve Moodle’s user experience.
Not long ago I was asked if it is possible for Moodle to generate and email a certificate to learners who have passed a particular exam (Moodle Quiz). After looking into the matter, I’ve found a way to do just that.