Two years ago we wrote a blog post about how to add a Twitter timeline to a Moodle site via the Remote RSS Feeds block. Unfortunately Twitter fully retired its API v1 in June 2013 which means you can no longer pull in a Twitter timeline via the method described in that old blog post. However, subsequently Twitter introduced a new way for users to embed their own Twitter timelines on websites. In this blog post we are going to walk you through the steps to achieve this.
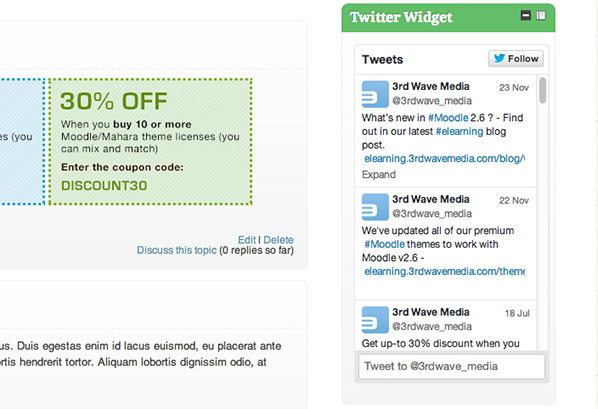
End result
You can view an example on our theme demo site here.
Step1
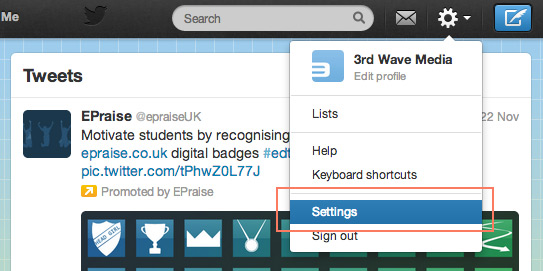
Log in to your Twitter account and navigate to the settings page.
Step 2
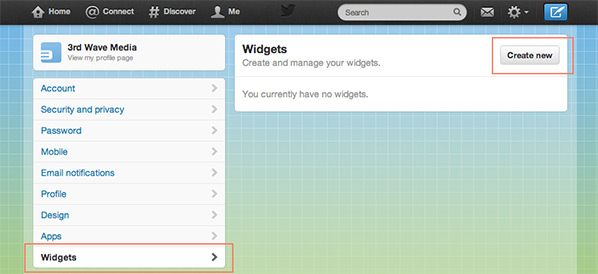
Click the “Widgets” option in the left nav.
Step 3
Click the “Create new” button.
Step 4
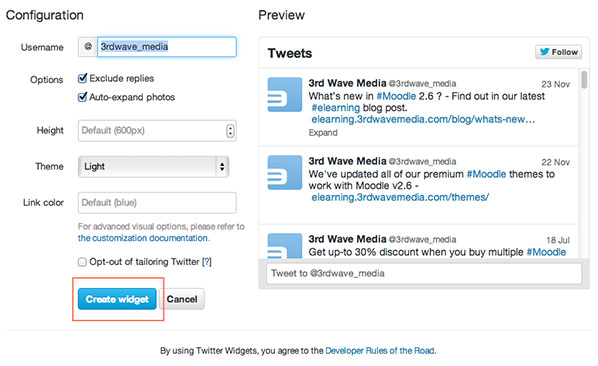
Configure the widget depending on your needs and click the “Create widget” button.
Step 5
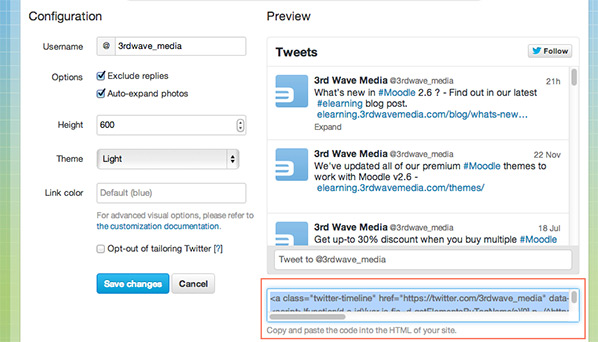
Copy the generated widget code. Also don’t forget to save the widget by clicking the “Save changes” button.
Step 6
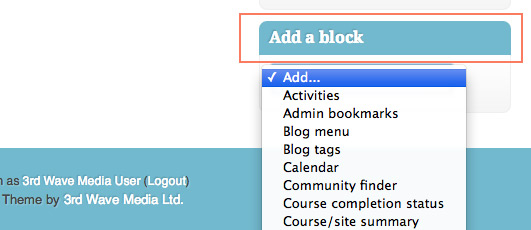
Log in to your Moodle site as an administrator. Turn editing on and add an HTML block.
Step 7
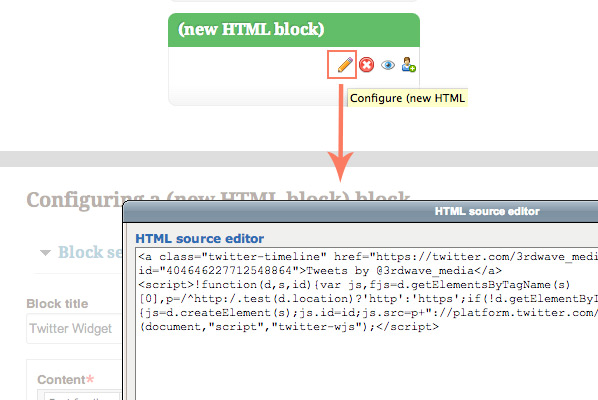
Configure the newly added HTML block and paste the widget code into the text editor’s HTML source editor.
Step 8
Save changes and turn off editing. Now you should see the Twitter timeline embedded in your Moodle site.
It is also possible to customize the appearance of the timeline.To find out more on how you can customise the widget further you can check out Twitter’s official documentation for developers.