Want to add a working contact form page to your Moodle site so users can send you messages directly via a form? This tutorial walks you through the simple steps to set one up using two free Moodle plugins.
We’ve set up an example contact form page on our Moodle theme demo site using our Maker theme, but this method works equally well with our Edutor and Lumo themes too. So no matter which one you’re using, you’ll be able to follow along and get your contact page live in no time.
You can download the ready-made HTML template we used in Step 3 below.

Step 1 – Install Two Moodle Plugins
You’ll need to install the following two third-party Moodle plugins:
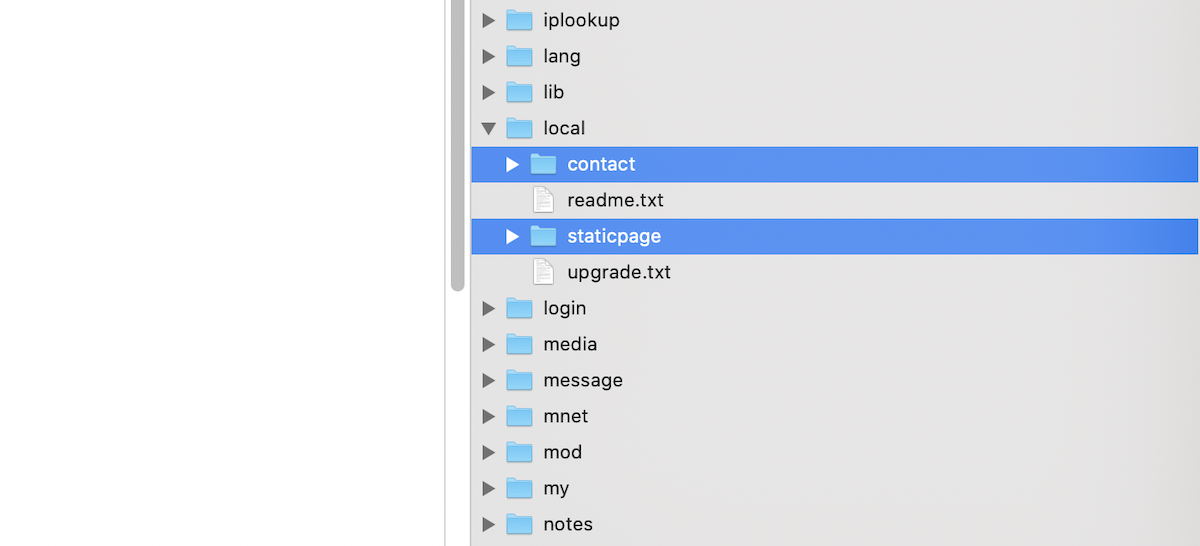
To install them, place the downloaded plugin folders inside your Moodle site’s local directory.
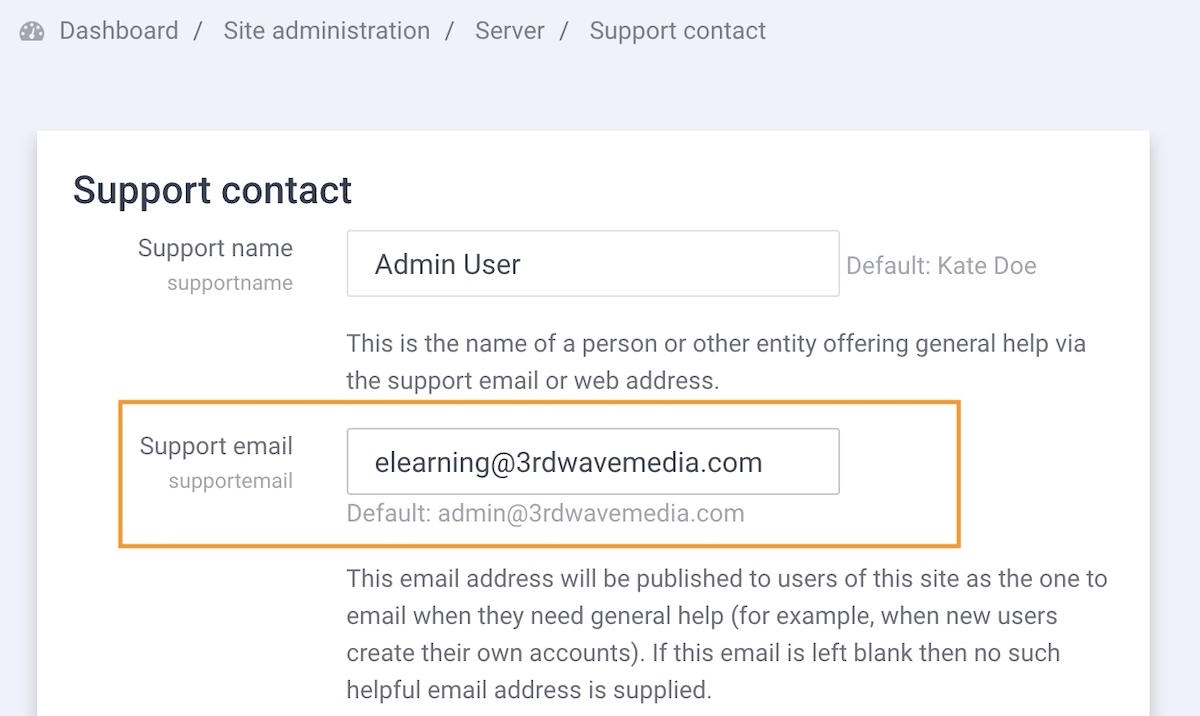
Step 2 – Set the Contact Form Recipient Email
Set up the default email address that will receive form submissions.
Go to: Site administration > Server > Support contact
Then enter your preferred recipient email address in the Support email field.
Step 3 – Add the Contact Form HTML Page
Create a basic contact form HTML file based on the documentation of Static Pages and Contact Form. To save you the work, you can simply download the HTML file we created for our Moodle demo site and use the file for your own Moodle site.
Create a simple contact form HTML file using the Static Pages and Contact Form plugin documentation.
To make things easy, we’ve created a starter HTML file that you can download and use on your own Moodle site. It was built for our Maker demo site, but you can use it as-is for Edutor, Lumo, or Maker.
For Moodle 5.x Sites
Free Download (2916 downloads)For Moodle 4.x Sites
Free Download (13318 downloads)Once downloaded, you can upload the file to your Moodle site using the Static Pages plugin (see Step 4).
You can also create a more advanced or custom form by following the documentation for the Contact Form plugin here.
Step 4 – Upload the HTML File to Your Moodle Site
Follow this tutorial to upload your contact form HTML file to your Moodle site using the Static Pages plugin.
To check or tweak the Contact Form plugin’s settings, go to:
Site administration > Plugins > Local plugins > Contact Form
Step 5 – Link the Contact Page to Your Site Navigation
Once your contact page is set up, don’t forget to make it easy for users to find.
Add a link to Moodle’s Custom Menu
If you’re using Maker theme, you can also add the link to the header dropdown menu for better mobile access
For Edutor and Lumo, you can add the link to the top navigation or inside a footer column depending on your preferred layout
Whether you’re using Maker – Premium Theme For Moodle™ LMS Platform Designed for Higher Education, Businesses and Government, Edutor, or Lumo, this guide helps you create a professional and functional contact page without needing a backend developer.