User Tours is a new feature in Moodle 3.2. It’s typically used to onboard and engage new users by guiding them through essential parts of the site. In this tutorial we will show you how to setup a basic tour.
Step 1
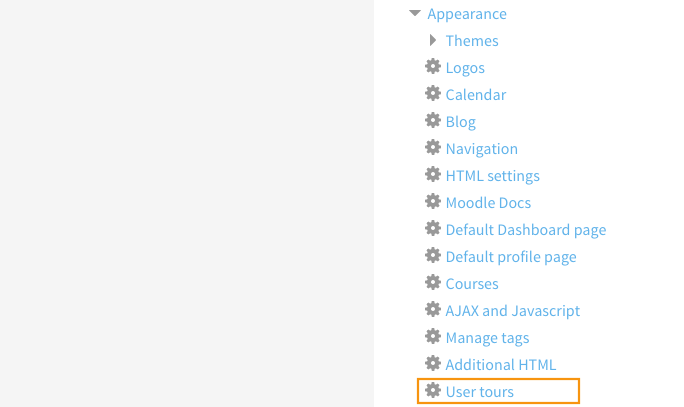
Log into your Moodle site as an admin user, and navigate to the “User tours” option under the Administration block: Site administration > Appearance > Themes > User tours
Step 2
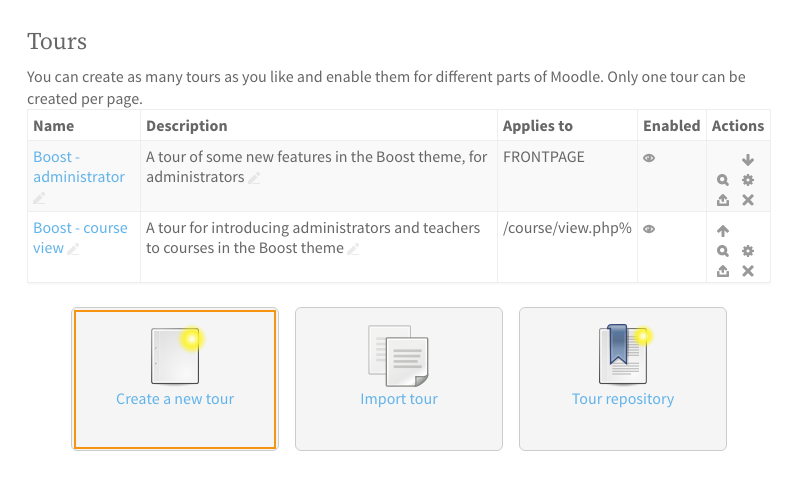
On the Tours page click the “Create a new tour” link.
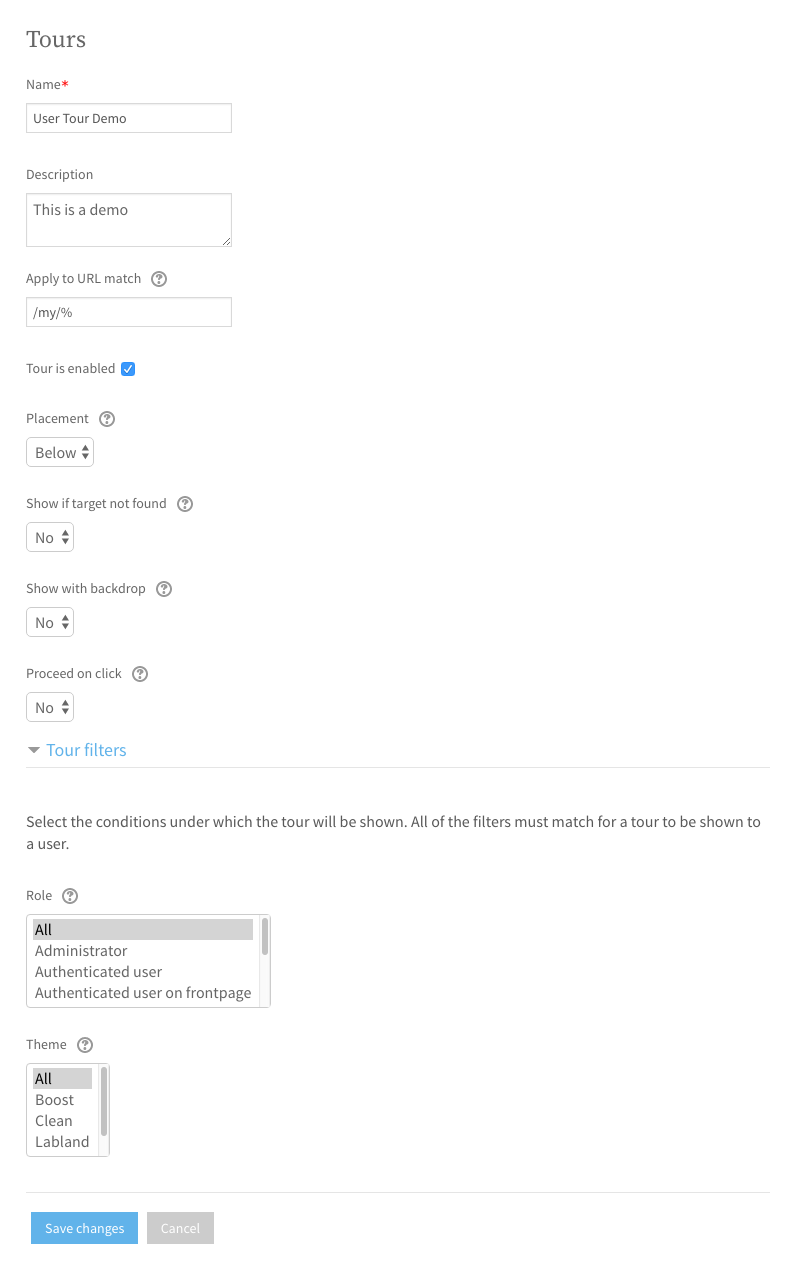
You will be prompted to enter some basic settings about the tour you are creating. You can get help about each setting by clicking the question mark icon next to it.
For this tutorial, the tour we are creating is going to be displayed on the “My dashboard” page for all users.
Step 3
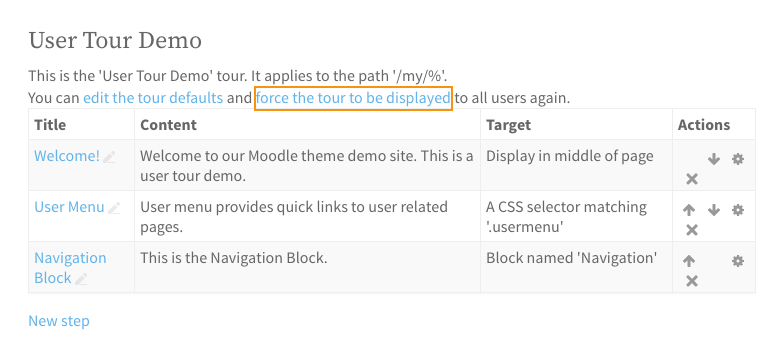
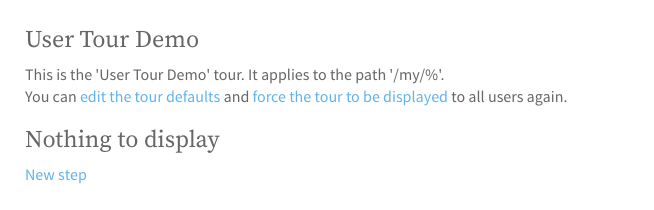
Now you’ve created the tour, you should see it listed in the Tours table. However, at this point the tour is empty so you still need to add some steps to it.
Click the Tour name or the magnifying glass icon and you will arrive on the tour’s settings page where you can add steps.

For the demo, we are going to add 3 steps as shown in the figures below. You can compare the step settings with the final results.
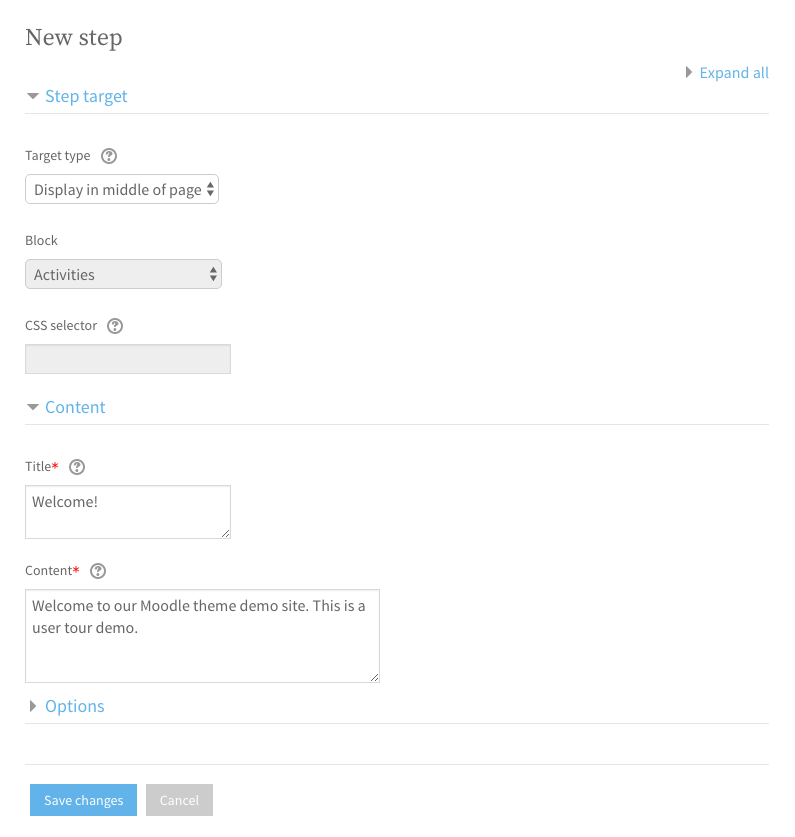
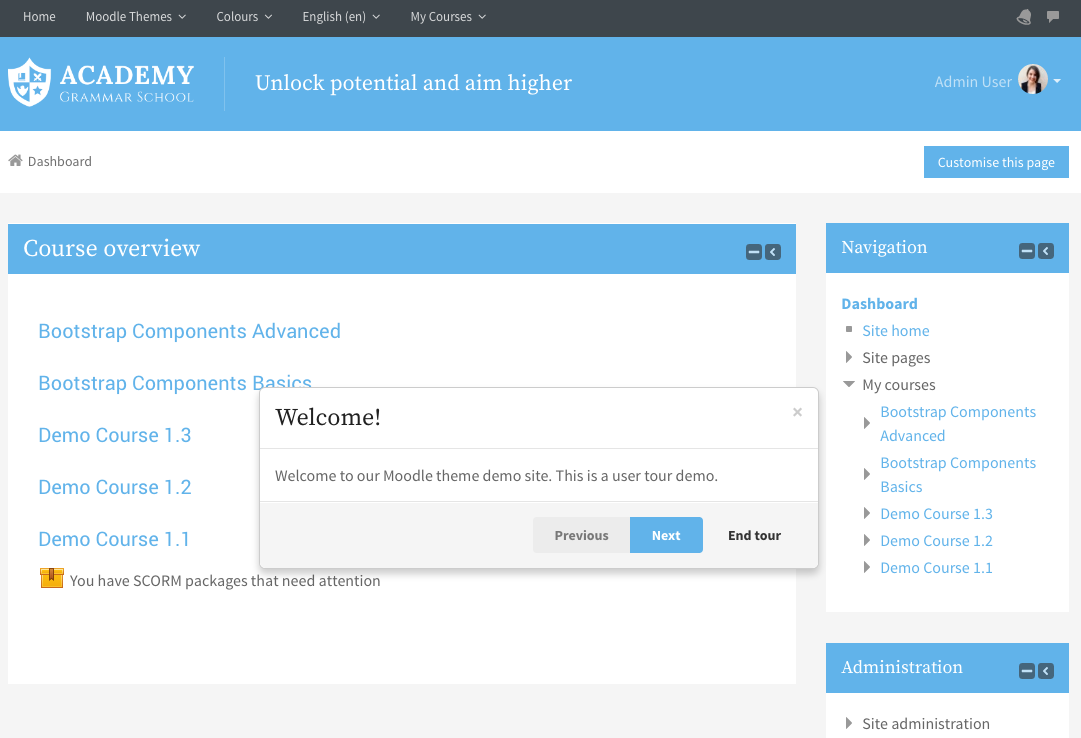
Tour Step 1 – A welcome modal displayed in the middle of the “My Dashboard” page
Tour Step 1 Settings
Tour Step 1 Modal
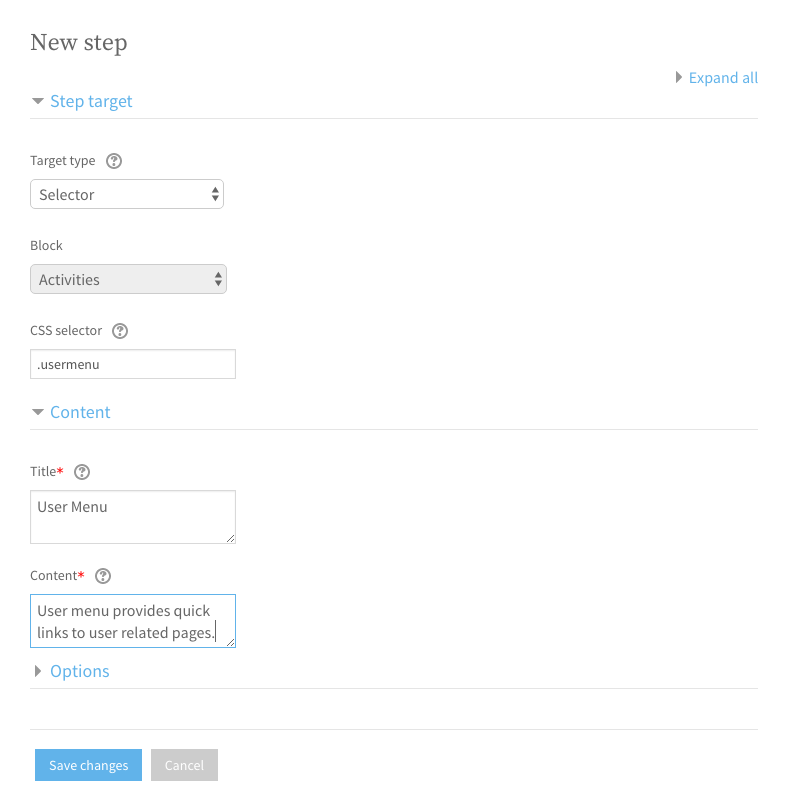
Tour Step 2 – A modal displayed right under the CSS selector “.usermenu”
Tour Step 2 Settings
Tour Step 2 Modal

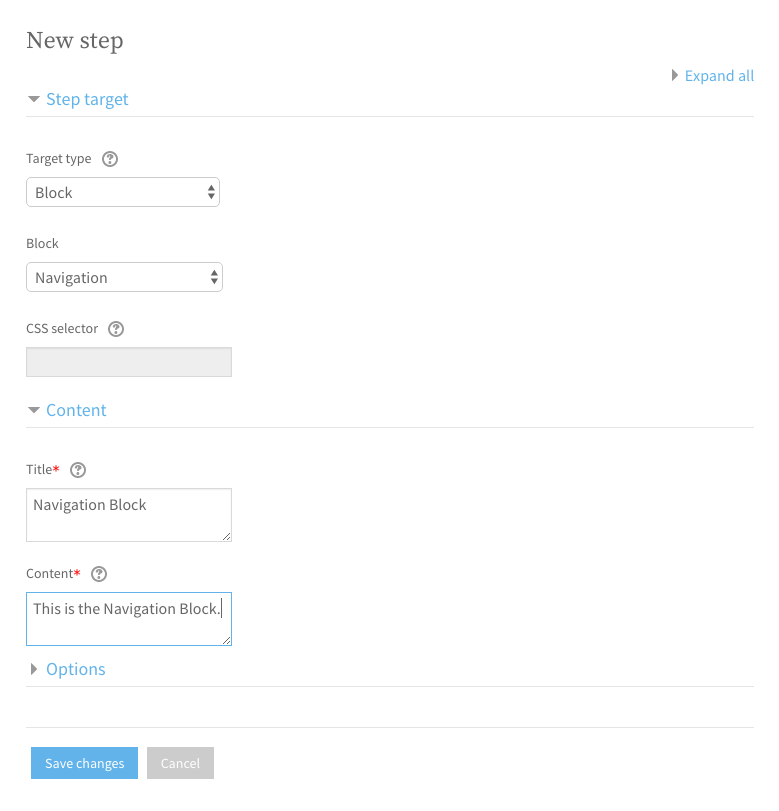
Tour Step 3 – A modal displayed under the “Navigation” block
Tour Step 3 Settings
Tour Step 3 Modal

Hopefully this tutorial gives you some idea of how the tours feature works. By default the tour will be shown to your user only once and you need to manually force the tour to be shown again by clicking the “force the tour to be displayed” link as shown in the figure below: