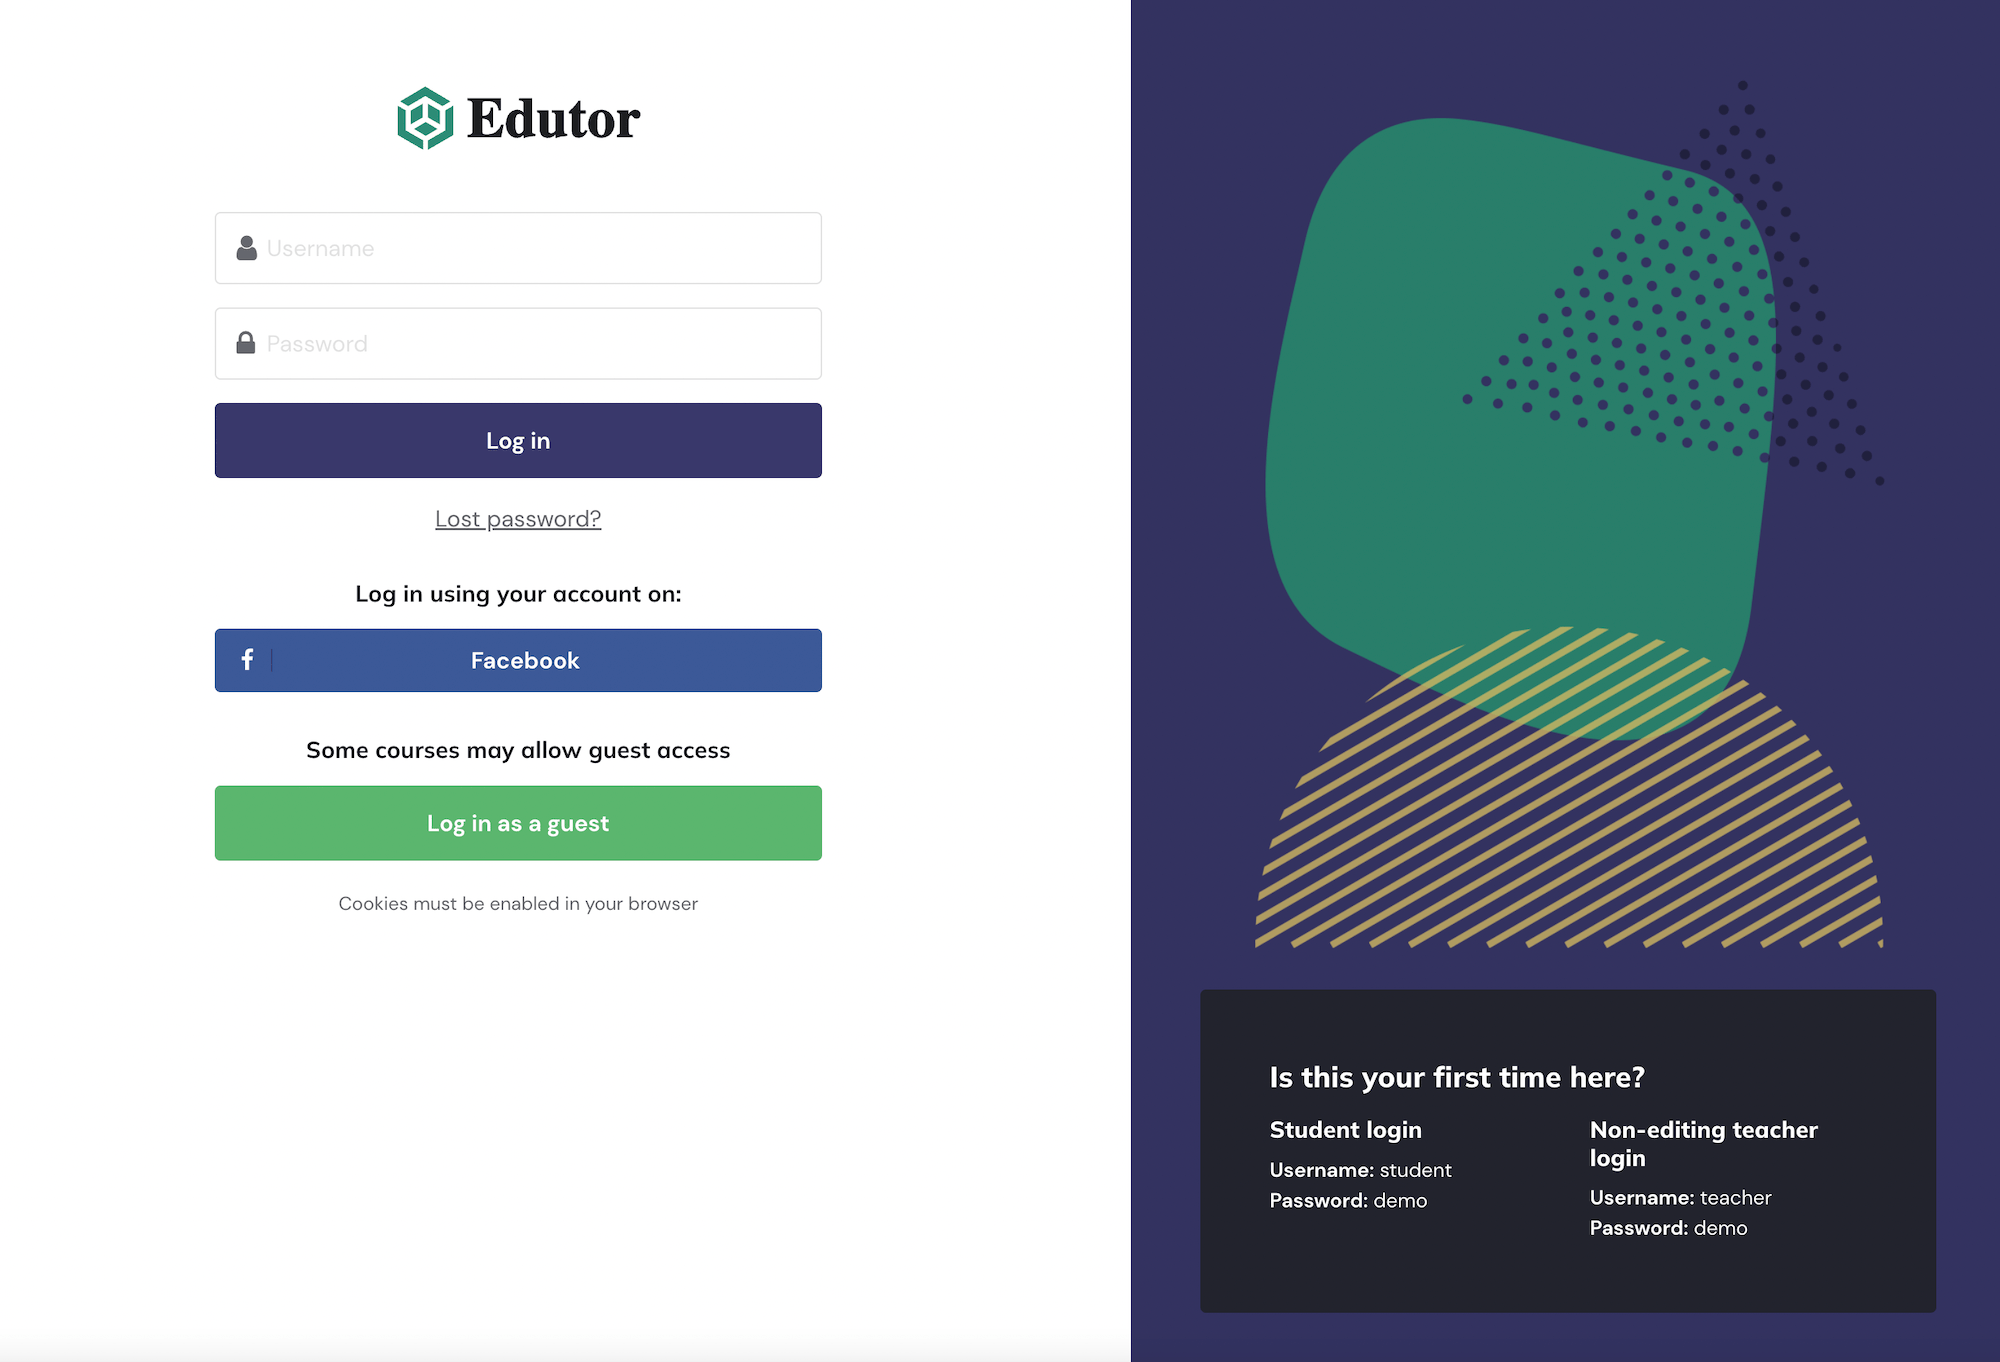
Having 2.9 billion monthly active users in the world, Facebook is still the most popular social media platform in 2022. Enabling Facebook login on your Moodle site can encourage new users to sign up to your Moodle courses. In this tutorial, we will show you all the steps you need to take to offer Facebook login on your Moodle 4.0+ site.
Pre-requirement:
You or your business needs to have an existing Facebook account.
Step 1
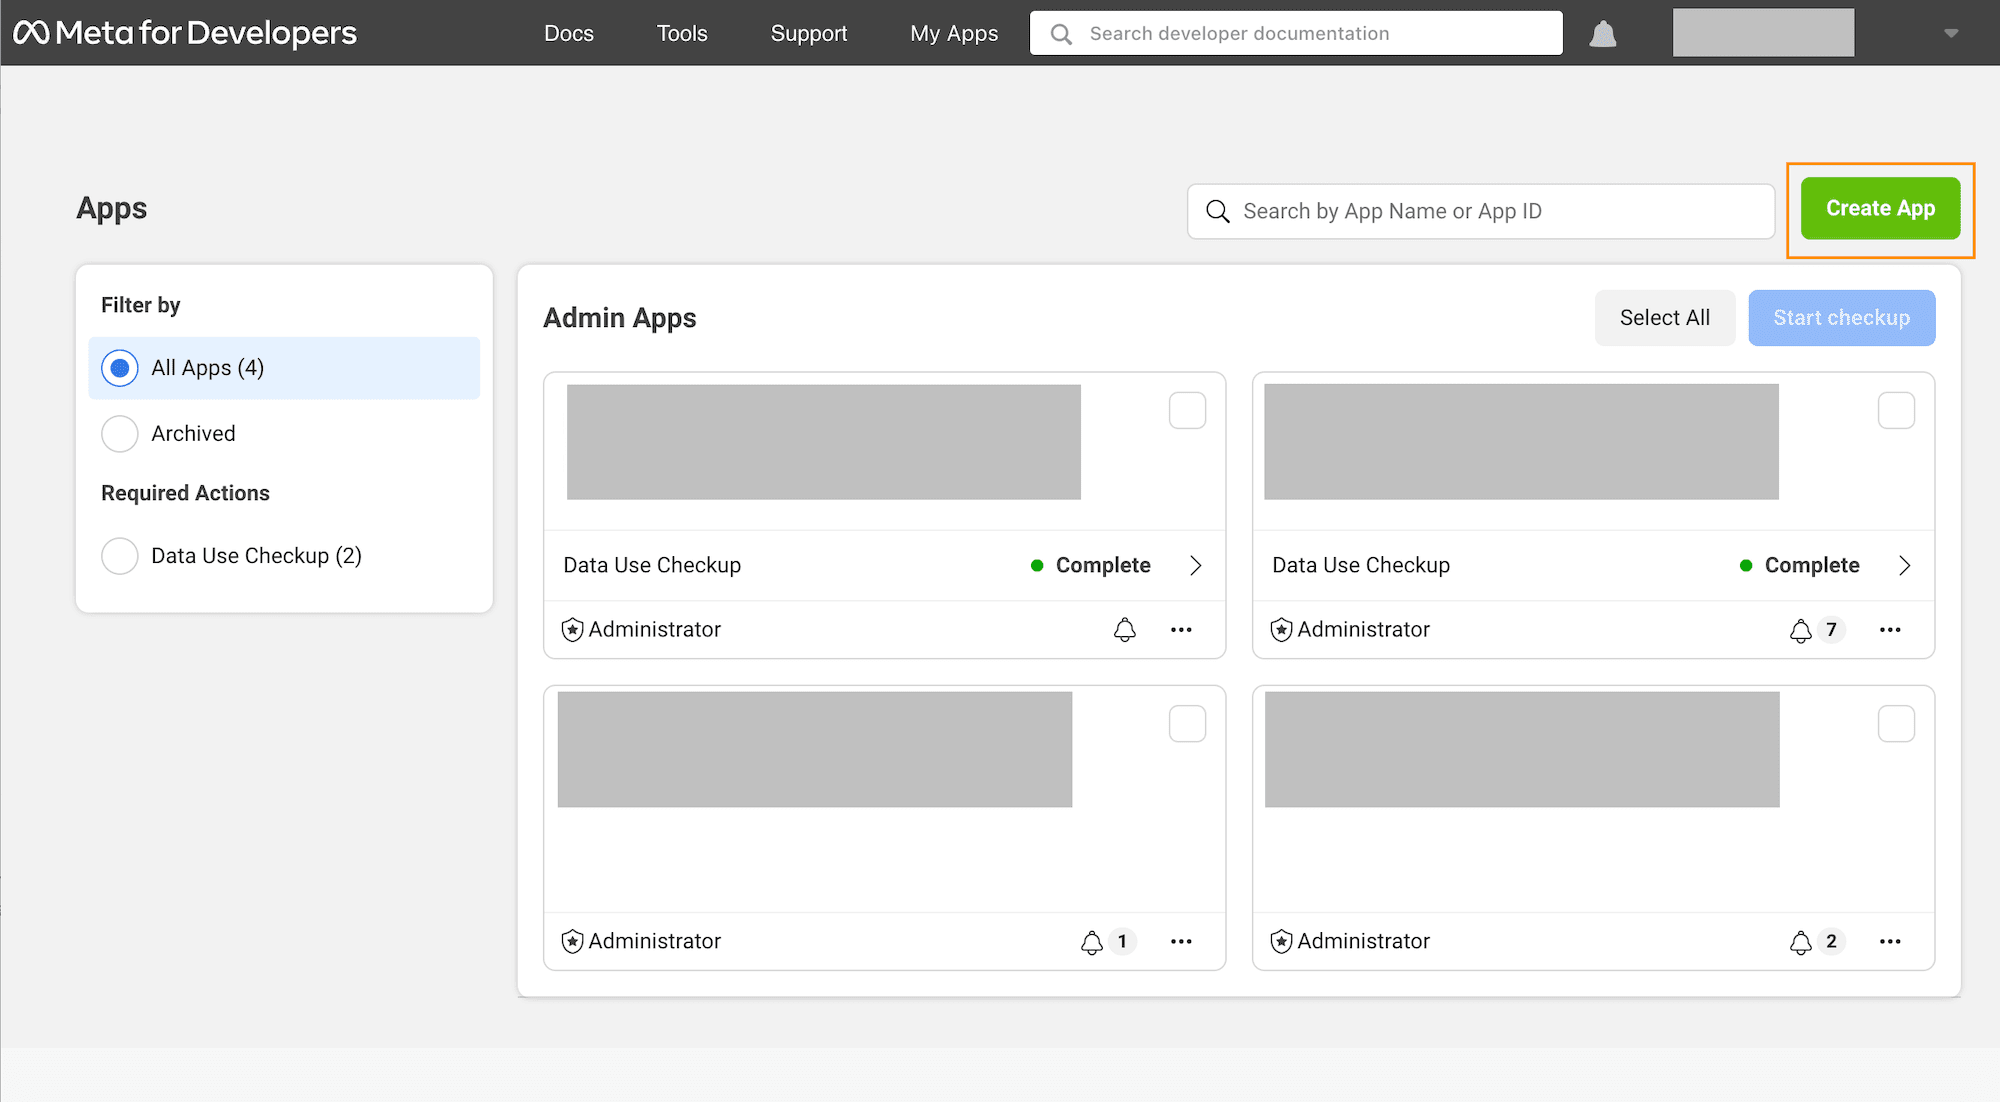
Go to Facebook (Meta) for Developers (https://developers.facebook.com/apps)
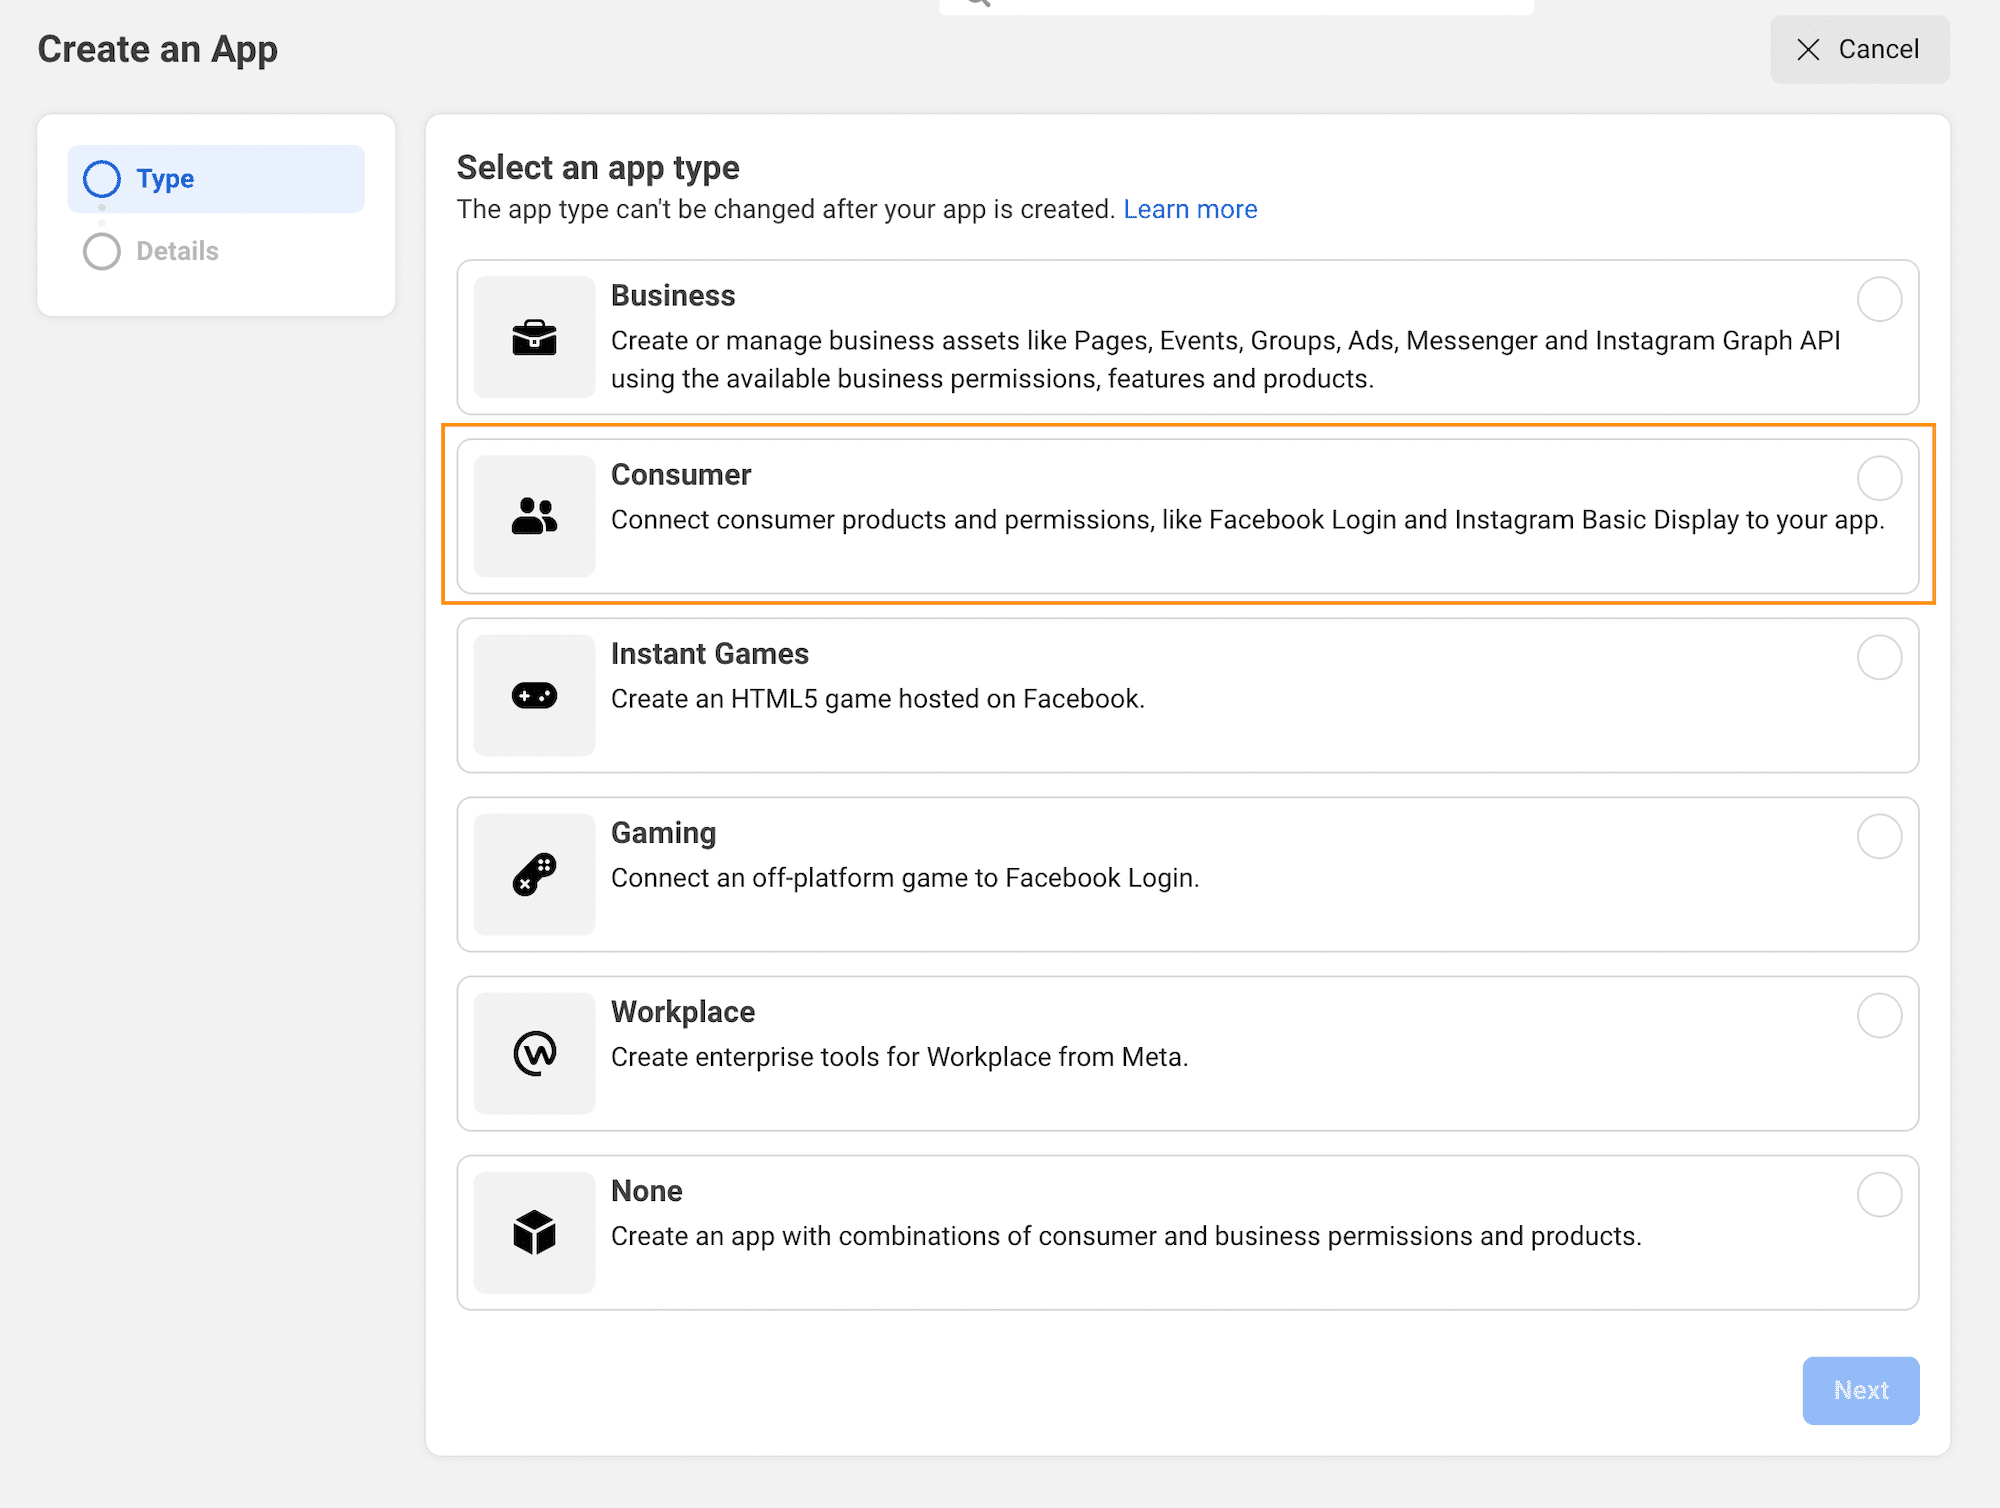
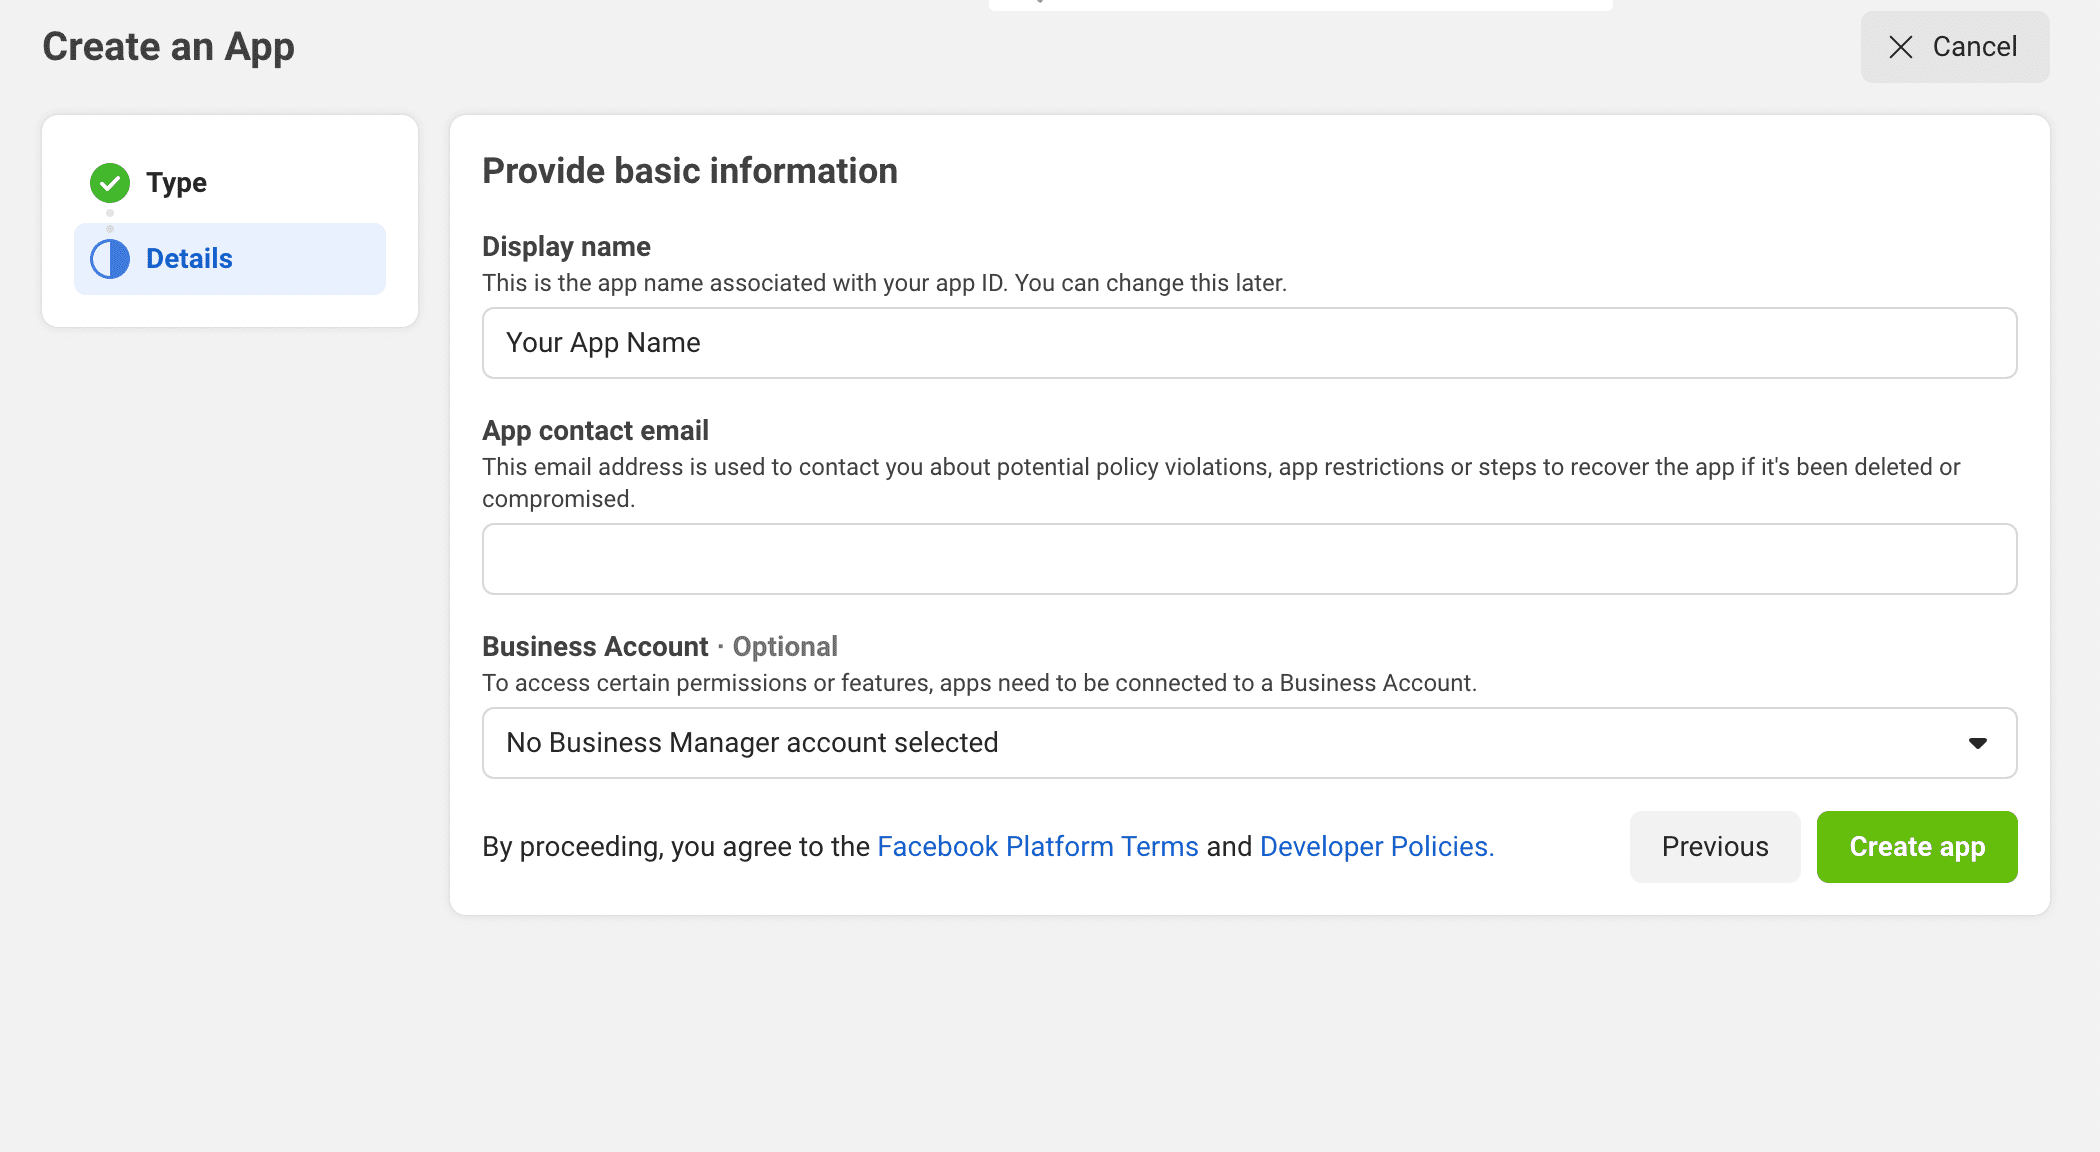
Click the “Create App” button and you will be taken to an app creation page where you can enter the required information. Because you’re adding Facebook login to your site you can select “Consumer” as the app type.
Step 2
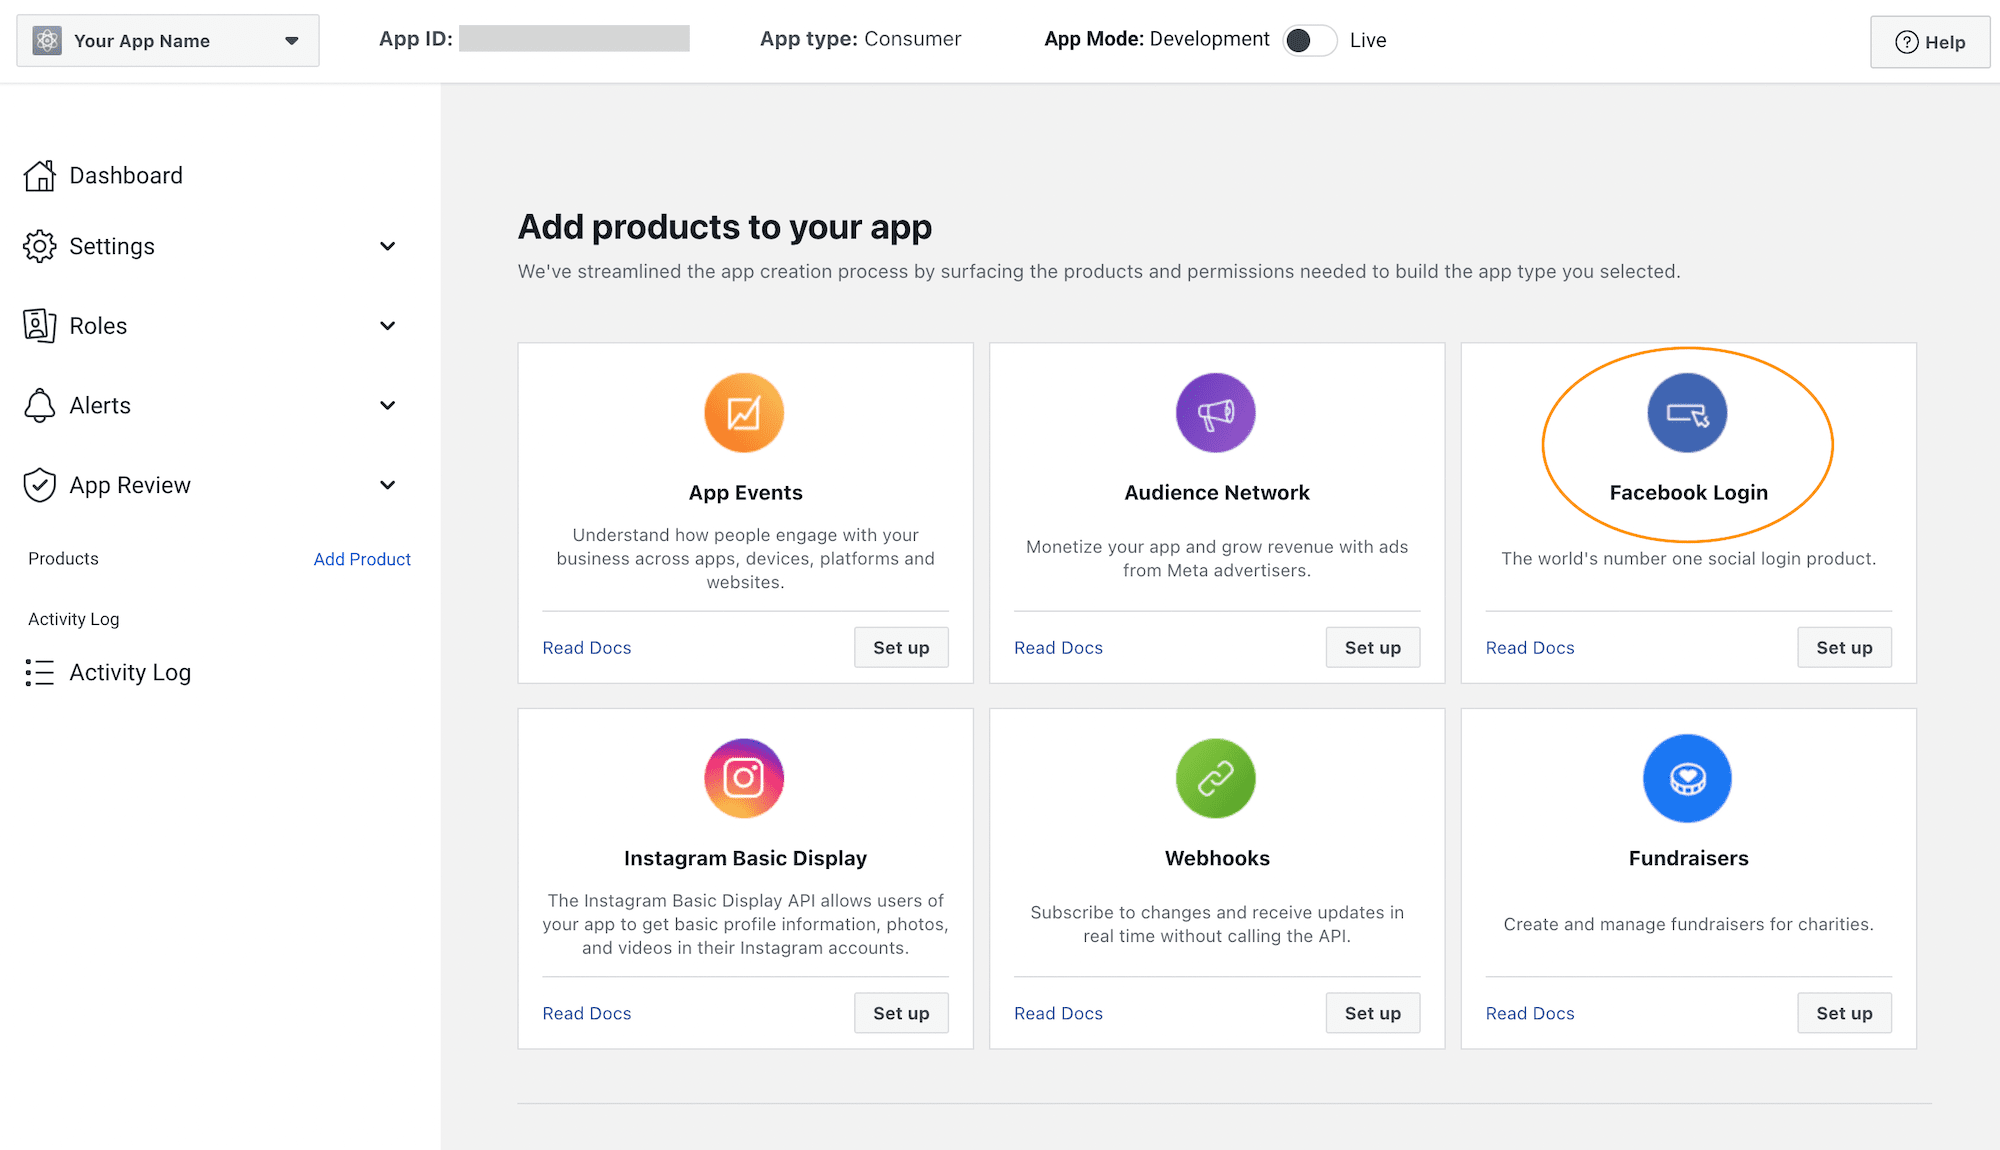
Now you have created an app, on the app configuration page you can add “Facebook Login” to your app.
Step 3
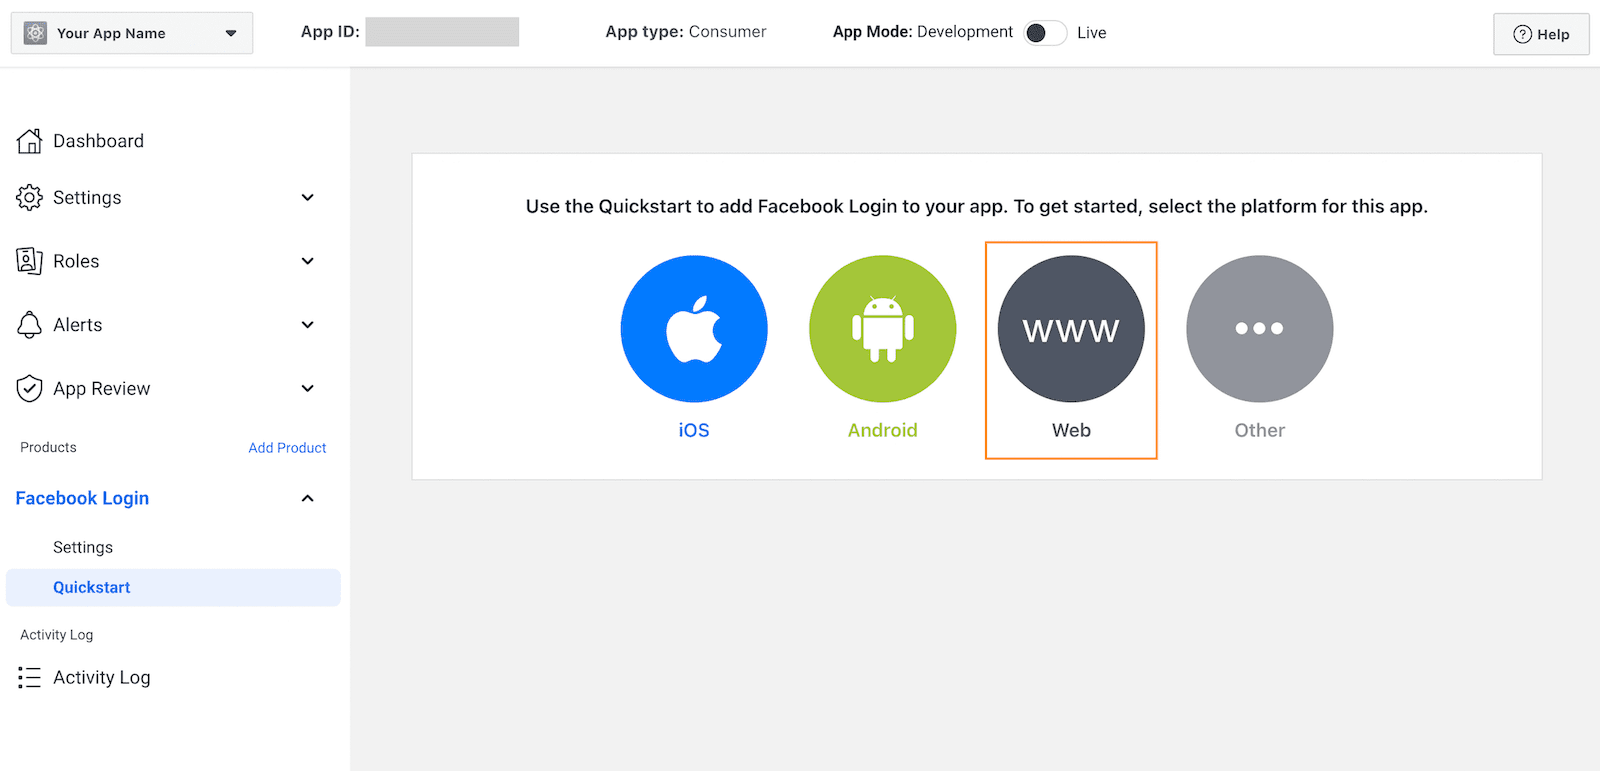
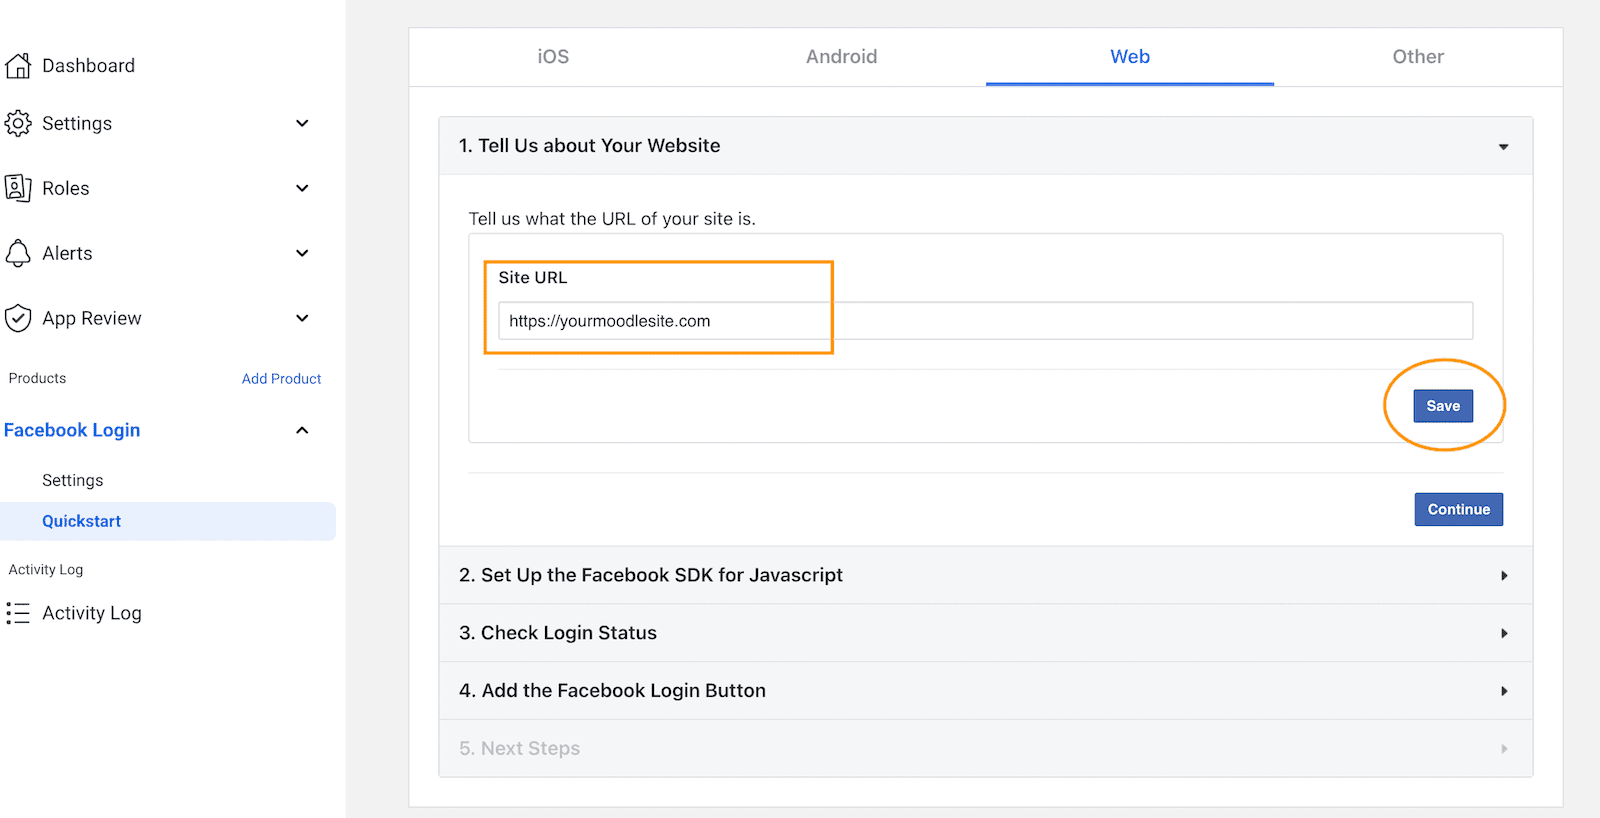
Select the “Web” option in the next step and enter your Moodle site’s URL and save. You can ignore fields 2 to 5 in the form as Moodle handles them automatically.
Step 4
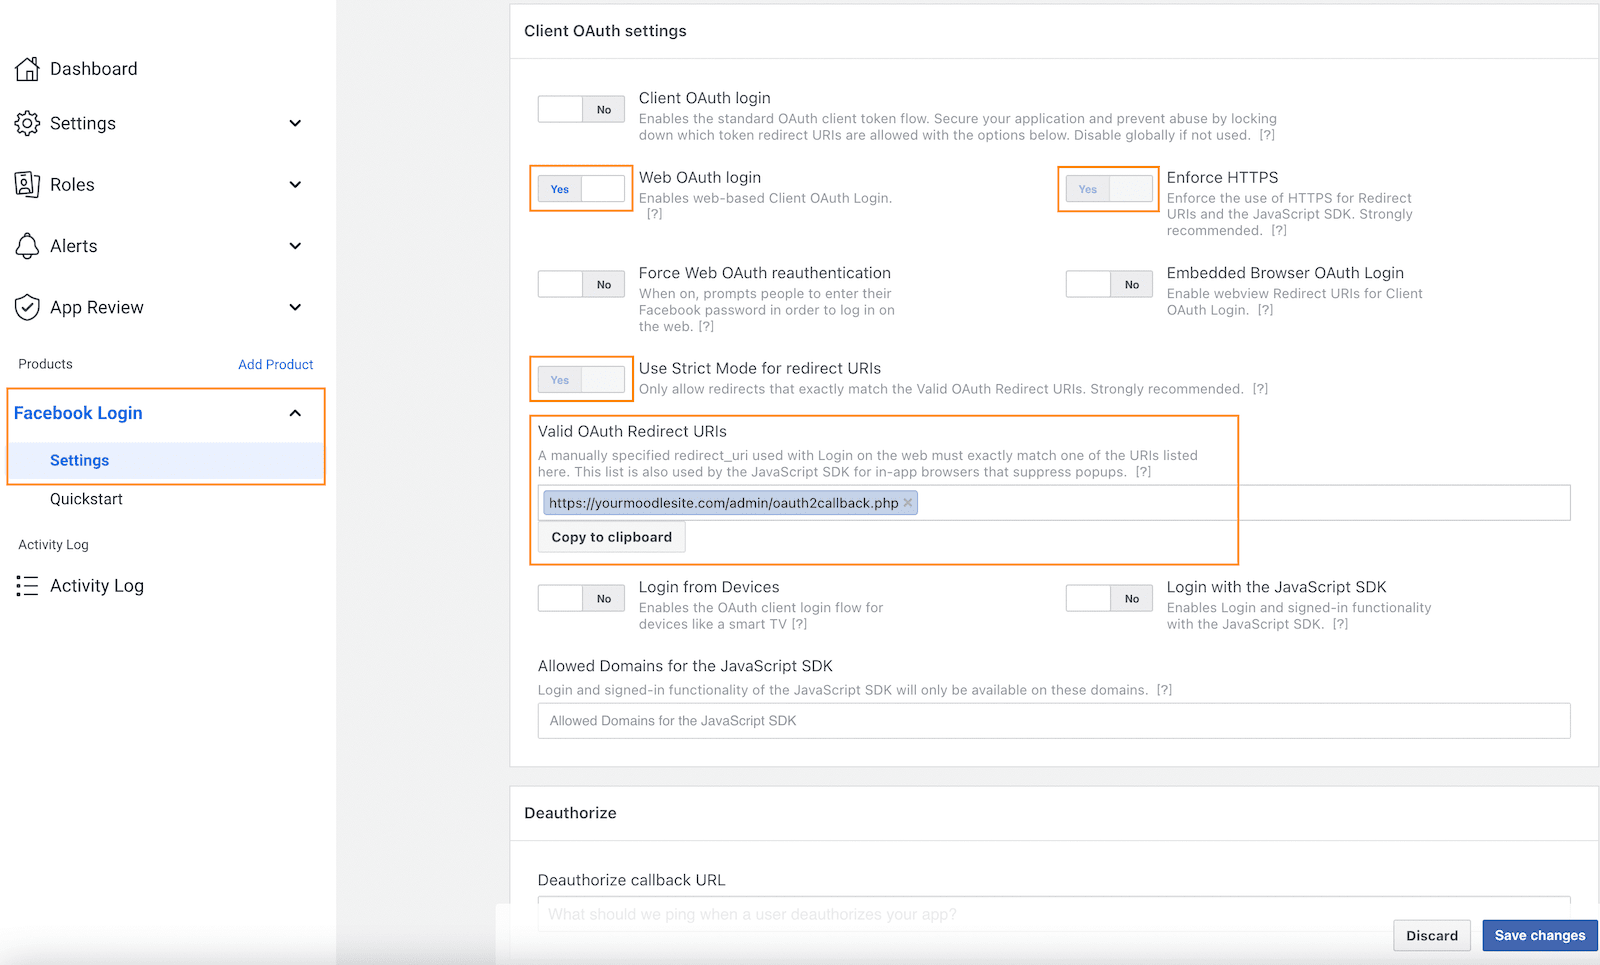
Click “Settings” under the “Facebook Login” option on the left-hand side menu. Configure the Client OAuth settings section as shown in the figure below and save changes.
You need to enter the “Valid OAuth Redirect URIs” following a specific format – https://yourmoodlesite/admin/oauth2callback.php
Step 5
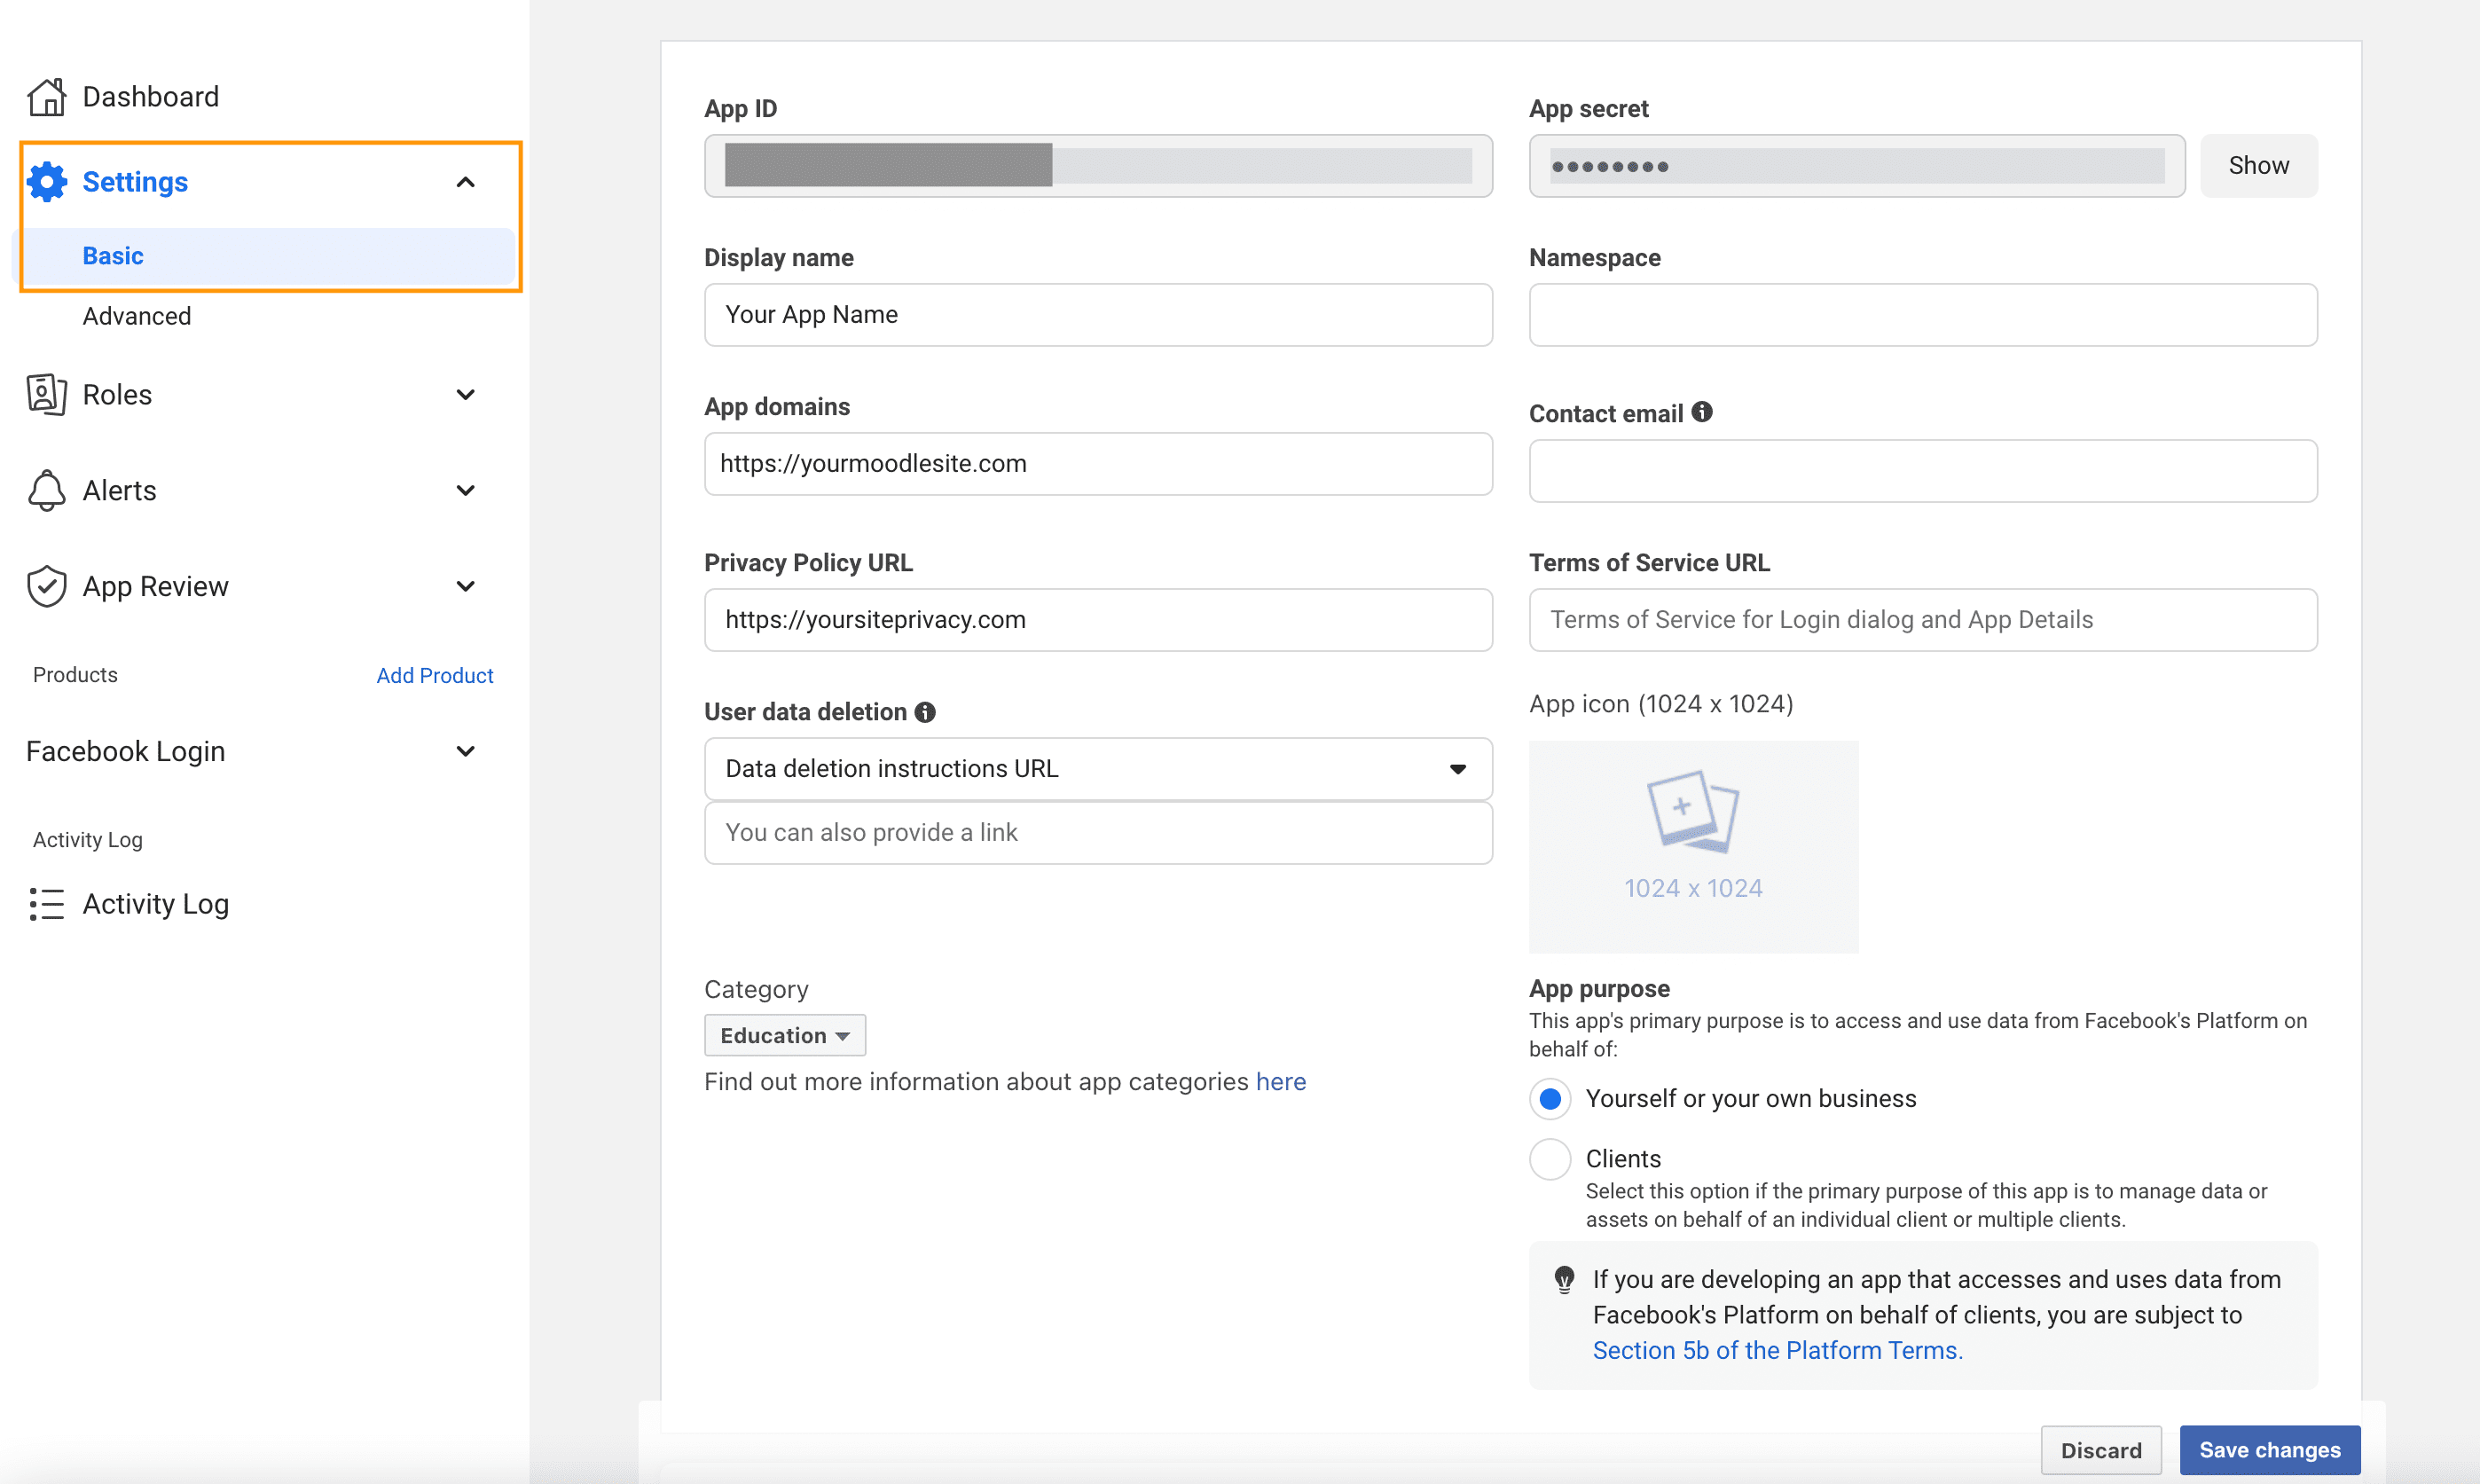
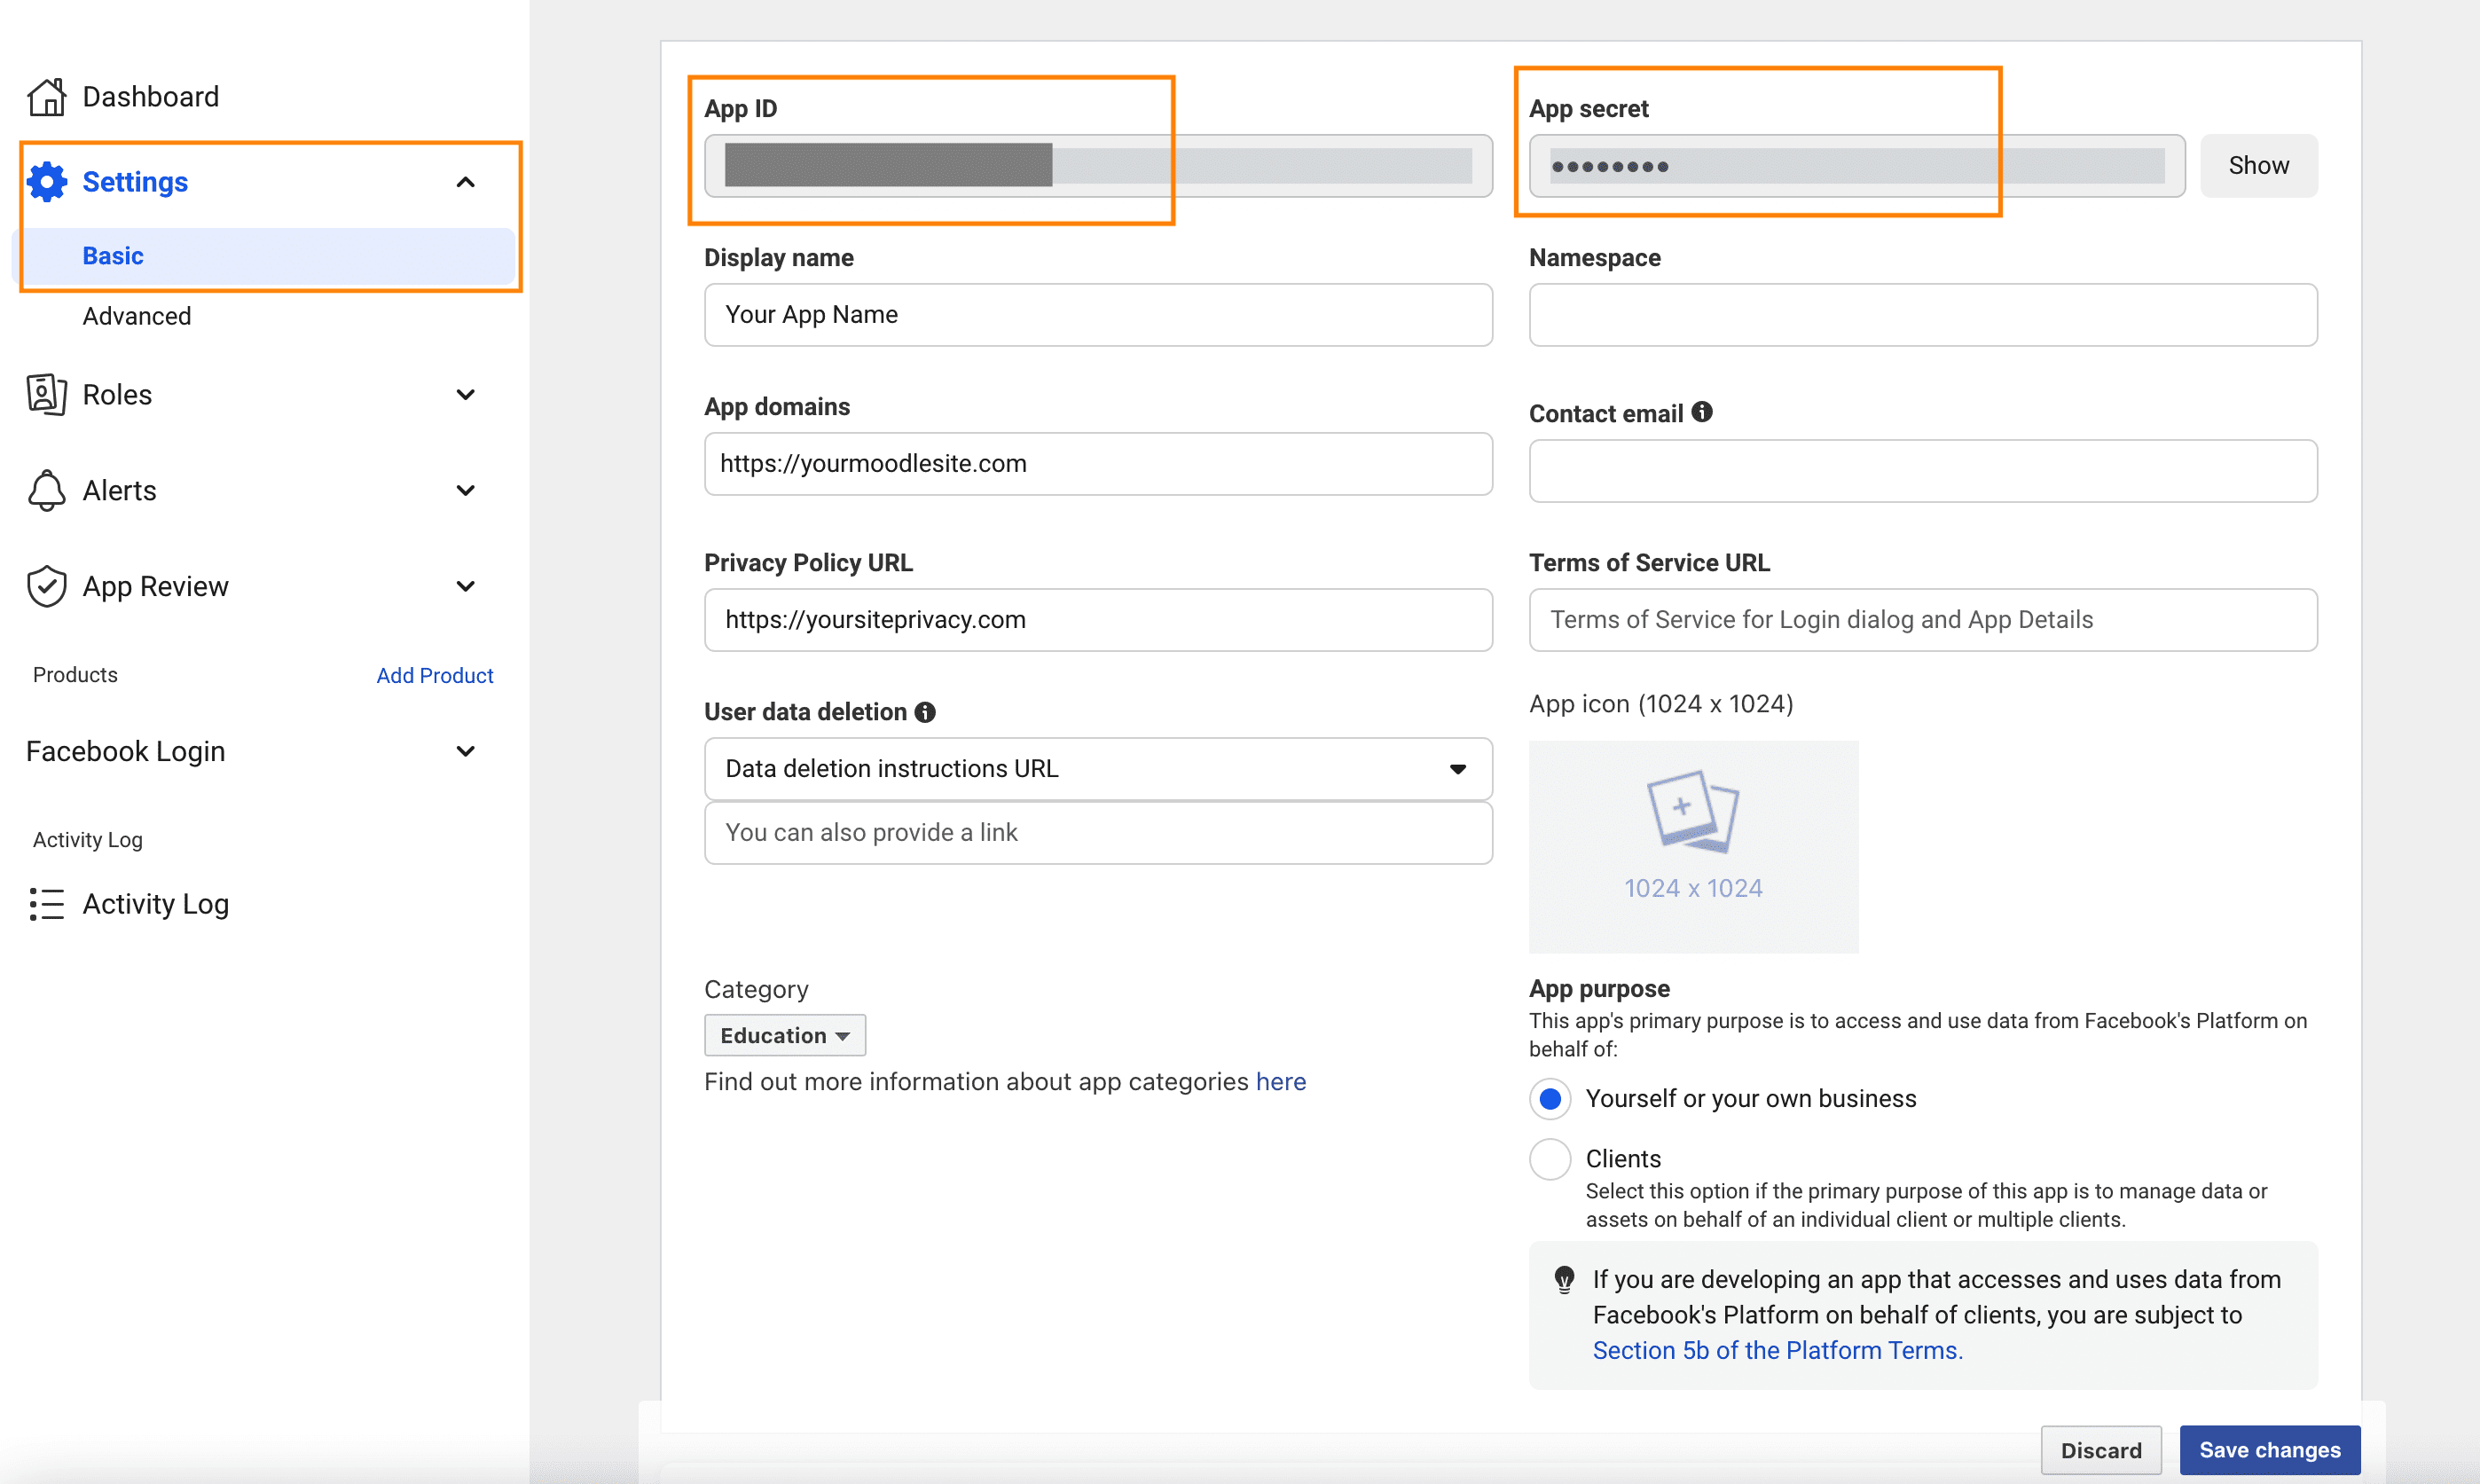
Click the “Basic” option under the “Settings” menu as shown in the figure below and enter all the required information. The App ID and App secret fields are auto generated and you will need them when you configure your Moodle site later.
Please note: you must enter a valid Privacy Policy URL here to make your app “Live” later.
Step 6
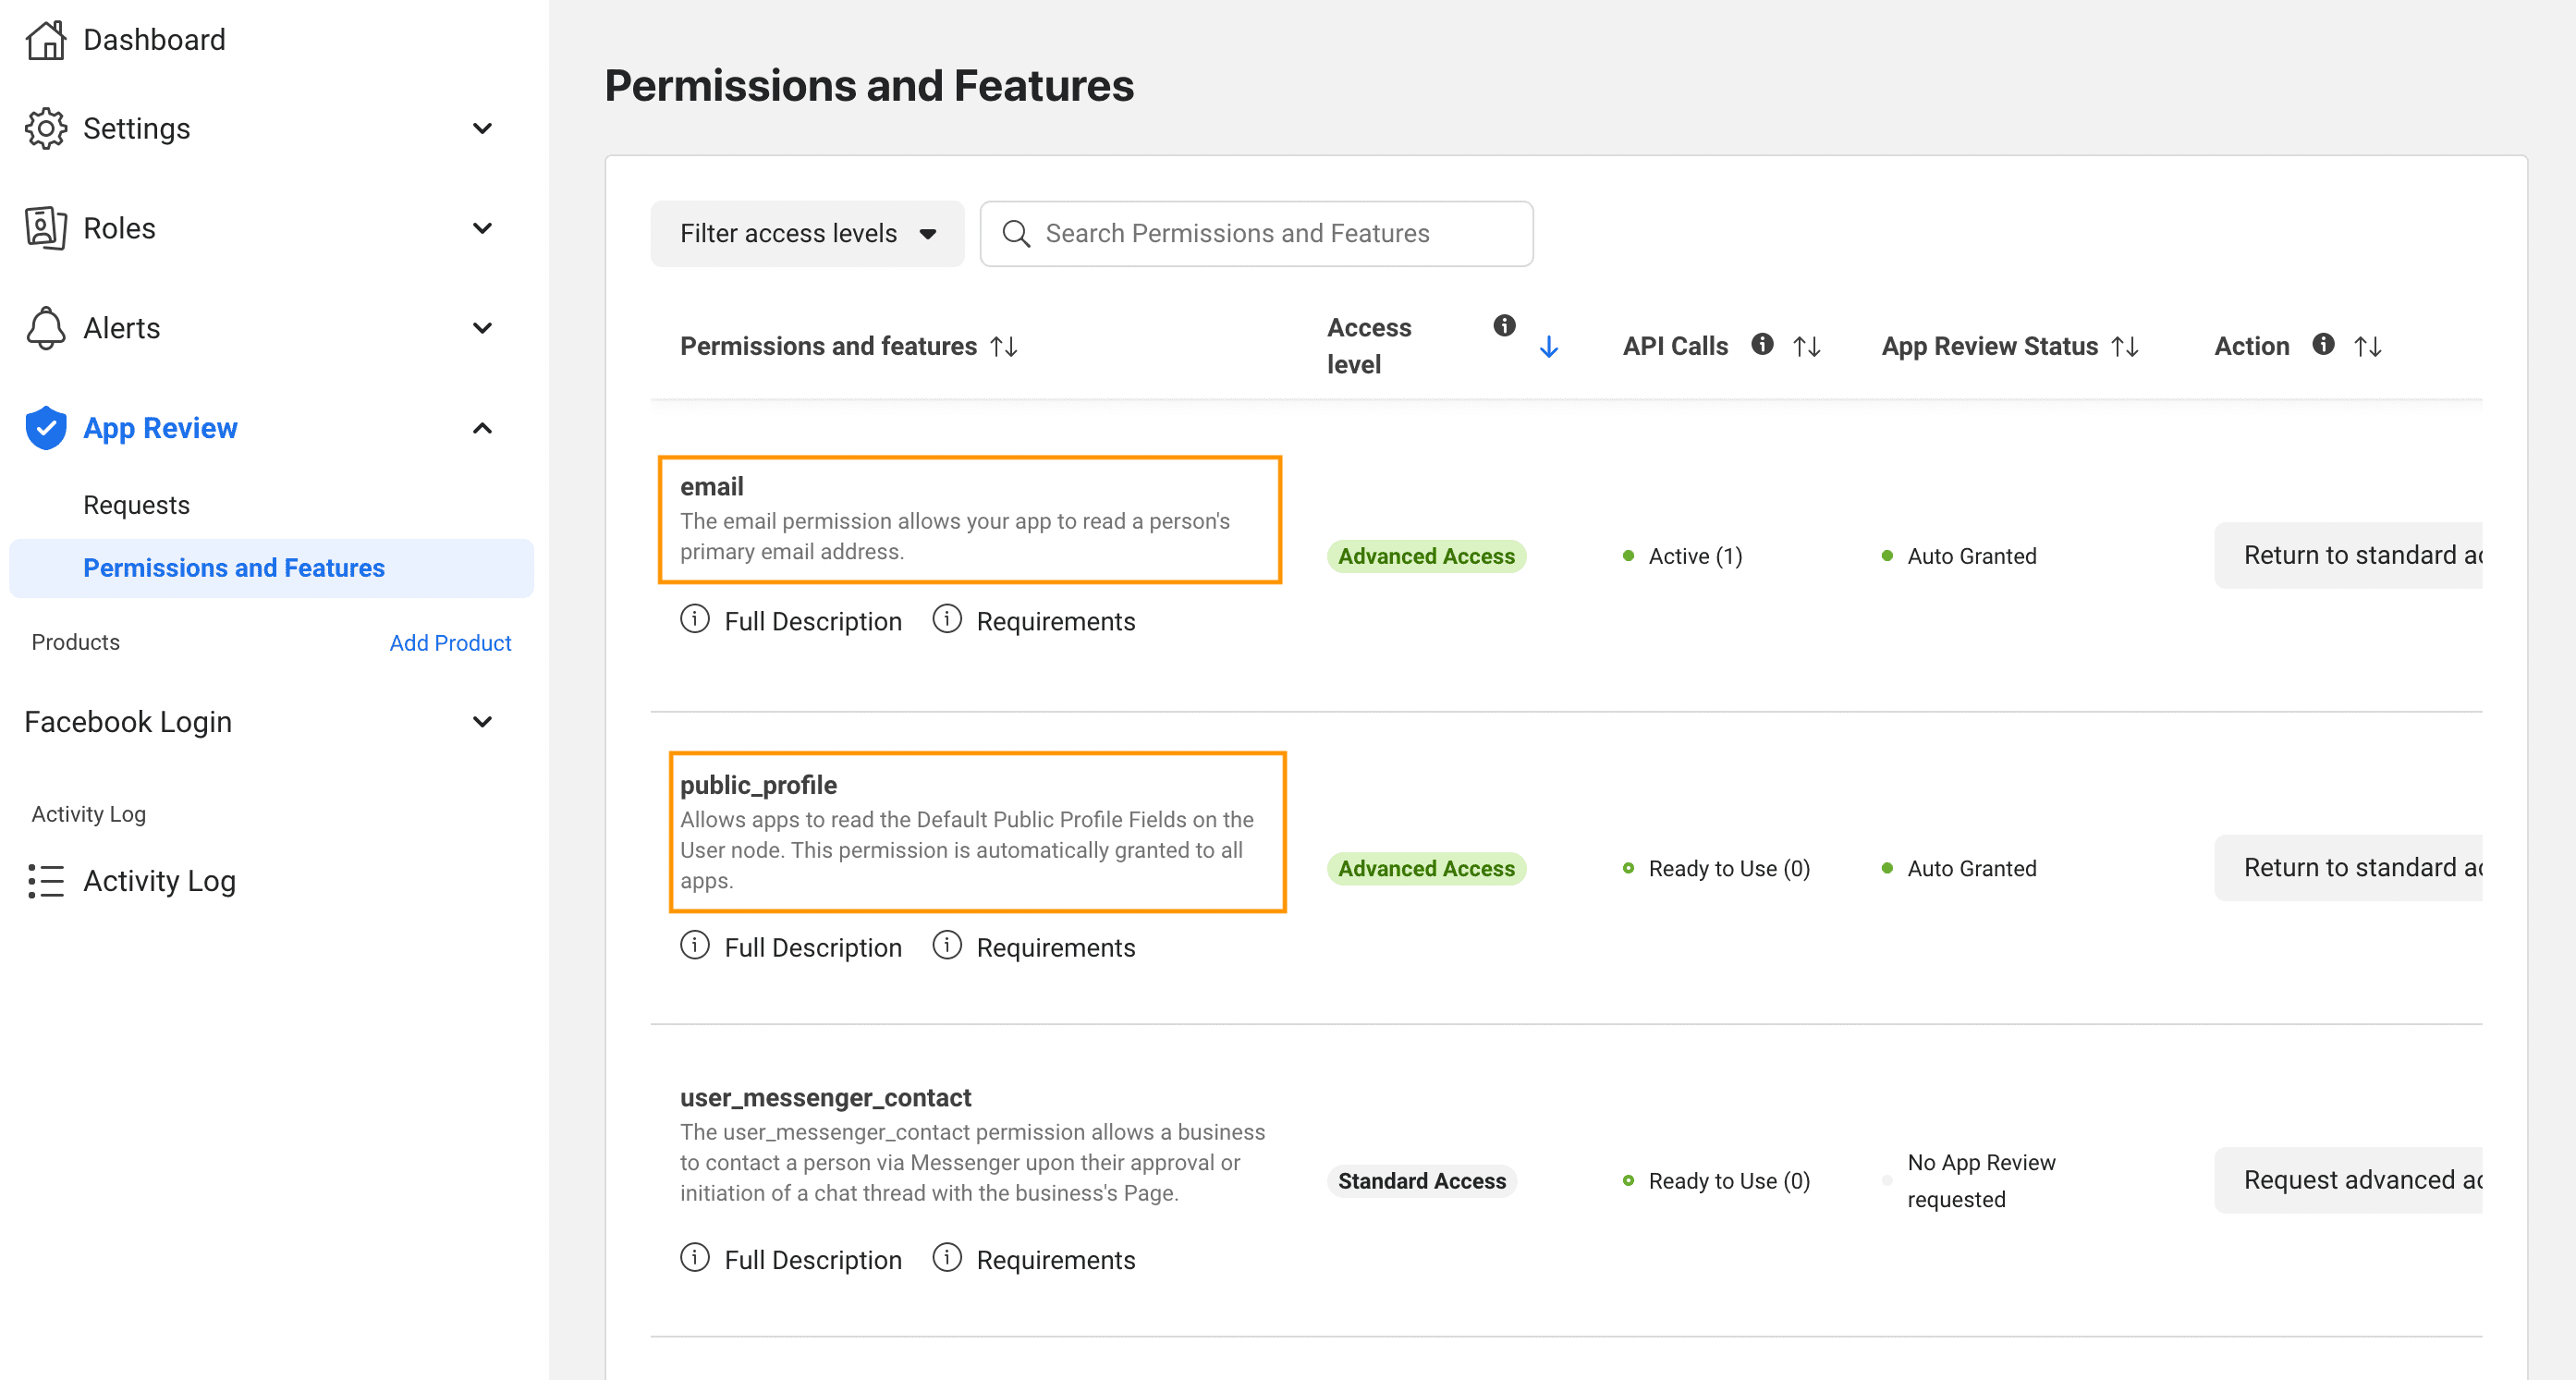
Click the “Permissions and Features” option under the “App Review” menu as shown in the figure below. Find public_profile and email in the list and click the “Get advanced access” buttons.
Step 7
Change your app’s mode from “Development” to “Live” by clicking the toggle in the top menu bar.

Step 8
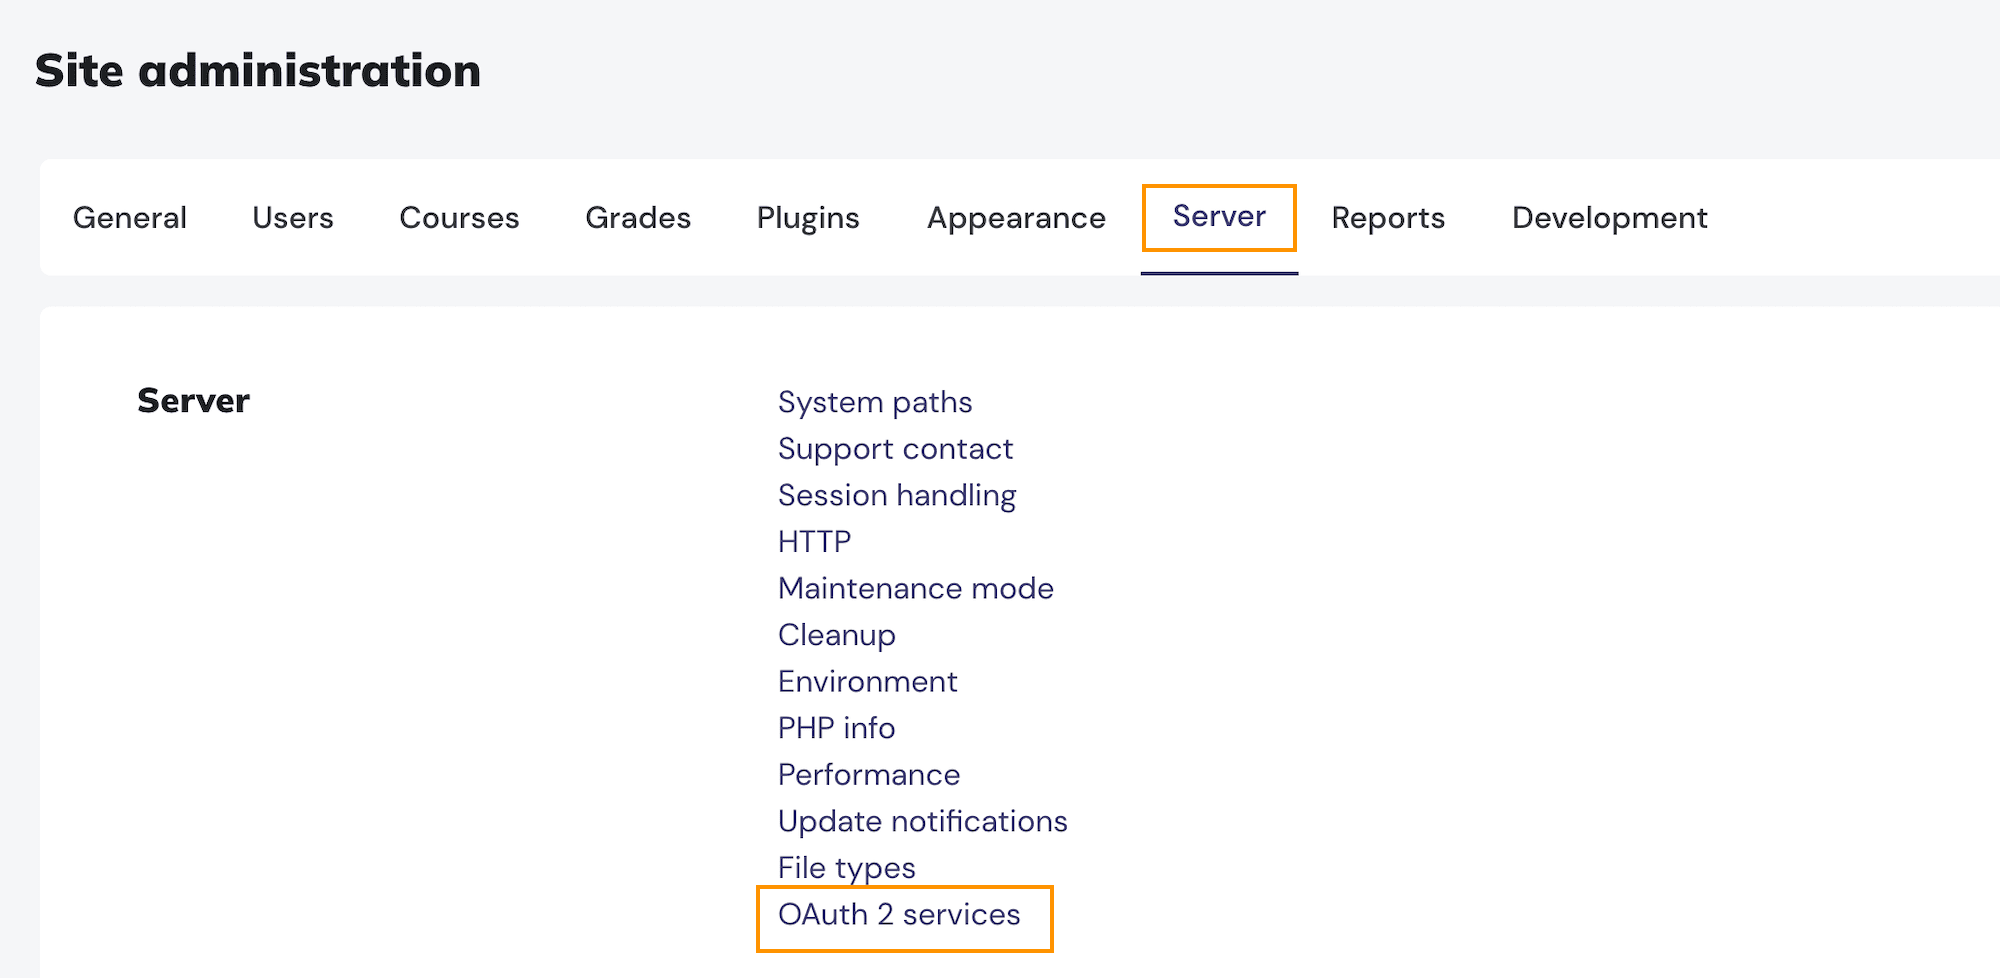
Log in to your Moodle site as an administrator. Go to Site administration > Server > OAuth 2 services.
Step 9
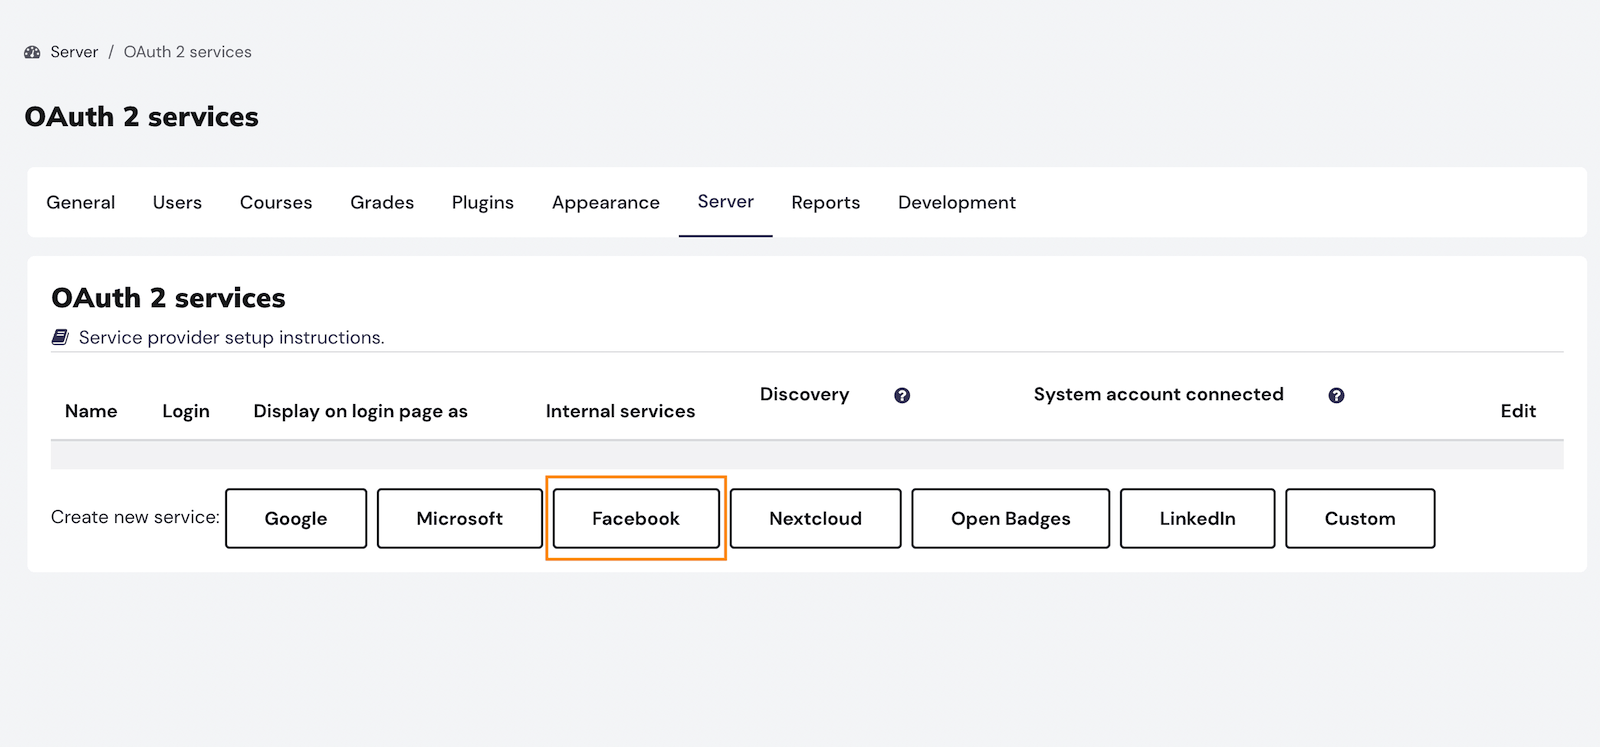
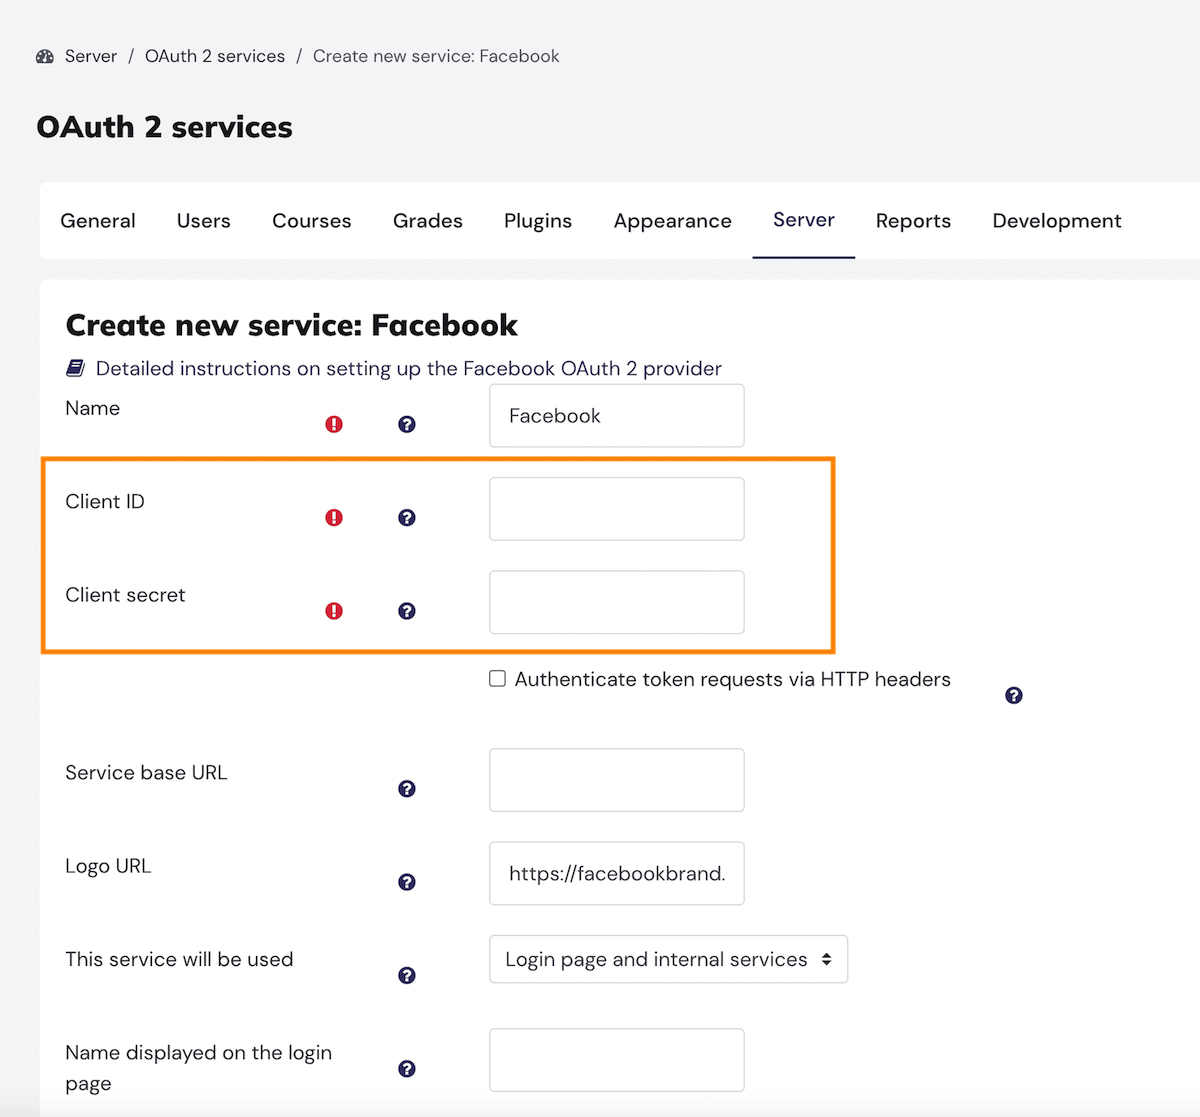
Click the “Facebook” button and you will be taken to the configuration page where you need to enter your Facebook app’s “Client ID” and “Client secret”. You can get them from your Facebook App’s settings page (see Step 5).
Save changes and your site is ready to let users log in using their Facebook accounts.

