If you’re using Moodle to sell courses or run a professional training site, having a clear and flexible pricing section on your front page can make a big difference. With our latest update, the Lumo Moodle theme now includes a built-in pricing table section that helps you present your course plans or subscription options in a more engaging and user-friendly way.
In this post, we’ll walk you through why this feature matters and how you can enable and customise it for your own Moodle site.
Why Add a Pricing Table to Your Moodle Site?
Whether you’re offering paid courses, business training plans, or educational subscriptions, a pricing table makes it easier for learners to understand what you offer and how much it costs. It brings clarity, encourages conversions, and gives your site a more polished, professional look.
With Lumo’s new pricing table section, you can:
- Show up to four custom plans side by side
- Add a summary and list of key features for each plan
- Include clear pricing and CTAs to drive sign-ups or purchases
- Link CTA buttons to external platforms like Stripe, PayPal, Gumroad, Paddle, or your Moodle course catalog.
It’s an ideal feature for Moodle sites used by training providers, course creators, or universities offering professional learning options.
What You Can Do with the New Pricing Section
The section is designed to be flexible and easy to set up. You can:
- Choose between 2, 3, or 4 columns for the layout (on desktop)
- Add a plan name, summary, price, price description, and call-to-action button
- Include an optional plan content field, where you can add a list of features or other details using HTML
Here’s an example of what you can add in the plan content field:
<div class="intro">What's included:</div>
<ul class="list-unstyled plan-feature-list">
  <li><i class="bi bi-check-lg"></i> Feature one lorem ipsum</li>
  <li><i class="bi bi-check-lg"></i> Feature two lorem ipsum</li>
  <li><i class="bi bi-check-lg"></i> Feature three lorem ipsum</li>
  <li><i class="bi bi-check-lg"></i> Feature four lorem ipsum</li>
  <li><i class="bi bi-check-lg"></i> Feature five lorem ipsum</li>
</ul>
The output will look clean and consistent with the rest of the theme.
How to Enable the Pricing Table in Lumo
Log in as a site administrator and go to: Site administration > Appearance > Themes > Lumo Settings > Home Pricing Section
There, you can:
- Enable the section using the checkbox
- Choose how many plans (columns) to show
- Enter all plan details, including pricing, summaries, and CTAs
- Add HTML to the plan content area if needed
By default, the pricing section appears above the FAQs section on the front page.
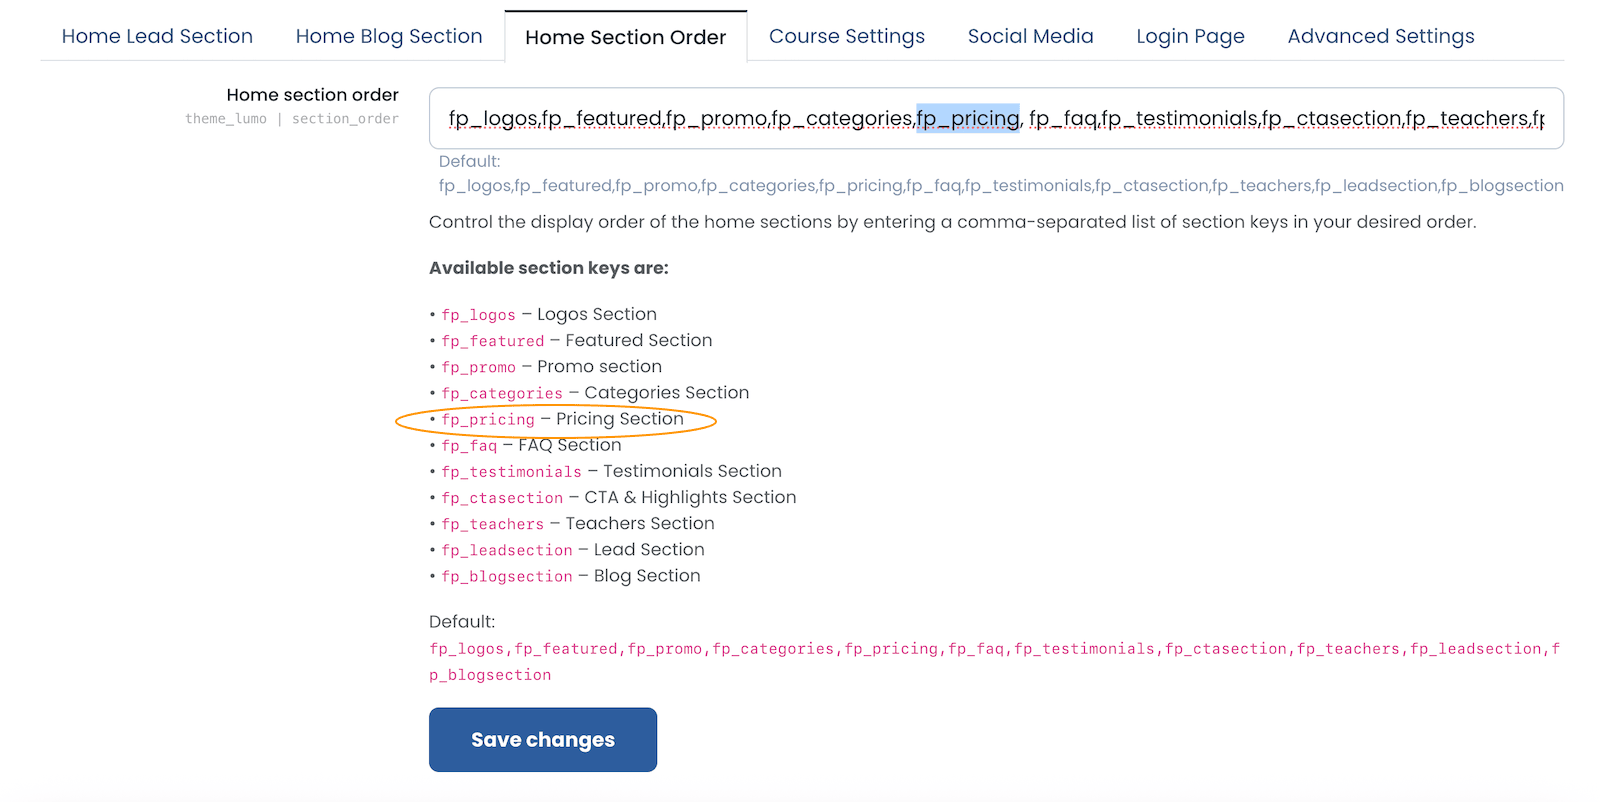
If you upgraded the Lumo theme from an earlier version, make sure to manually add the new pricing section to the list in:
Lumo Settings > Home Section Order
This field uses a comma-separated list to define the order of homepage sections. If pricing section is missing from the list, the section won’t appear – even if it’s enabled.
Make sure to include fp_pricing in the comma-separated list to ensure the pricing section appears on the homepage.
Showcasing Different Use Cases
Lumo’s pricing table is flexible and works for different types of Moodle sites. Below are example layouts from our live demos to give you some inspiration.
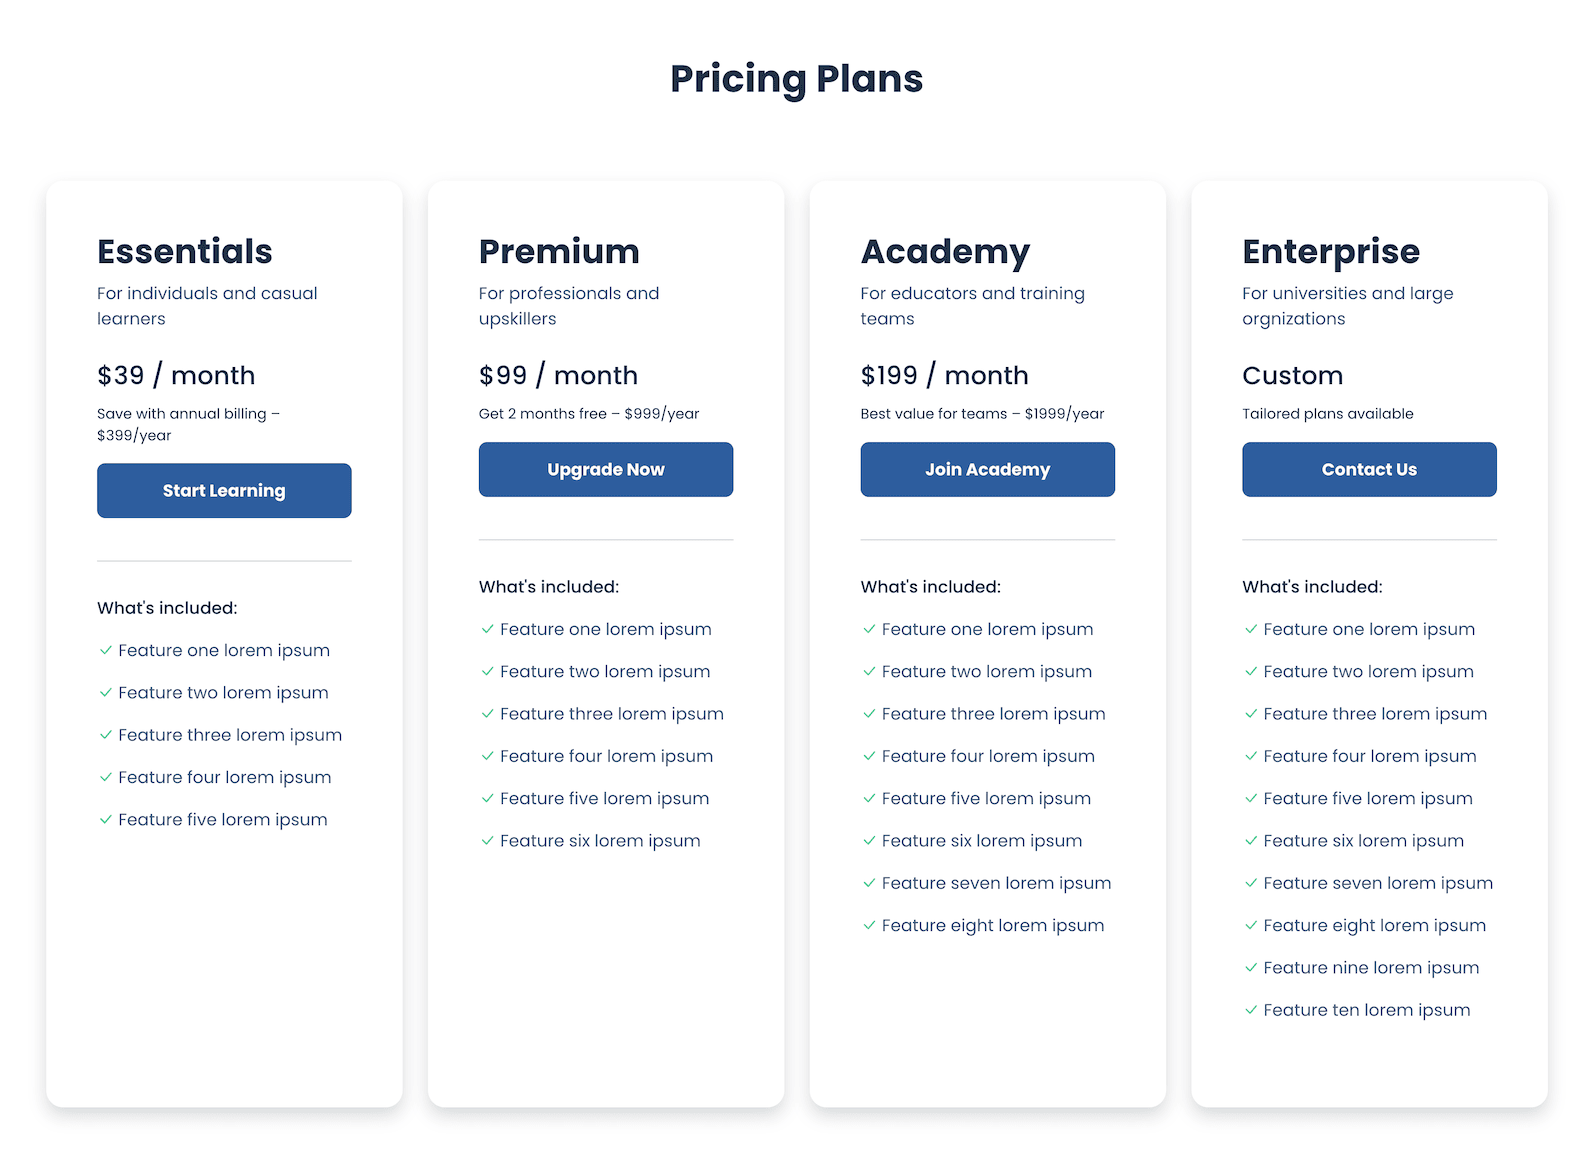
1) General Use (Demo 1 – For Everyone)
This layout features four pricing plans — Essentials, Premium, Academy, and Enterprise — making it ideal for sites offering a range of course tiers or access levels. It works well for public-facing portals with diverse learner needs.
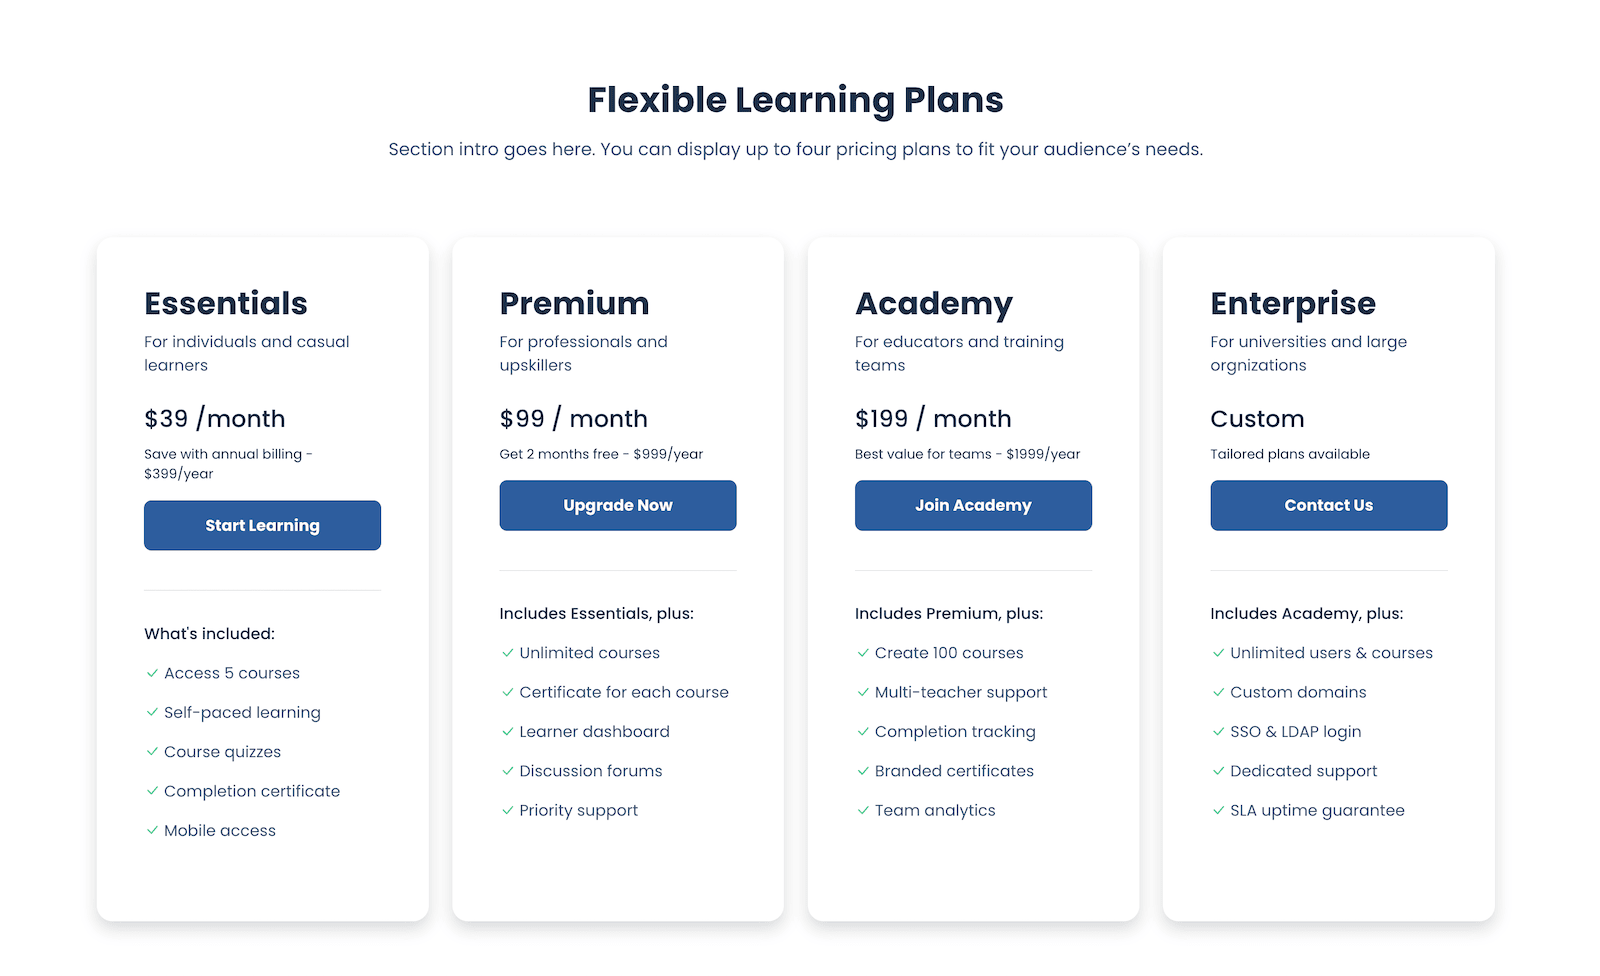
2) Business Training Portal (Demo 2 – For Business)
Designed for internal staff training or commercial learning platforms. This version emphasizes value, features, and clear call-to-actions.
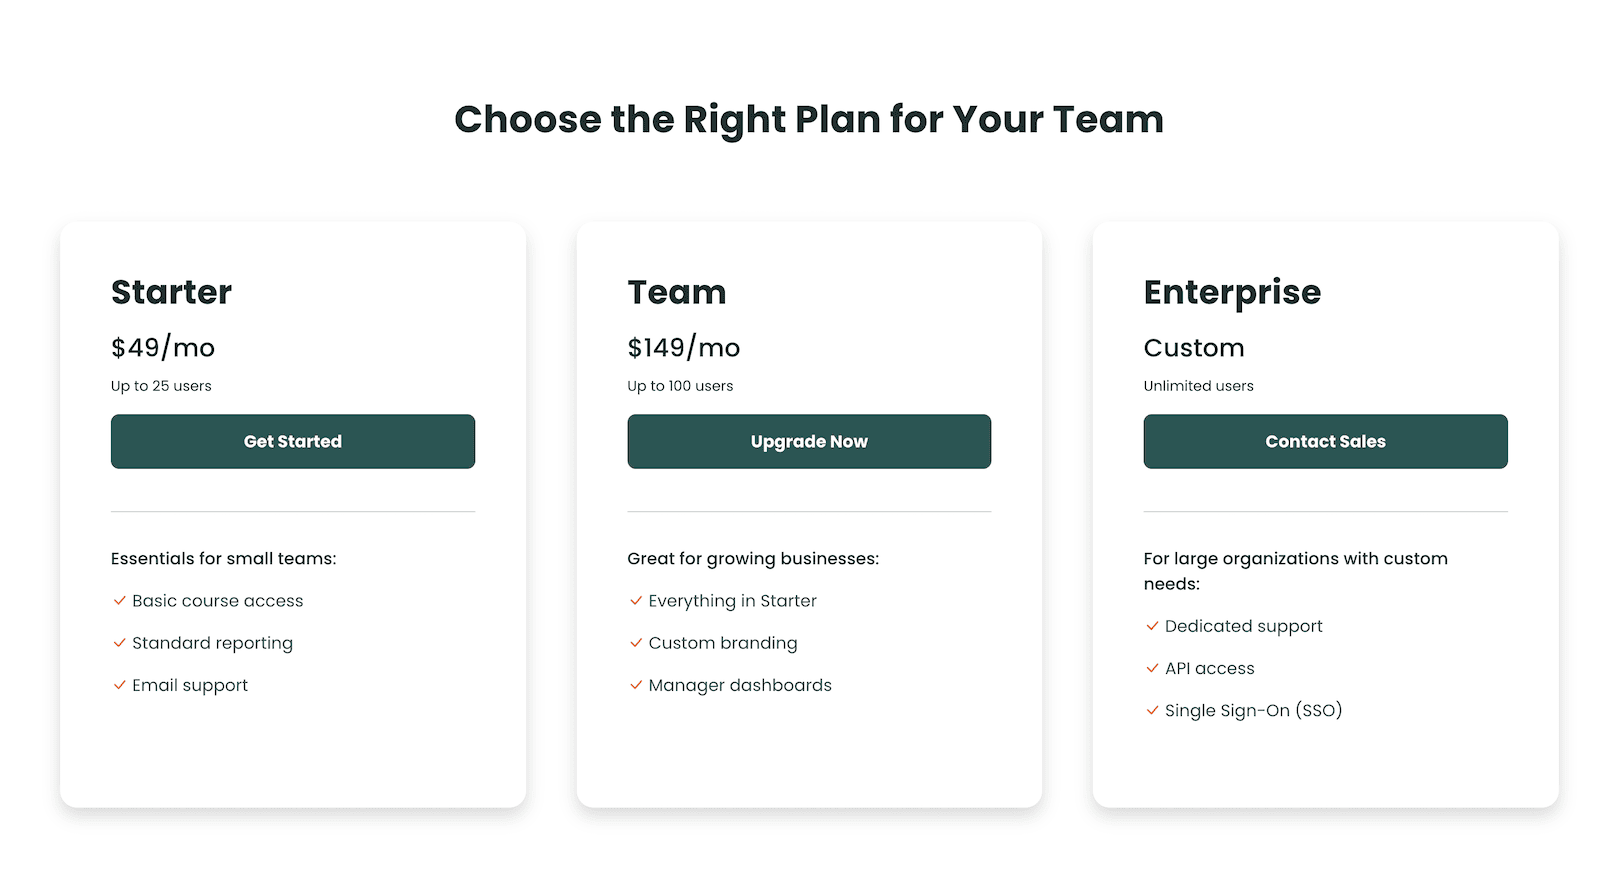
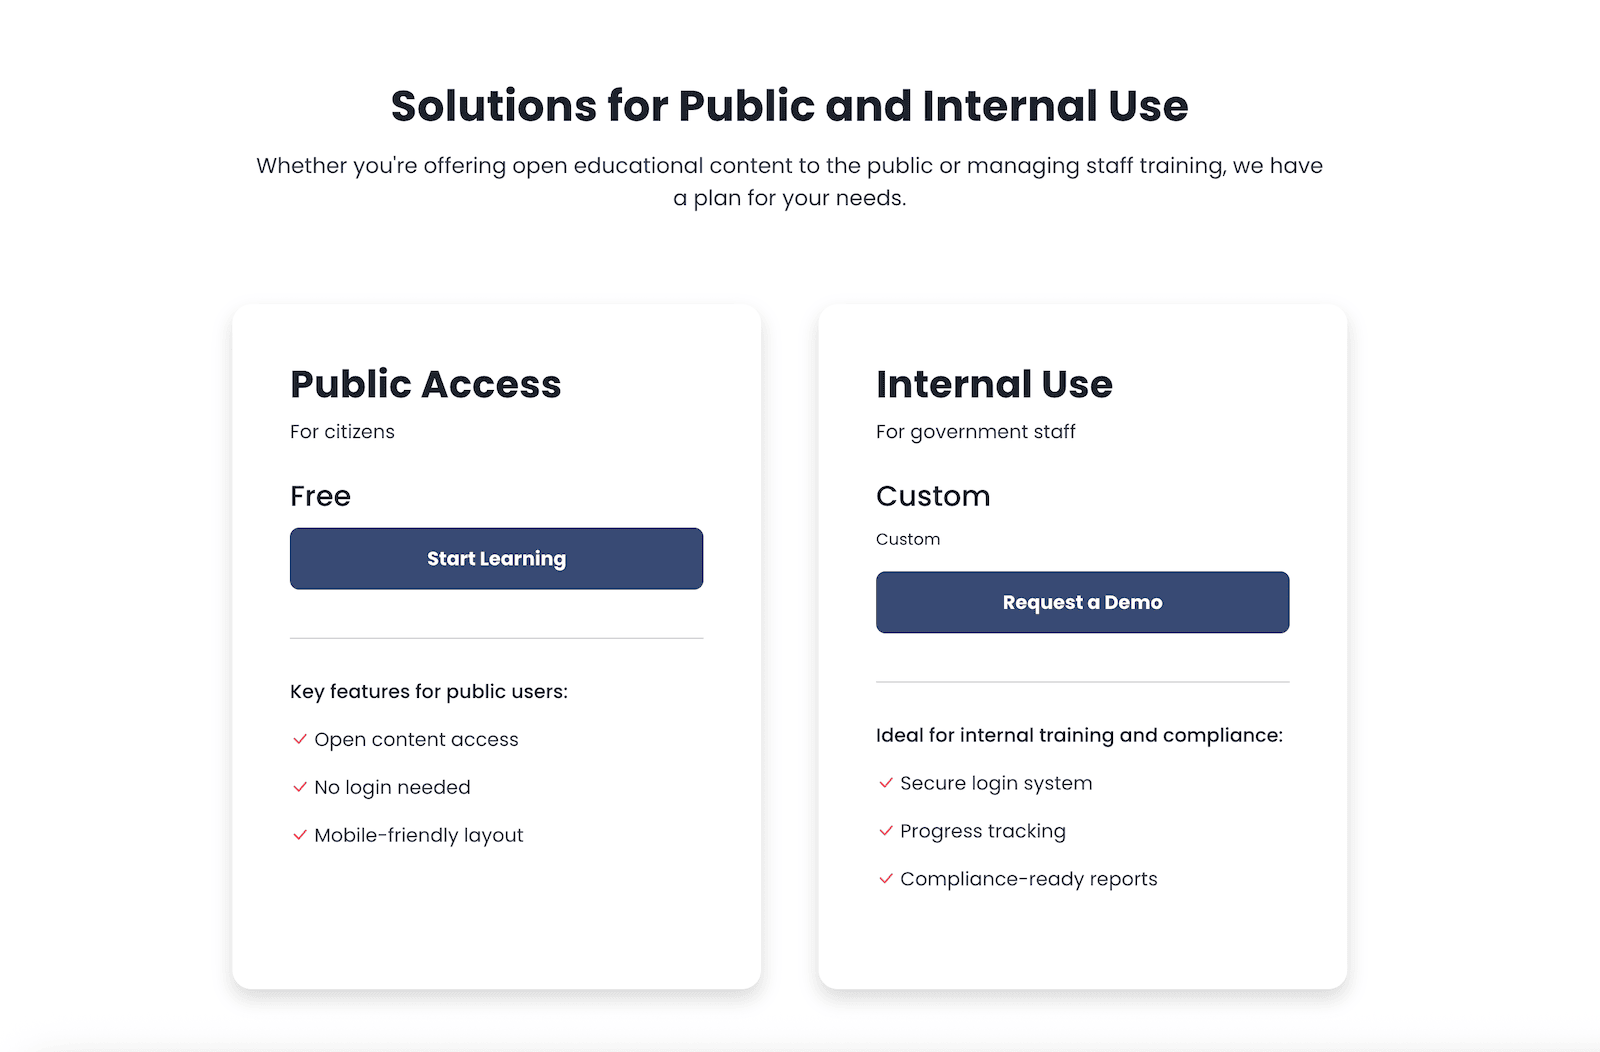
3) Government Learning Portal (Demo 3 – For Governments)
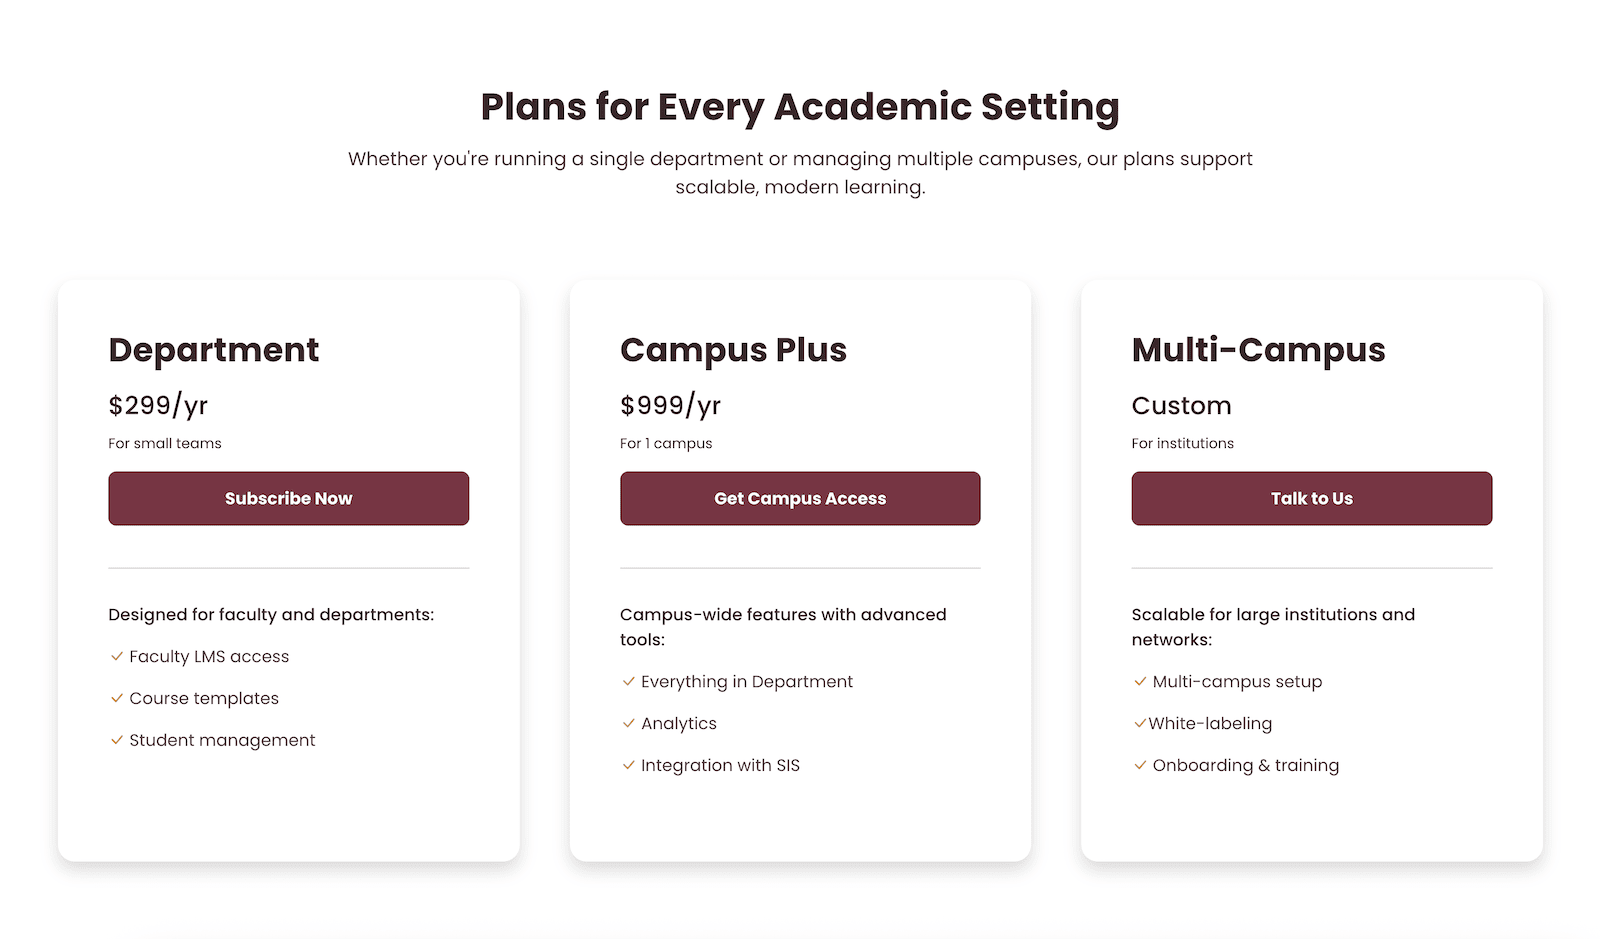
4) Higher Education Site (Demo 4 – For Universities)
A great layout for showcasing course bundles, school/faculty-specific pricing, or discounts for students and staff.
Final Thoughts
This new pricing section is a great way to promote your learning plans more effectively, especially if you’re running a commercial Moodle site or want to highlight different course tiers.
We’ve kept the setup simple and flexible, so you can make it work for your unique needs, whether you’re a solo course creator or a large training provider.
Ready to give it a try? Explore the Lumo theme or check out our full Moodle theme collection to find the right fit for your site.