Installing a new theme is one of the easiest ways to update the look and feel of your Moodle site. The process is simple and works the same way in Moodle 4.x and Moodle 5.x. In this guide, we will use our popular Maker theme as an example. Maker is compatible with both Moodle 4.x and Moodle 5.x. You can follow the same steps for most Moodle themes.
1. Before You Start
Before installing a new theme, make sure you have:
- A working Moodle 4.x or Moodle 5.x site
- Site administrator access
- A recent backup of your Moodle site
- The latest version of the theme
- A theme that is compatible with your Moodle version
- No old or outdated copies of the same theme in your theme folder
If you are upgrading a theme, switch to Moodle’s Boost theme first and follow the steps in our upgrade guide here.
2. How To Install a Moodle Theme
There are two ways to install a new Moodle theme. You can upload the theme files to your server or upload the zip file directly in Moodle.
Method 1 – Upload the theme folder to your server
This is the manual installation method and our preferred way to install a Moodle theme. It’s very easy if you have FTP access to your server or if you are working locally. All you need to do is upload your theme’s folder (extracted from the zip file) into the theme directory of your Moodle installation.
Upload the theme folder:
For Moodle 4.x and Moodle 5.0:
Your Moodle installation > theme > maker
For Moodle 5.1+:
Your Moodle installation > public > theme > maker
Moodle 5.1 introduced a new “public” folder structure, which changes where web-accessible files are stored. If you are using Moodle 5.1 or later, your theme folder must be placed inside the public/theme directory. Older Moodle versions (4.x and 5.0) still use the original root-level theme folder.

After uploading, log in to your Moodle site as an administrator.
Go to Site administration > Notifications. Moodle will detect the new theme and complete the installation.
Method 2 – Upload the theme zip file via Moodle’s “Install plugins” page
If you don’t have server access, you can install a theme using Moodle’s built-in interface.
Log in as an admin and go to: Site administration > Plugins > Install plugins

If you are installing a free Moodle theme downloaded from Moodle’s official site, you can upload the theme zip file directly.
Important notes for our premium Moodle themes
For our premium themes, you need to prepare a valid zip file before uploading it through Moodle.
Step 1
Extract the product zip file you downloaded. Inside, you will find a readme file and the theme folder.
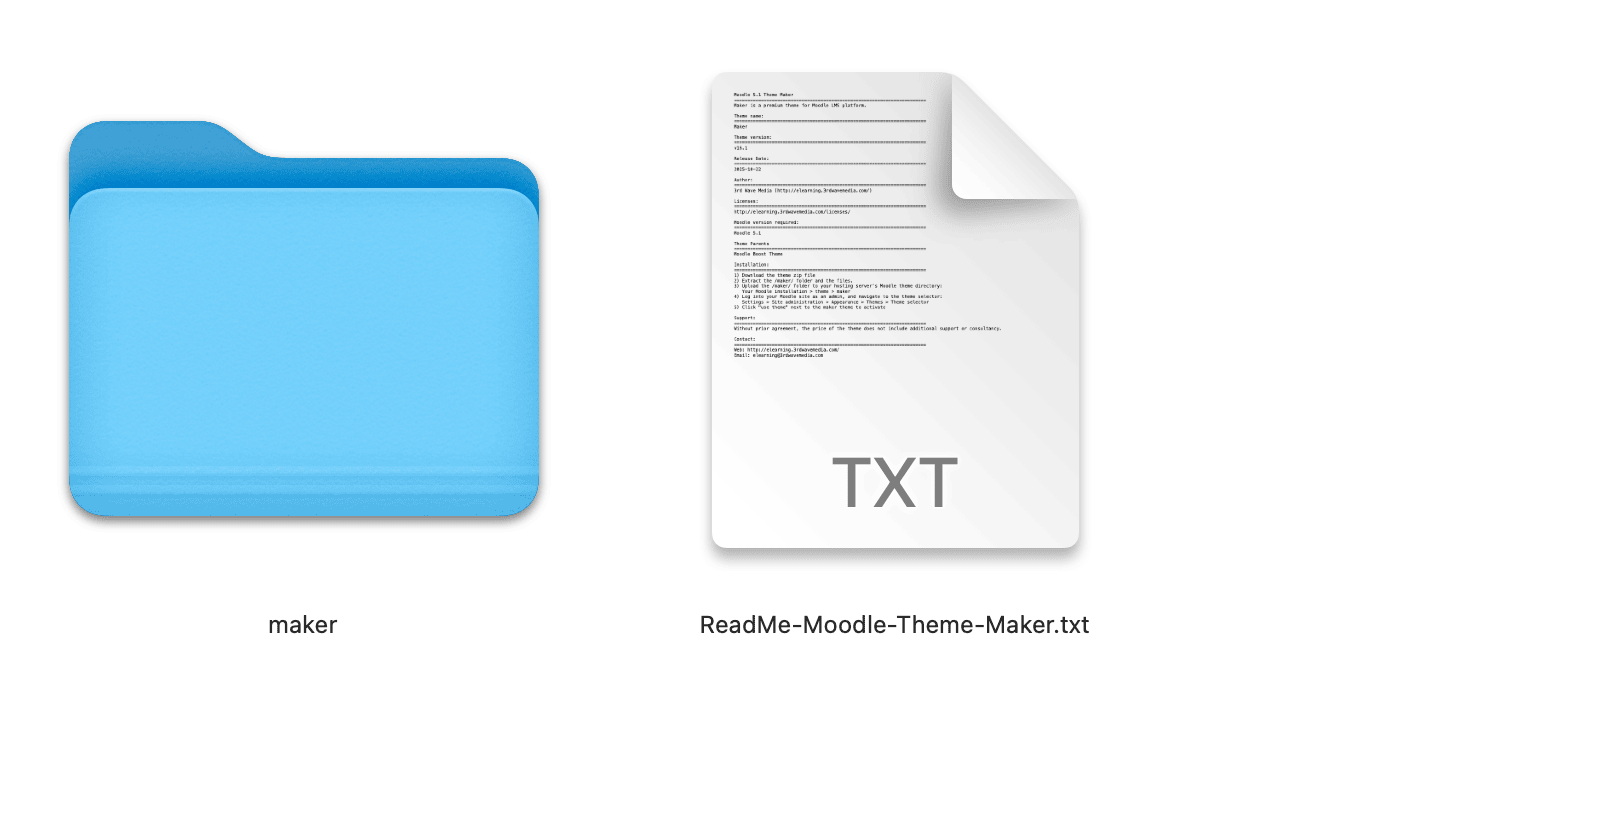
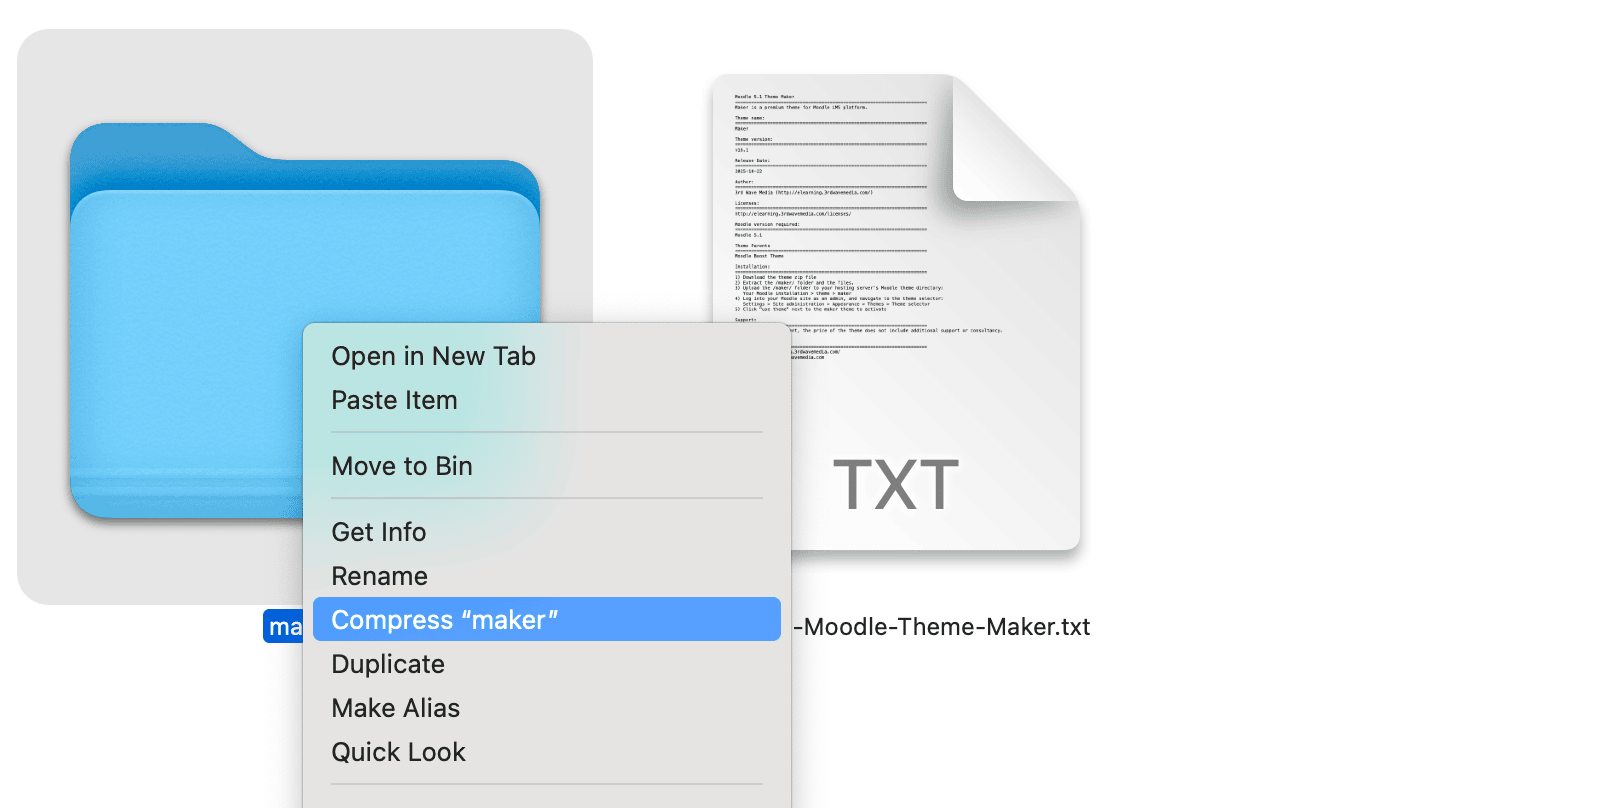
Step 2
Compress the theme folder into a new zip file. You can name it anything you like. Upload this zip file through Moodle’s “Install plugins” page.
After uploading, Moodle will install the theme and show a confirmation message.
Activate the new theme
Once the theme is installed, you need to activate it.
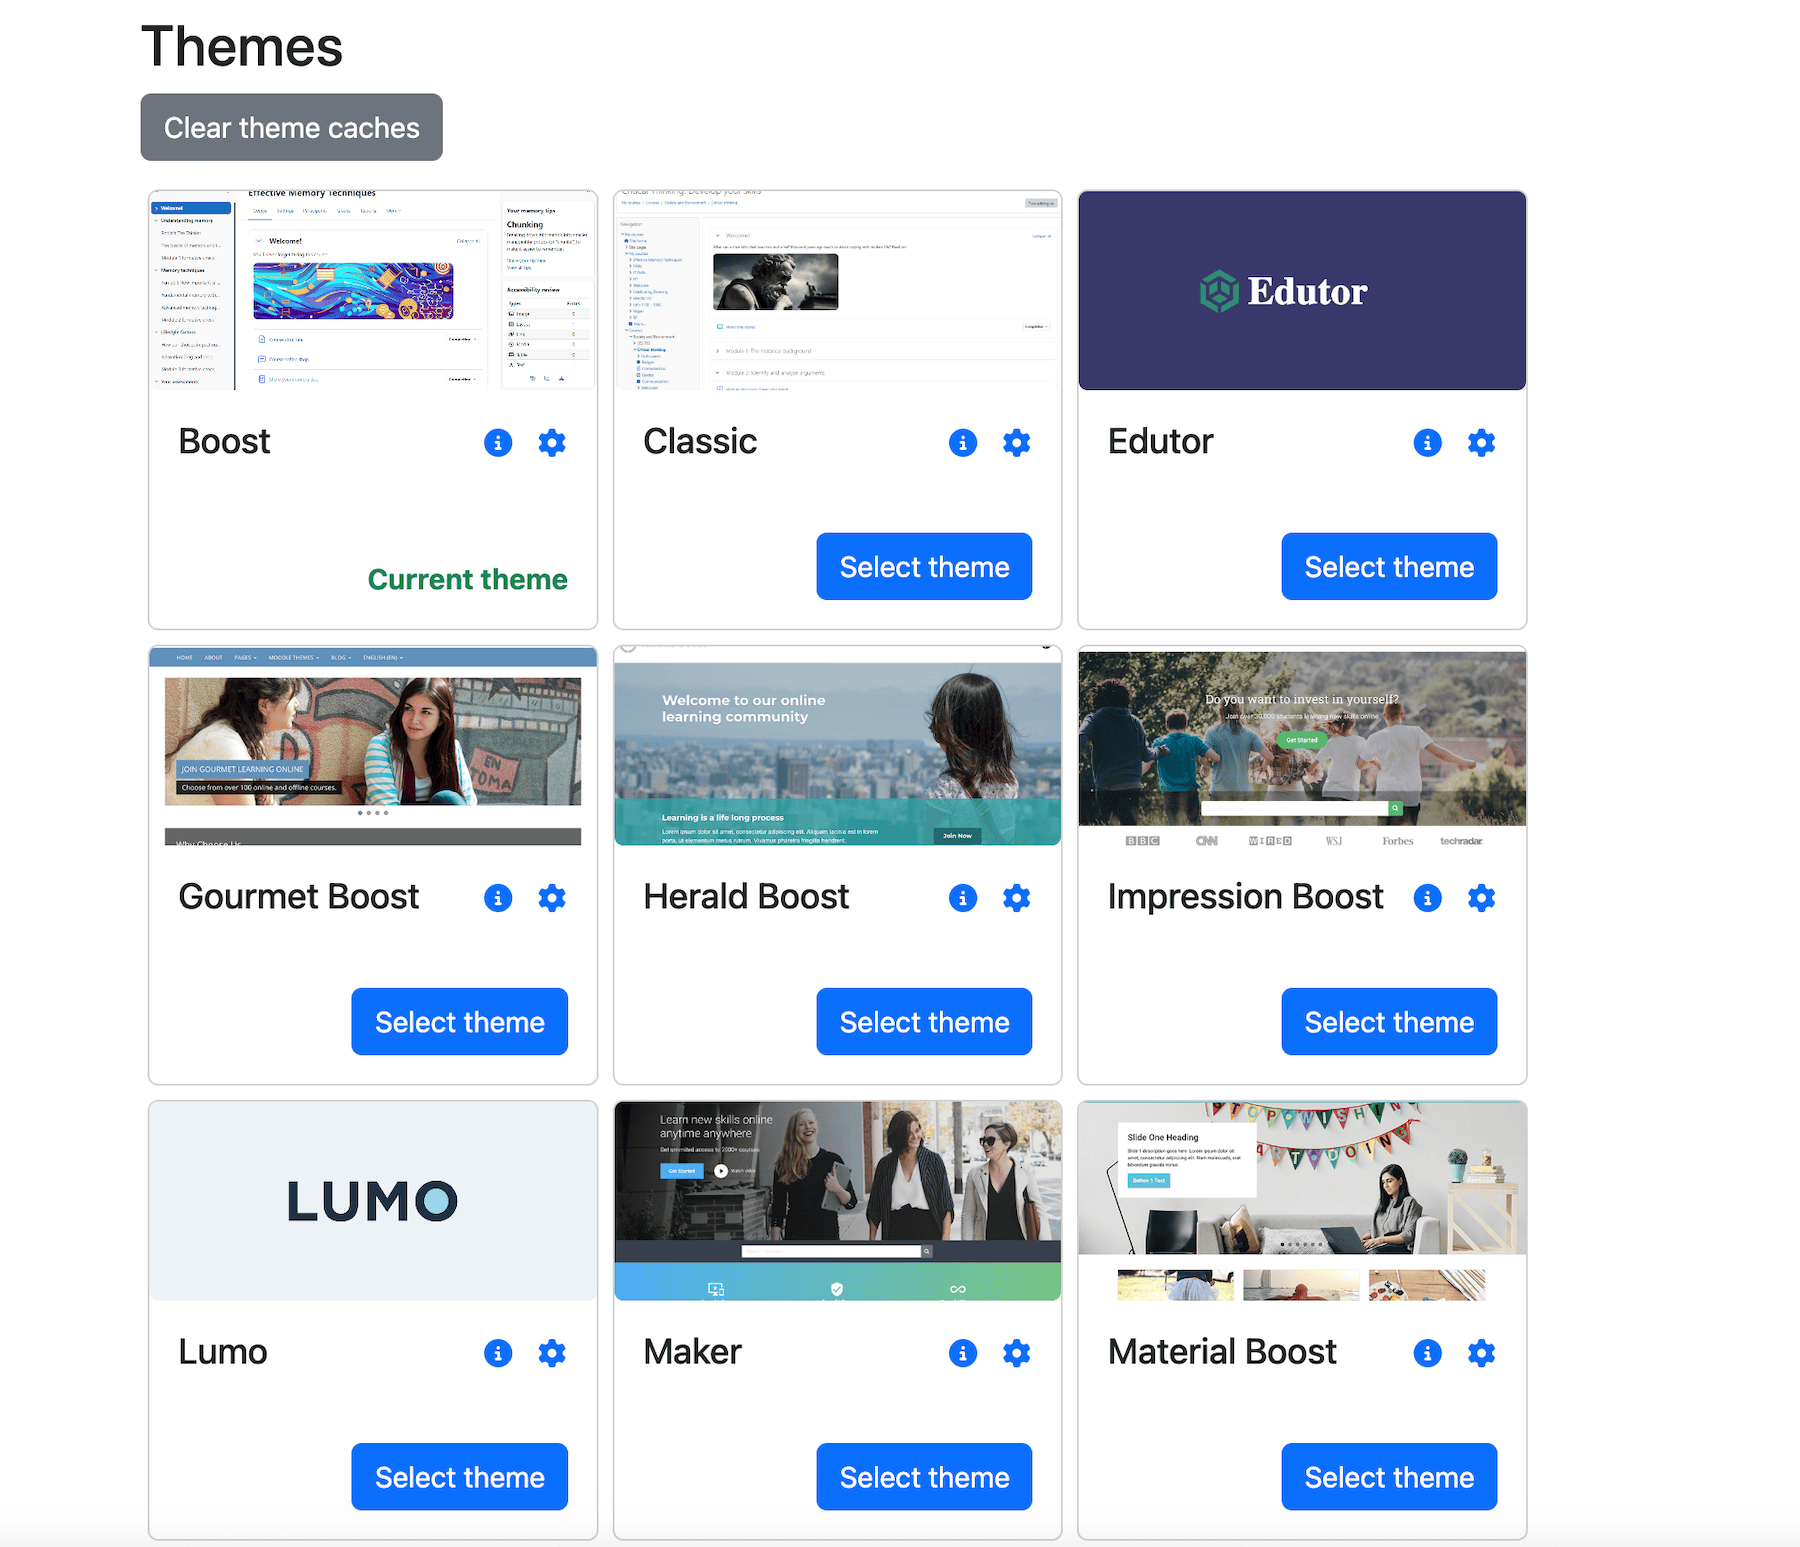
Go to: Site administration > Appearance> Themes > Theme selector
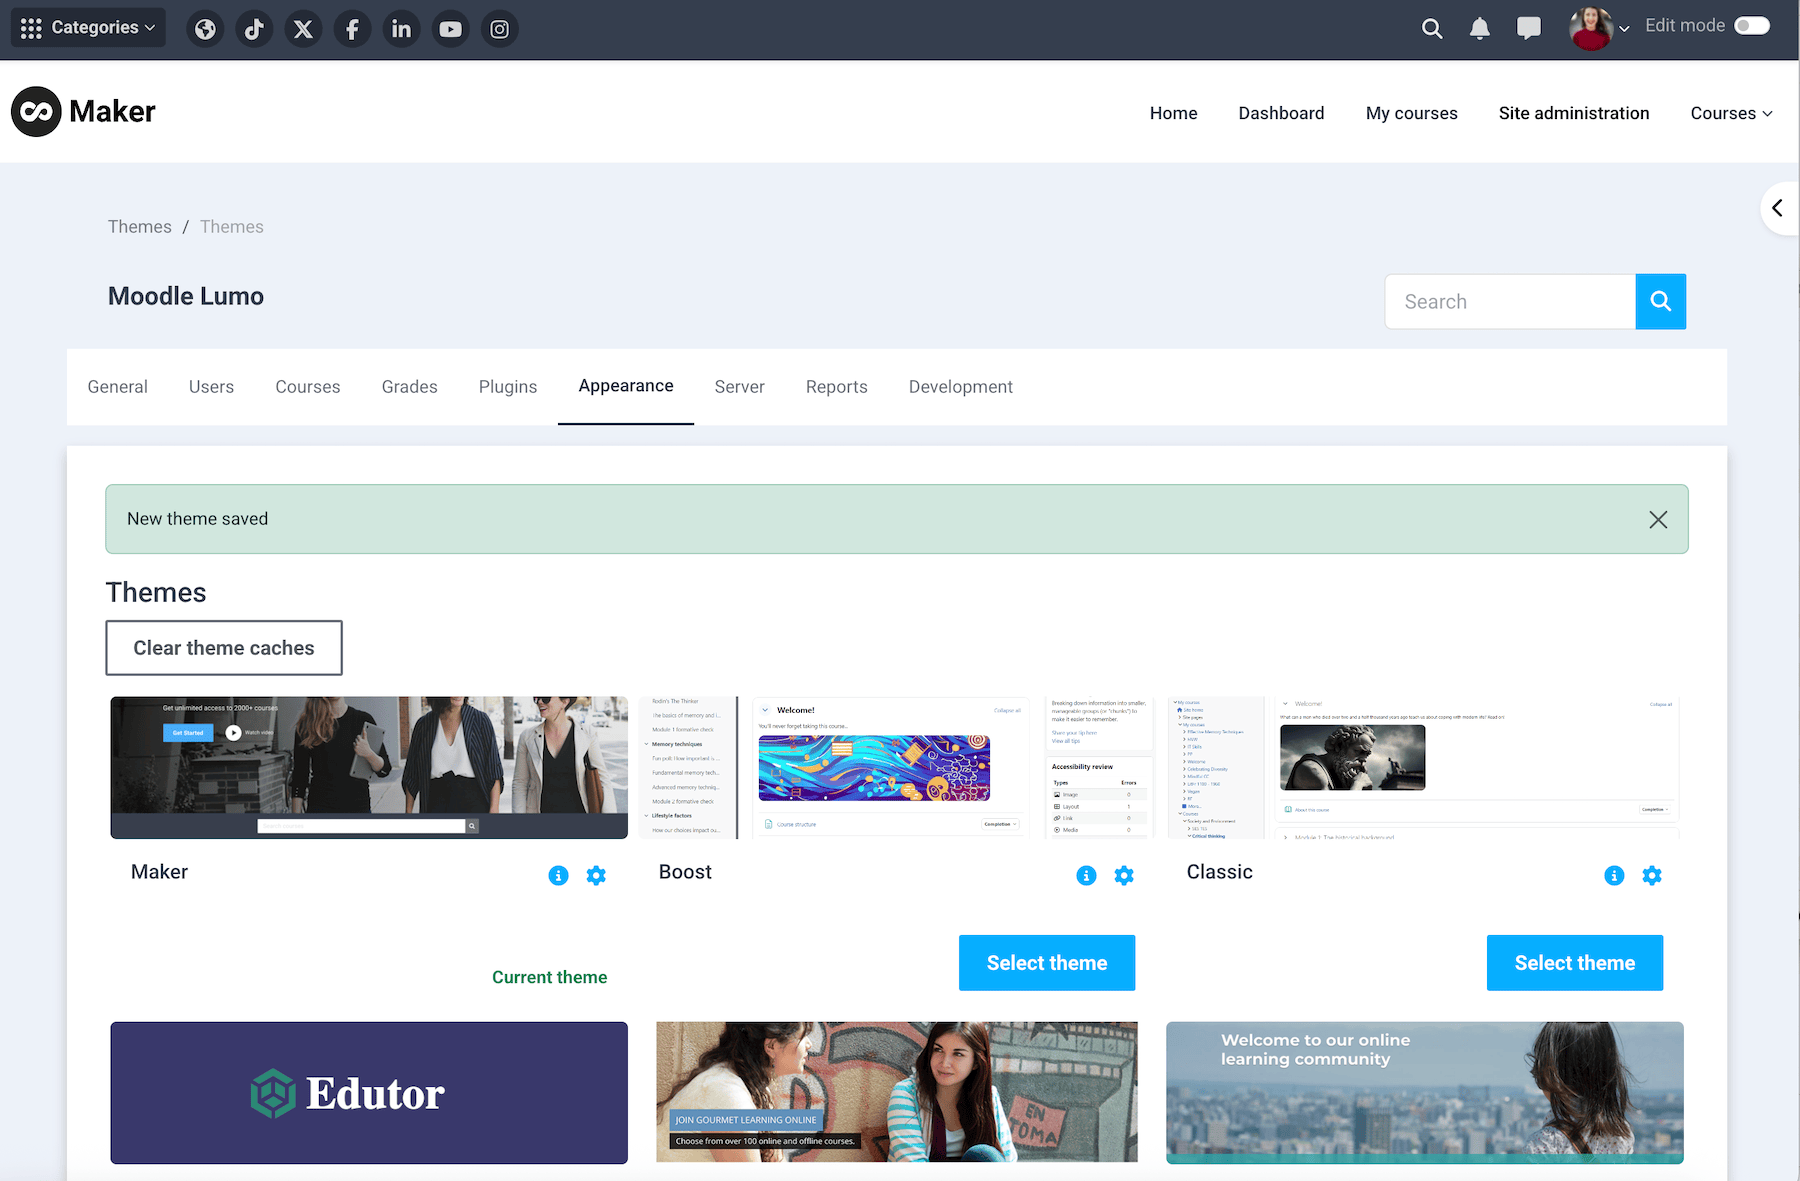
Click the “Select theme” button under the Maker theme preview image.
3. Theme Settings
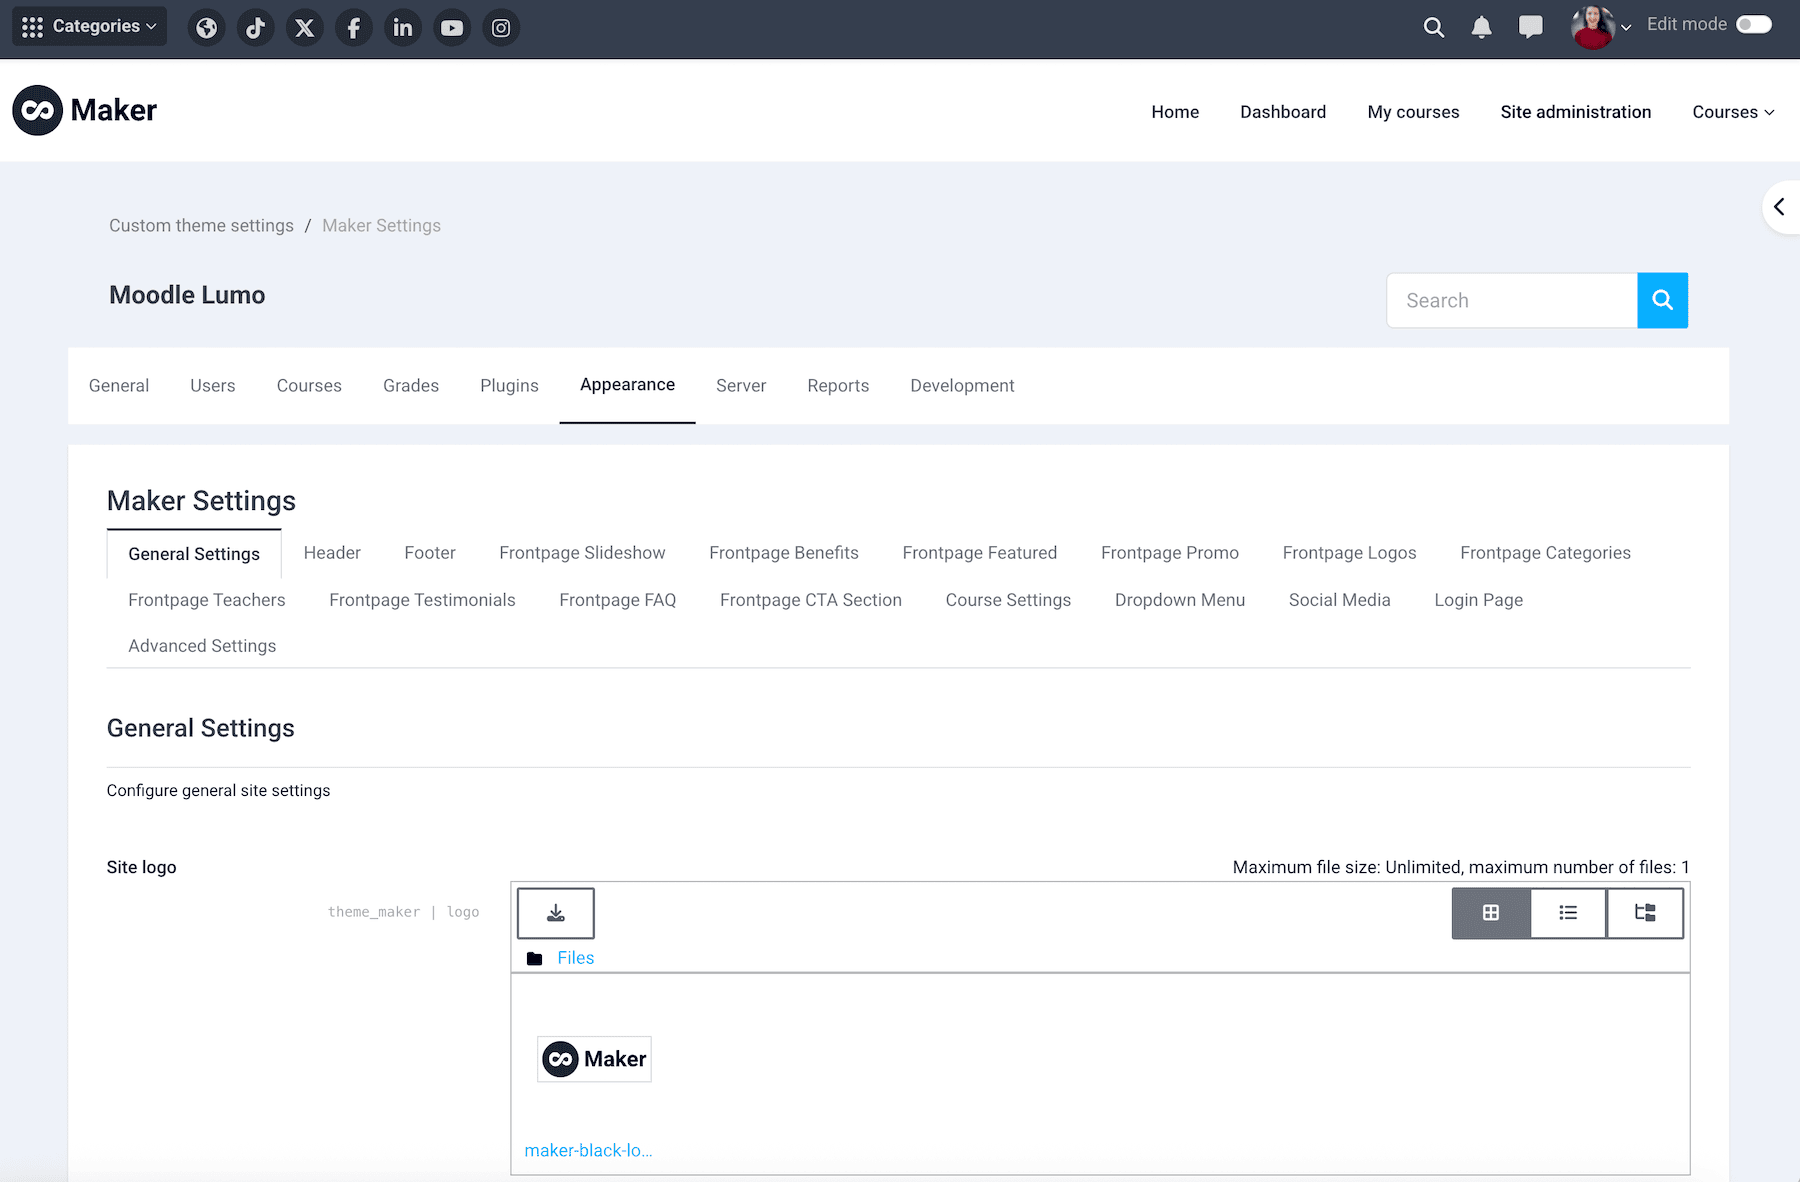
After activation, you can customize the theme to match your branding.
Go to: Site administration > Appearance > Themes > Maker
You have now installed and activated a new Moodle theme. Maker works on both Moodle 4.x and Moodle 5.x, making it a reliable choice for upgrades and new installations. Once activated, you can customize the theme settings to create a clean and professional design for your Moodle site.
If you want to install one of our other popular premium Moodle themes, here are the installation guides: