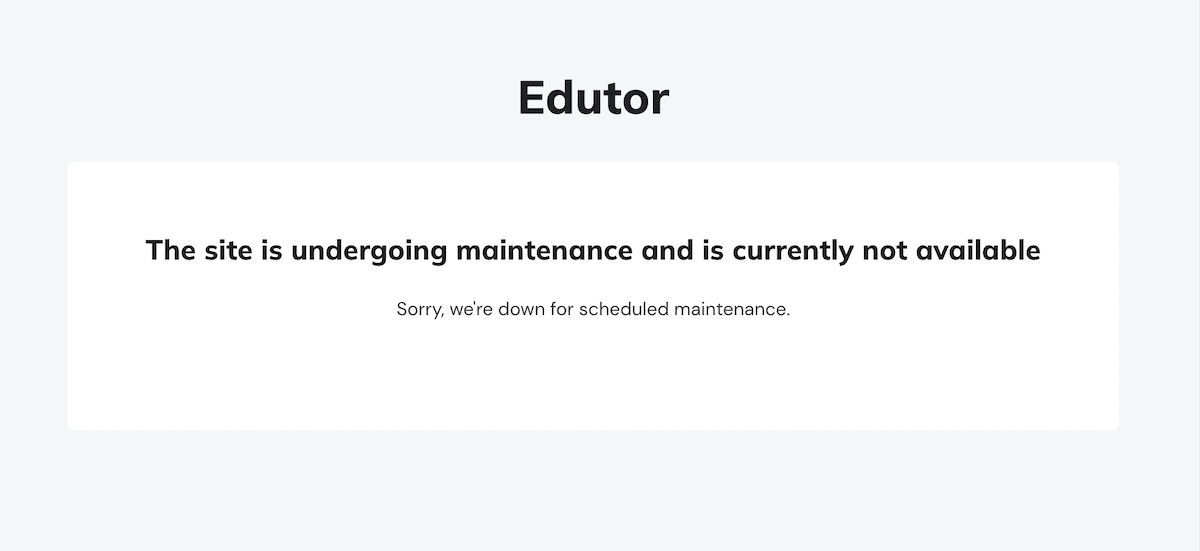
When Moodle’s maintenance mode is enabled, only the site administrator can access the courses, and all other users will be notified that the site is in maintenance mode.
It’s good practice to put Moodle into maintenance mode if you are going to upgrade the site, make big changes to the existing courses or test different themes for the courses. This will ensure that your site users are not using the site while it is upgrading and that they will not see all of the changes on the fly and get confused by them while you are still working on any courses.
Step 1
Log into your Moodle site as an admin user, and navigate to the Maintenance settings option: Site administration > Server > Maintenance mode
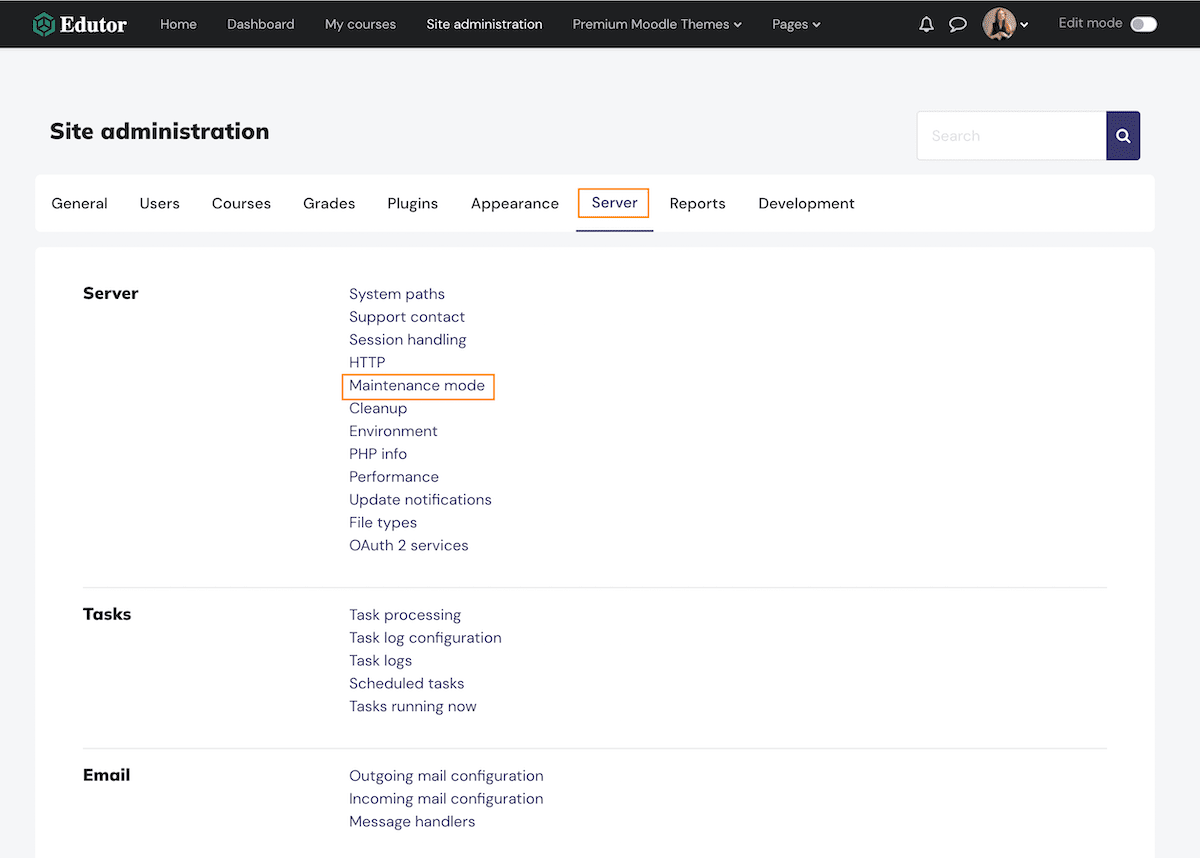
Step 2
Click “Enable” from the Maintenance mode drop-down list. You can also write your own maintenance message for users in the text editor as shown on the figure below.

Step 3
Click the “Save changes” button and your Moodle site is now in maintenance mode, and the maintenance message will be shown when the non-admin users are trying to access the courses.
Once you’ve finished upgrading the site or making changes to your courses, don’t forget to disable maintenance mode.